20/01/2023
What is headlight protection film, and is it worth it?

Vehicle owners often prioritize maintenance for their engine, brakes, and suspension but tend to overlook other areas, such as their headlights. Over time, dirt and grime can build up on the lens, making it cloudy and reducing effectiveness.
Although there are numerous ways to clean headlights, headlight protection film is a relatively recent addition to the arsenal of headlamp protection options. But is it worth the investment?

Looks can be deceiving!
Avoid costly problems by checking a vehicle's history. Get a report instantly!
Protect your headlights with protection film
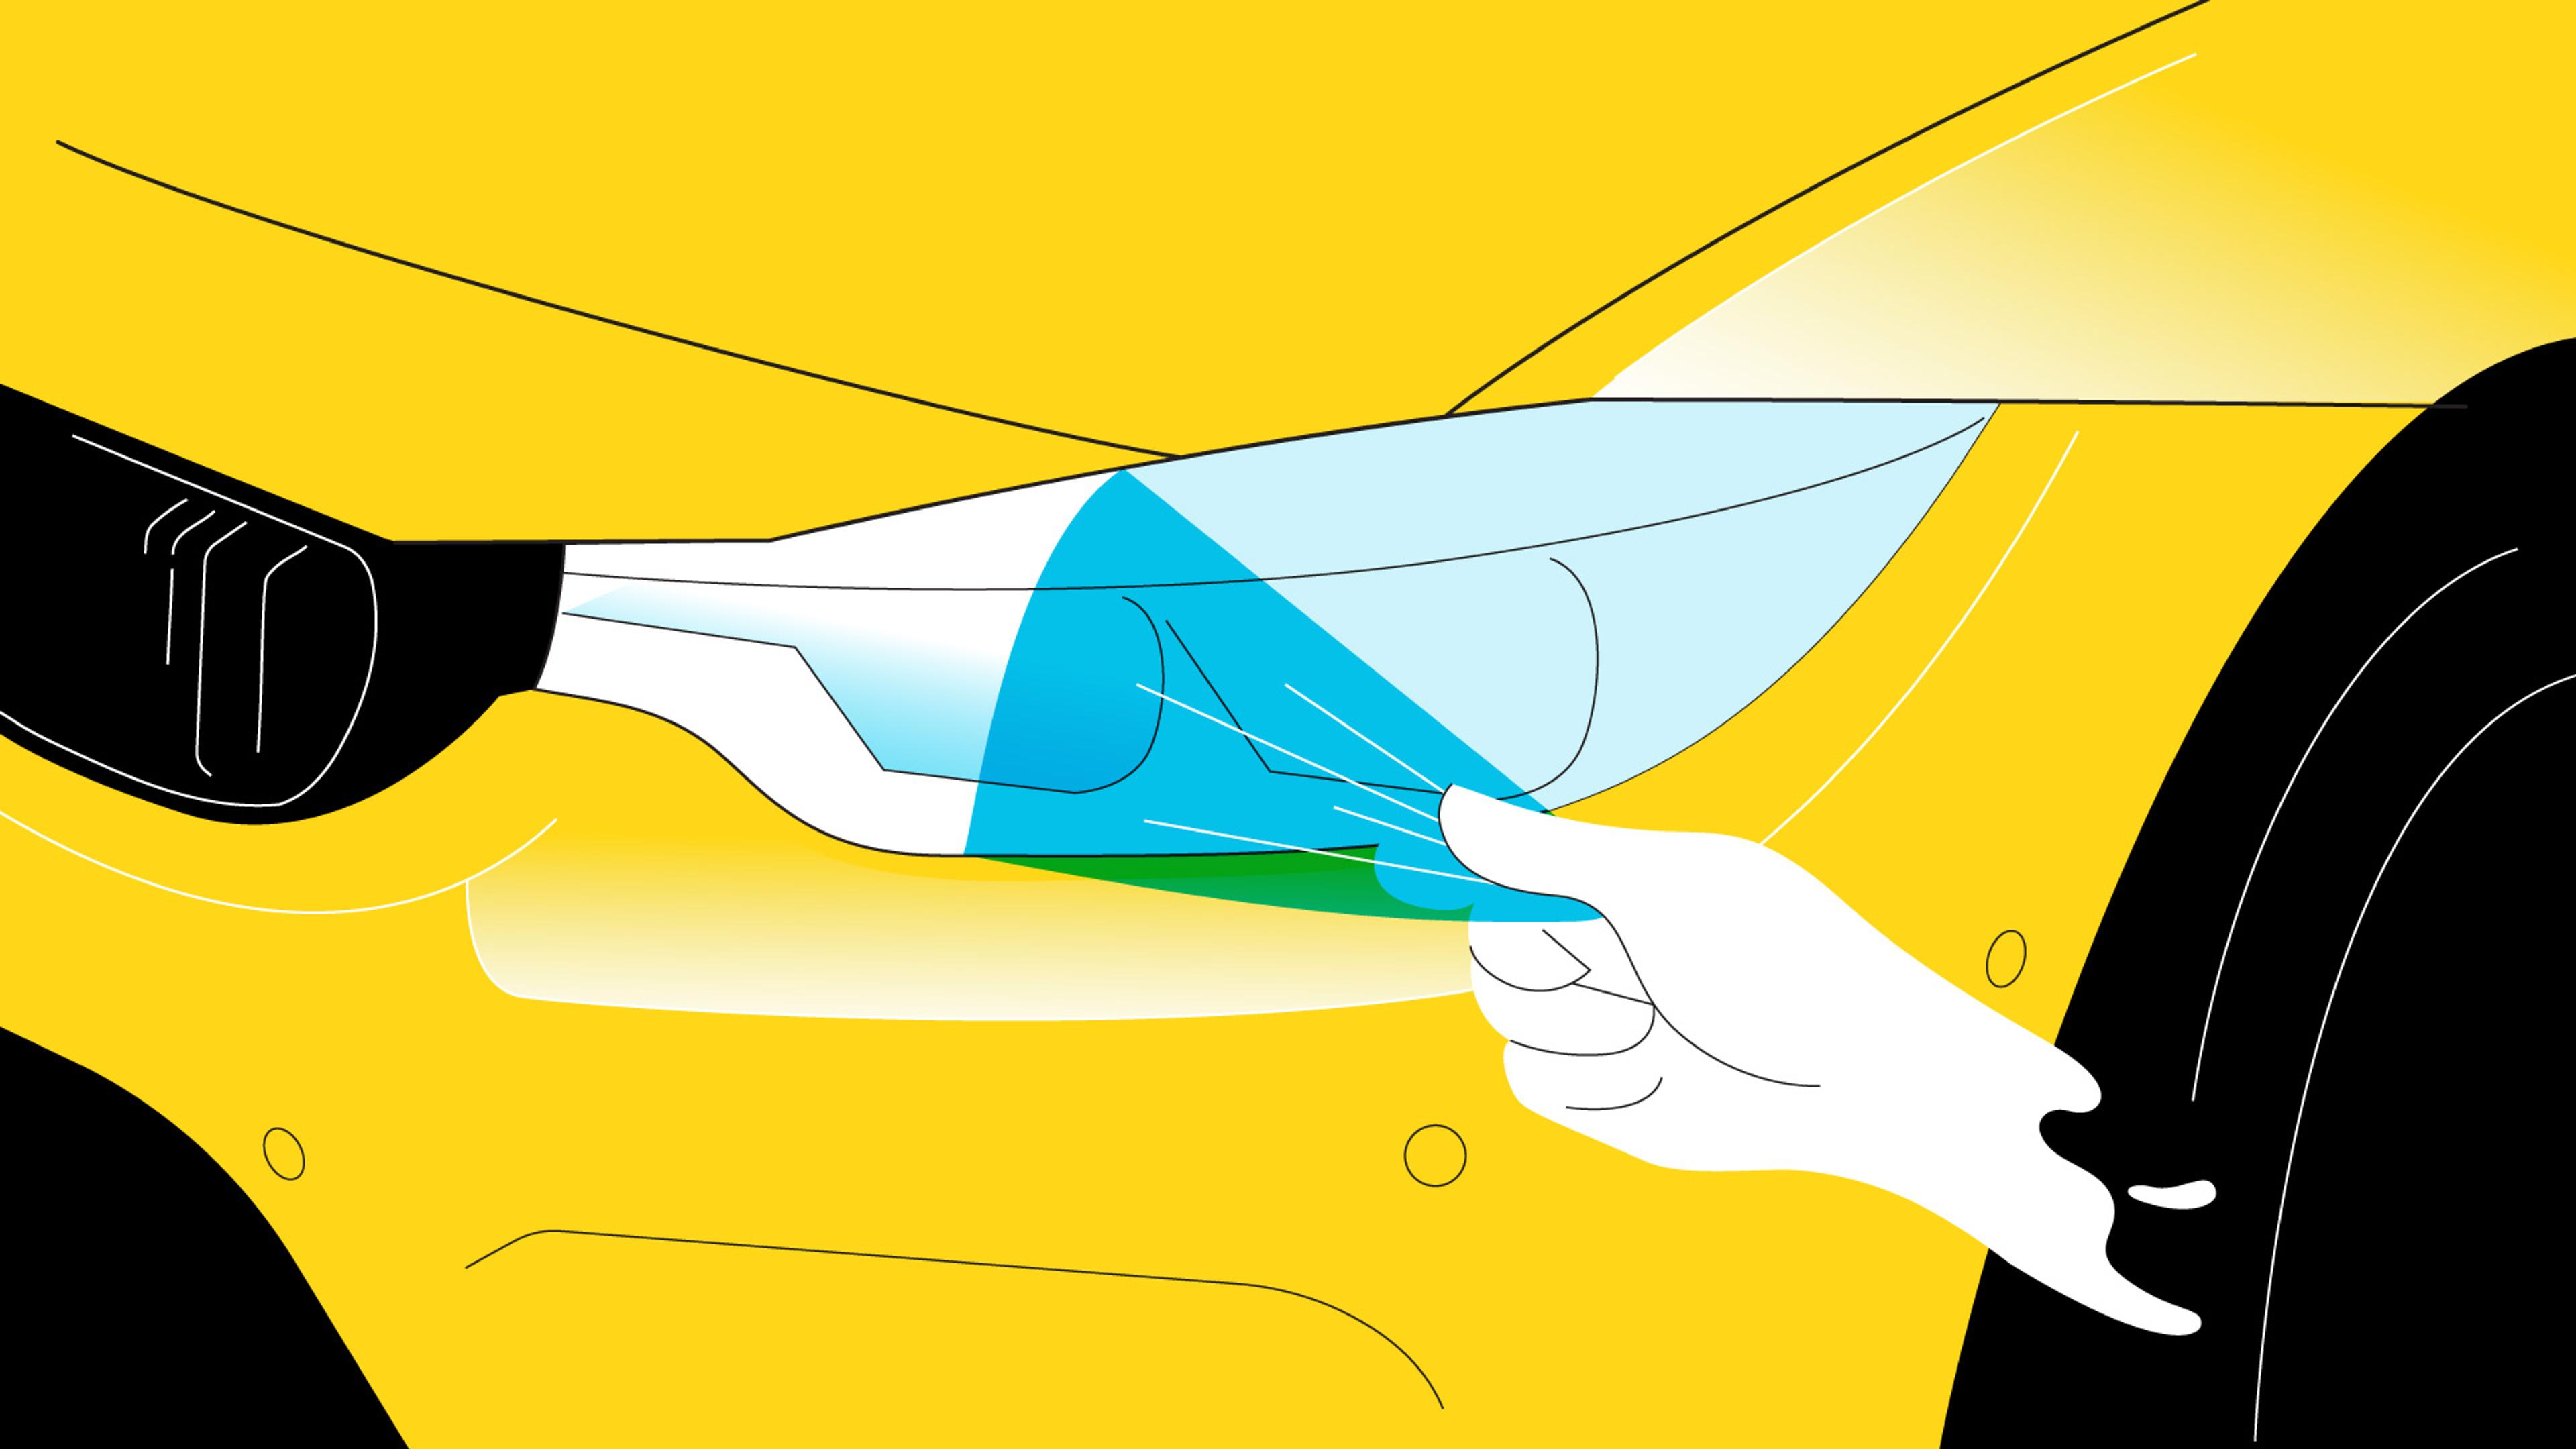
Your car's headlights are essential for safe driving, but they're also vulnerable to damage. However, by using paint protection film, you can keep your headlights safe from rocks, road debris, UV rays, and even harsh chemicals.
This high-quality material offers reliable protection while remaining virtually invisible, so you can maintain the appearance of your vehicle and ensure that your headlights stay in top condition.
Headlight protection film adds durability
By adding headlight protection film, you can increase the durability of your car's headlights and shield them from various road hazards, saving money on repairs and replacements. The film's high-quality material is built to resist environmental elements and UV rays, ensuring long-lasting protection.
Moreover, the film's transparency allows it to blend seamlessly with your car's aesthetic. Investing in headlight protection film is a wise decision for car owners who want to keep their headlights in pristine condition.
Headlight protection film shields from chemicals
Headlight protection film not only shields your headlights from rocks, debris, and UV rays but also provides an additional safeguard against chemical damage. Road salt and de-icing agents can be highly corrosive and cause discoloration and pitting on the headlight surface.
Fortunately, high-quality headlight protection film can protect against these harmful chemicals, ensuring that your headlights remain free from damage.
How to install headlight protection film
If you're considering headlight protection, you have two options: have a professional do it for you or do it yourself. Both options have pros and cons, so it's important to weigh them carefully and choose the best fit for your needs and budget.
Professional installation
While installing headlight protection film yourself can be a cost-effective option, some car owners prefer the assurance of a professional installation. Many auto shops and detailing services offer installation services to ensure the film is applied correctly for maximum effectiveness and longevity.
Additionally, having a trained technician handle the installation can save you time and provide added peace of mind. Although it may come at a higher cost than a DIY installation, you may find that the benefits of professional installation outweigh the cost.
Color options
Some manufacturers offer a range of tinted films in shades of blue, yellow, or smoke that can give your vehicle a unique and stylish look. Depending on the color you choose, you might even get some added benefits like reduced glare or improved visibility in certain driving conditions. Just make sure to check your local laws before taking the plunge, as some countries/states have regulations on the use of colored film.
Headlight protection film installation DIY
Installing headlight protection film is a simple process that can be done at home using basic instructions. With some essential tools and patience, you can avoid the cost of professional installation.
Here are the basic steps to follow:
1.Clean the headlights thoroughly with soap and water, and dry them completely.
2.Cut the film to size, leaving a few extra inches on all sides.
3.Use a spray bottle filled with water and a small amount of dish soap to spray the surface of the headlight.
4.Peel off the protective backing of the film and carefully apply it to the headlight, smoothing out any bubbles or wrinkles as you go.
5.Use a squeegee (or credit card!) to remove any remaining air bubbles or wrinkles.
6.Use a hair dryer or heat gun to gently heat the film, which will help it to conform to the shape of the headlight.
7.Trim off any excess film with a sharp blade.
It’s important to remember that taking things slow during installation and following instructions carefully is crucial for the desired results. If you’re unsure about the installation process or encounter problems, seek professional help to avoid damaging your car's headlights.
Clean headlights improve safety
Taking care of your headlights is essential to maintain your car's safety and appearance. Over time, dirt and debris can build up on your headlights, diminishing their brightness and making it harder to see the road ahead. This can be particularly dangerous in low light or adverse weather conditions.
By regularly cleaning your headlights, you can help maintain their clarity and brightness, improving your visibility on the road and reducing the risk of accidents. Here are 3 simple steps for cleaning your car's headlights:
- You can use a specialized headlight cleaner or make a DIY solution using equal parts of vinegar and baking soda mixed with a few drops of dish soap. Apply to the headlight surface.
- Use a soft-bristled brush or a microfiber cloth to gently scrub the headlights in circular motions. Pay special attention to any areas with stubborn grime or dirt buildup. Be careful not to scrub too hard, as you can damage the headlight surface.
- Once you've scrubbed the headlights thoroughly, rinse them with clean water and dry them off with a clean, dry cloth. Ensure there's no moisture left on the headlight surface, as this can cause streaking or water spots.

Check your registration number
Avoid costly problems by checking a vehicle's history. Get a report instantly!
