No other car fault brings about as much frustration as a flat battery. Especially considering that these breakdowns tend to happen at the most inconvenient times – whether you’re rushing for a job interview, in the midst of a road trip, or after a long and challenging day at work. The timing is never right.
Fortunately, within this challenge lies an opportunity to turn this unexpected hiccup into a skill you can confidently master. Let’s explore the process of jump-starting a dead car battery.

Looking for a reliable car?
A well-maintained and undamaged car is the most reliable! Check any VIN code to make sure you're not buying a wreck:
How to use jumper cables to start a dead vehicle: step-by-step guide
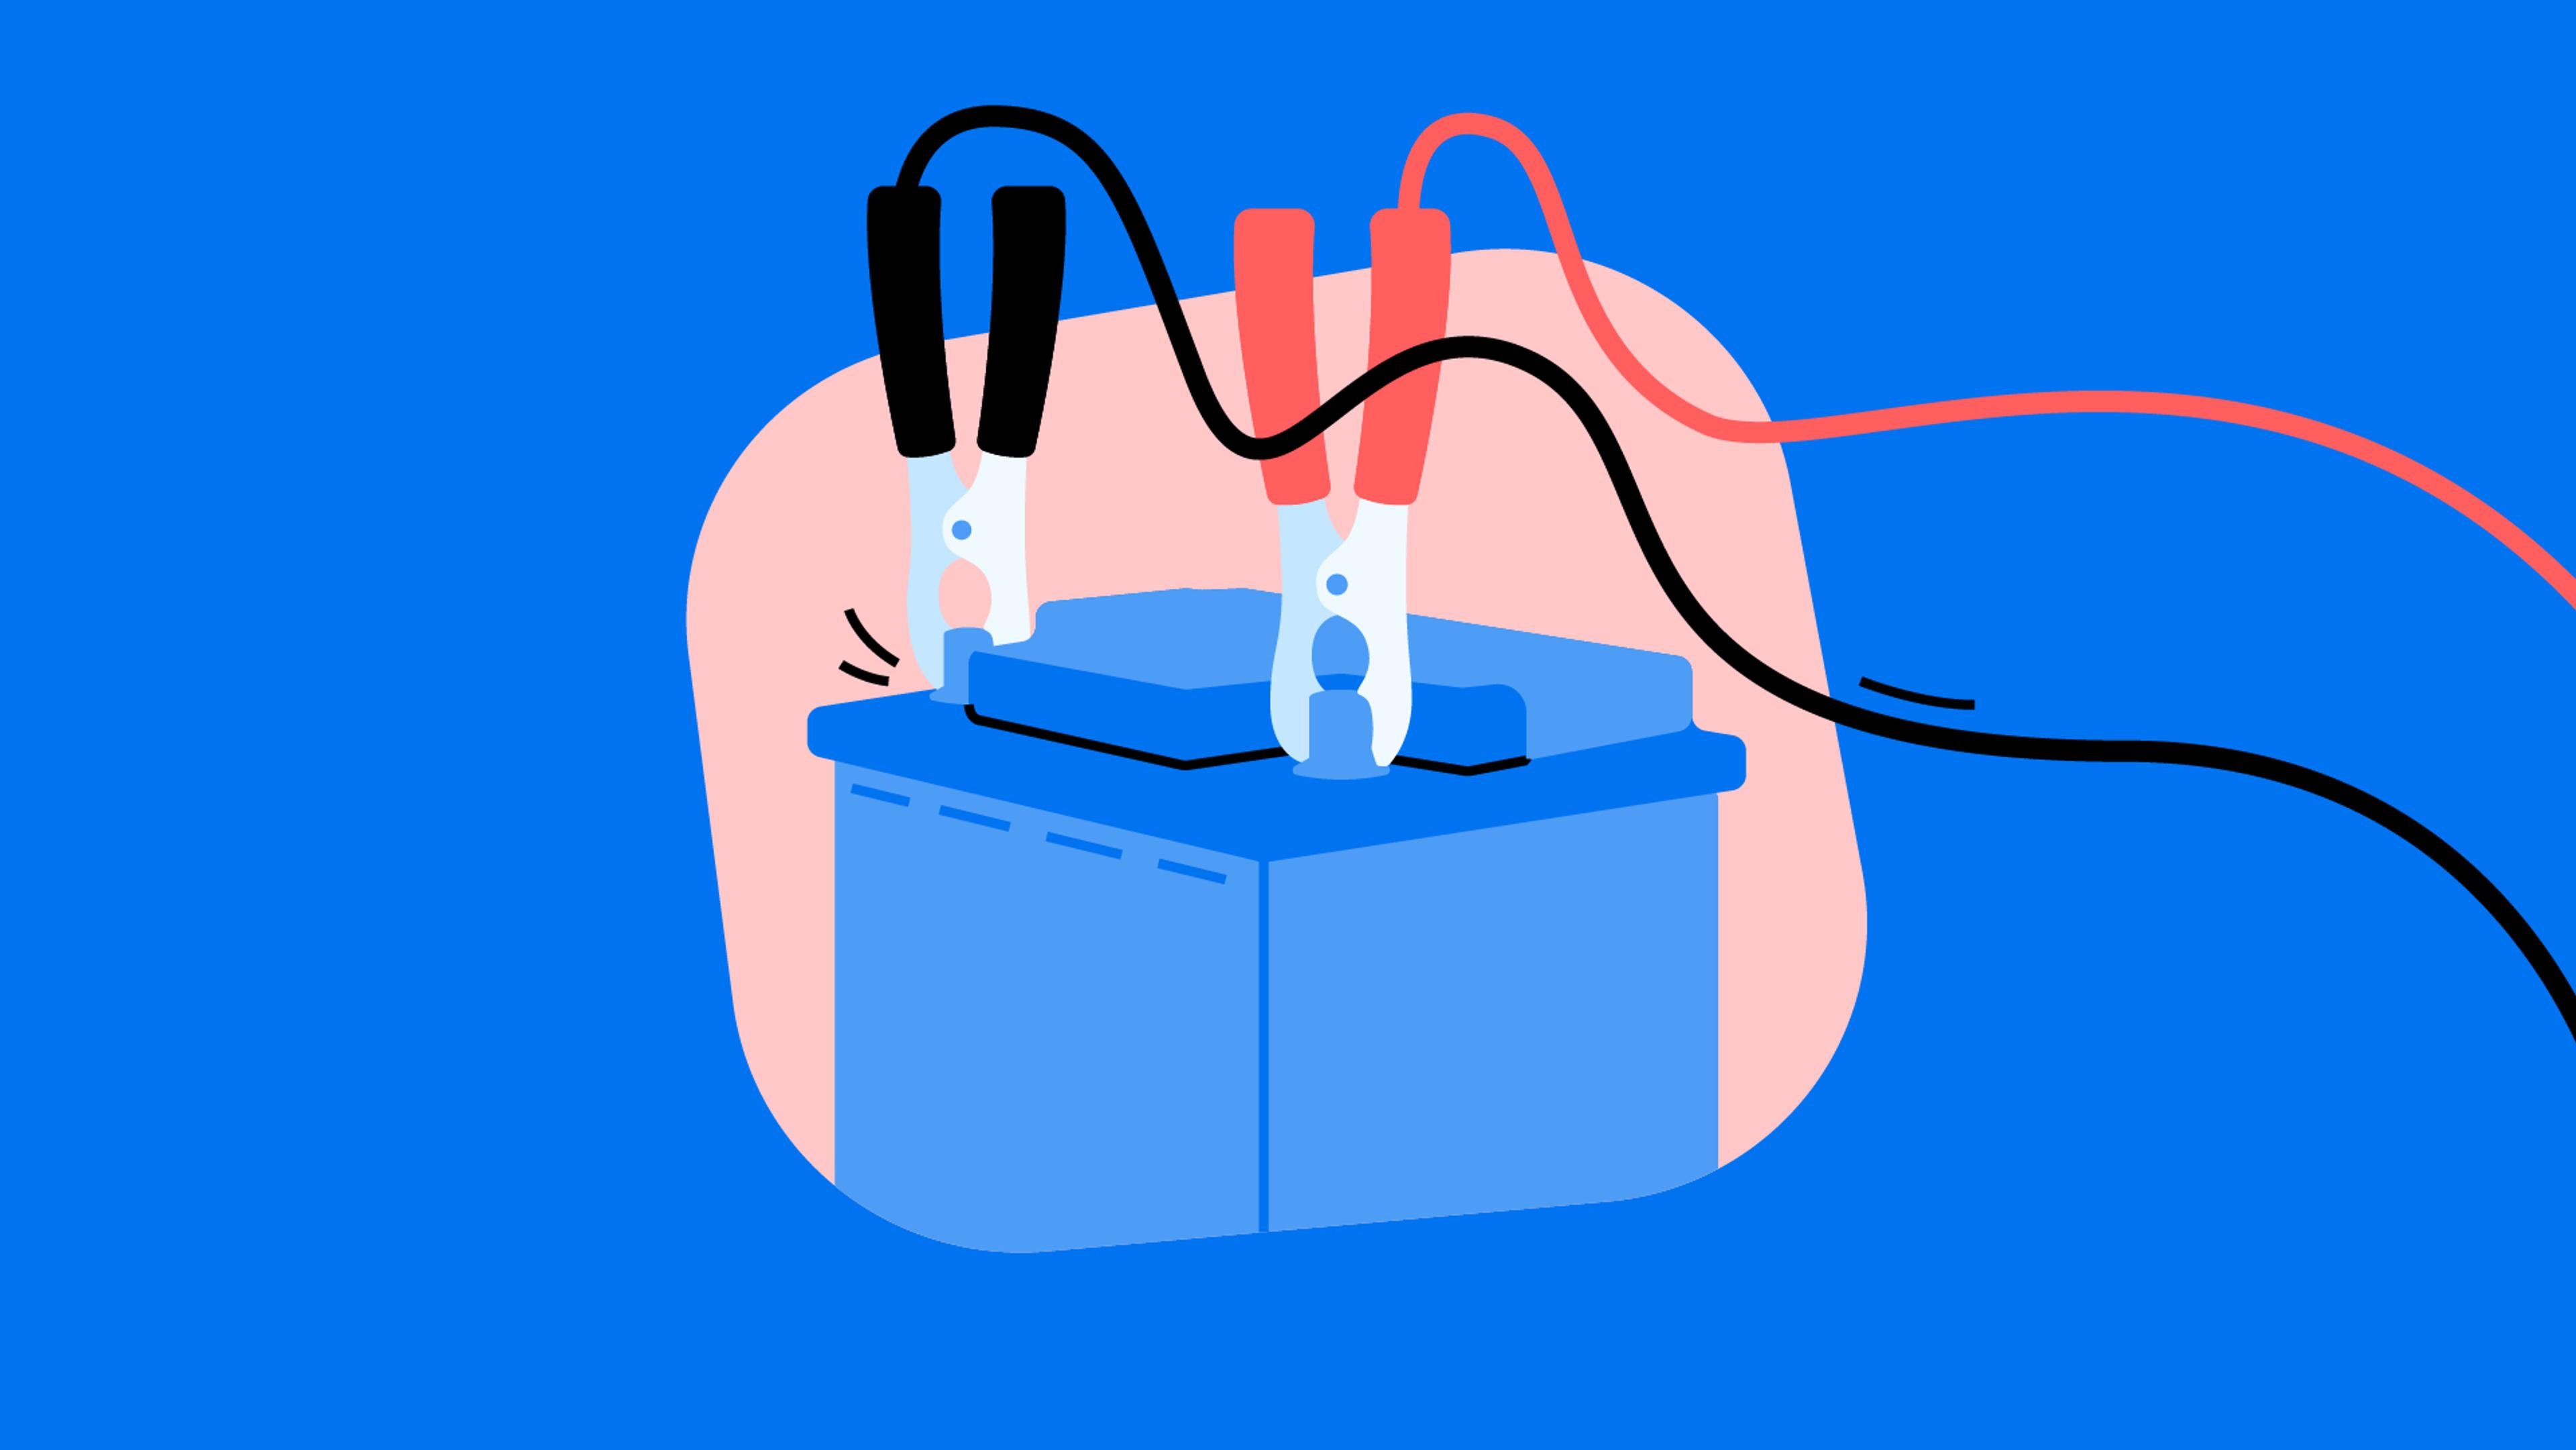
A dead battery jump start using jumper cables can be a lifesaver for your vehicle. In this step-by-step guide, we’ll walk you through the simple yet essential procedure to revive a dead car and get back on the road.
Step 1: Ensure safety
Before attempting a jump start, park your and the donor vehicle in close proximity without touching. Turn off the ignition in both cars and engage the parking brakes.
Step 2: Inspect the battery
Look for battery corrosion, cracks, leaks, or any other visible damage. If the battery appears to be in poor condition, reconsider jump-starting and seek professional assistance.
Step 3: Identify the positive and negative terminals
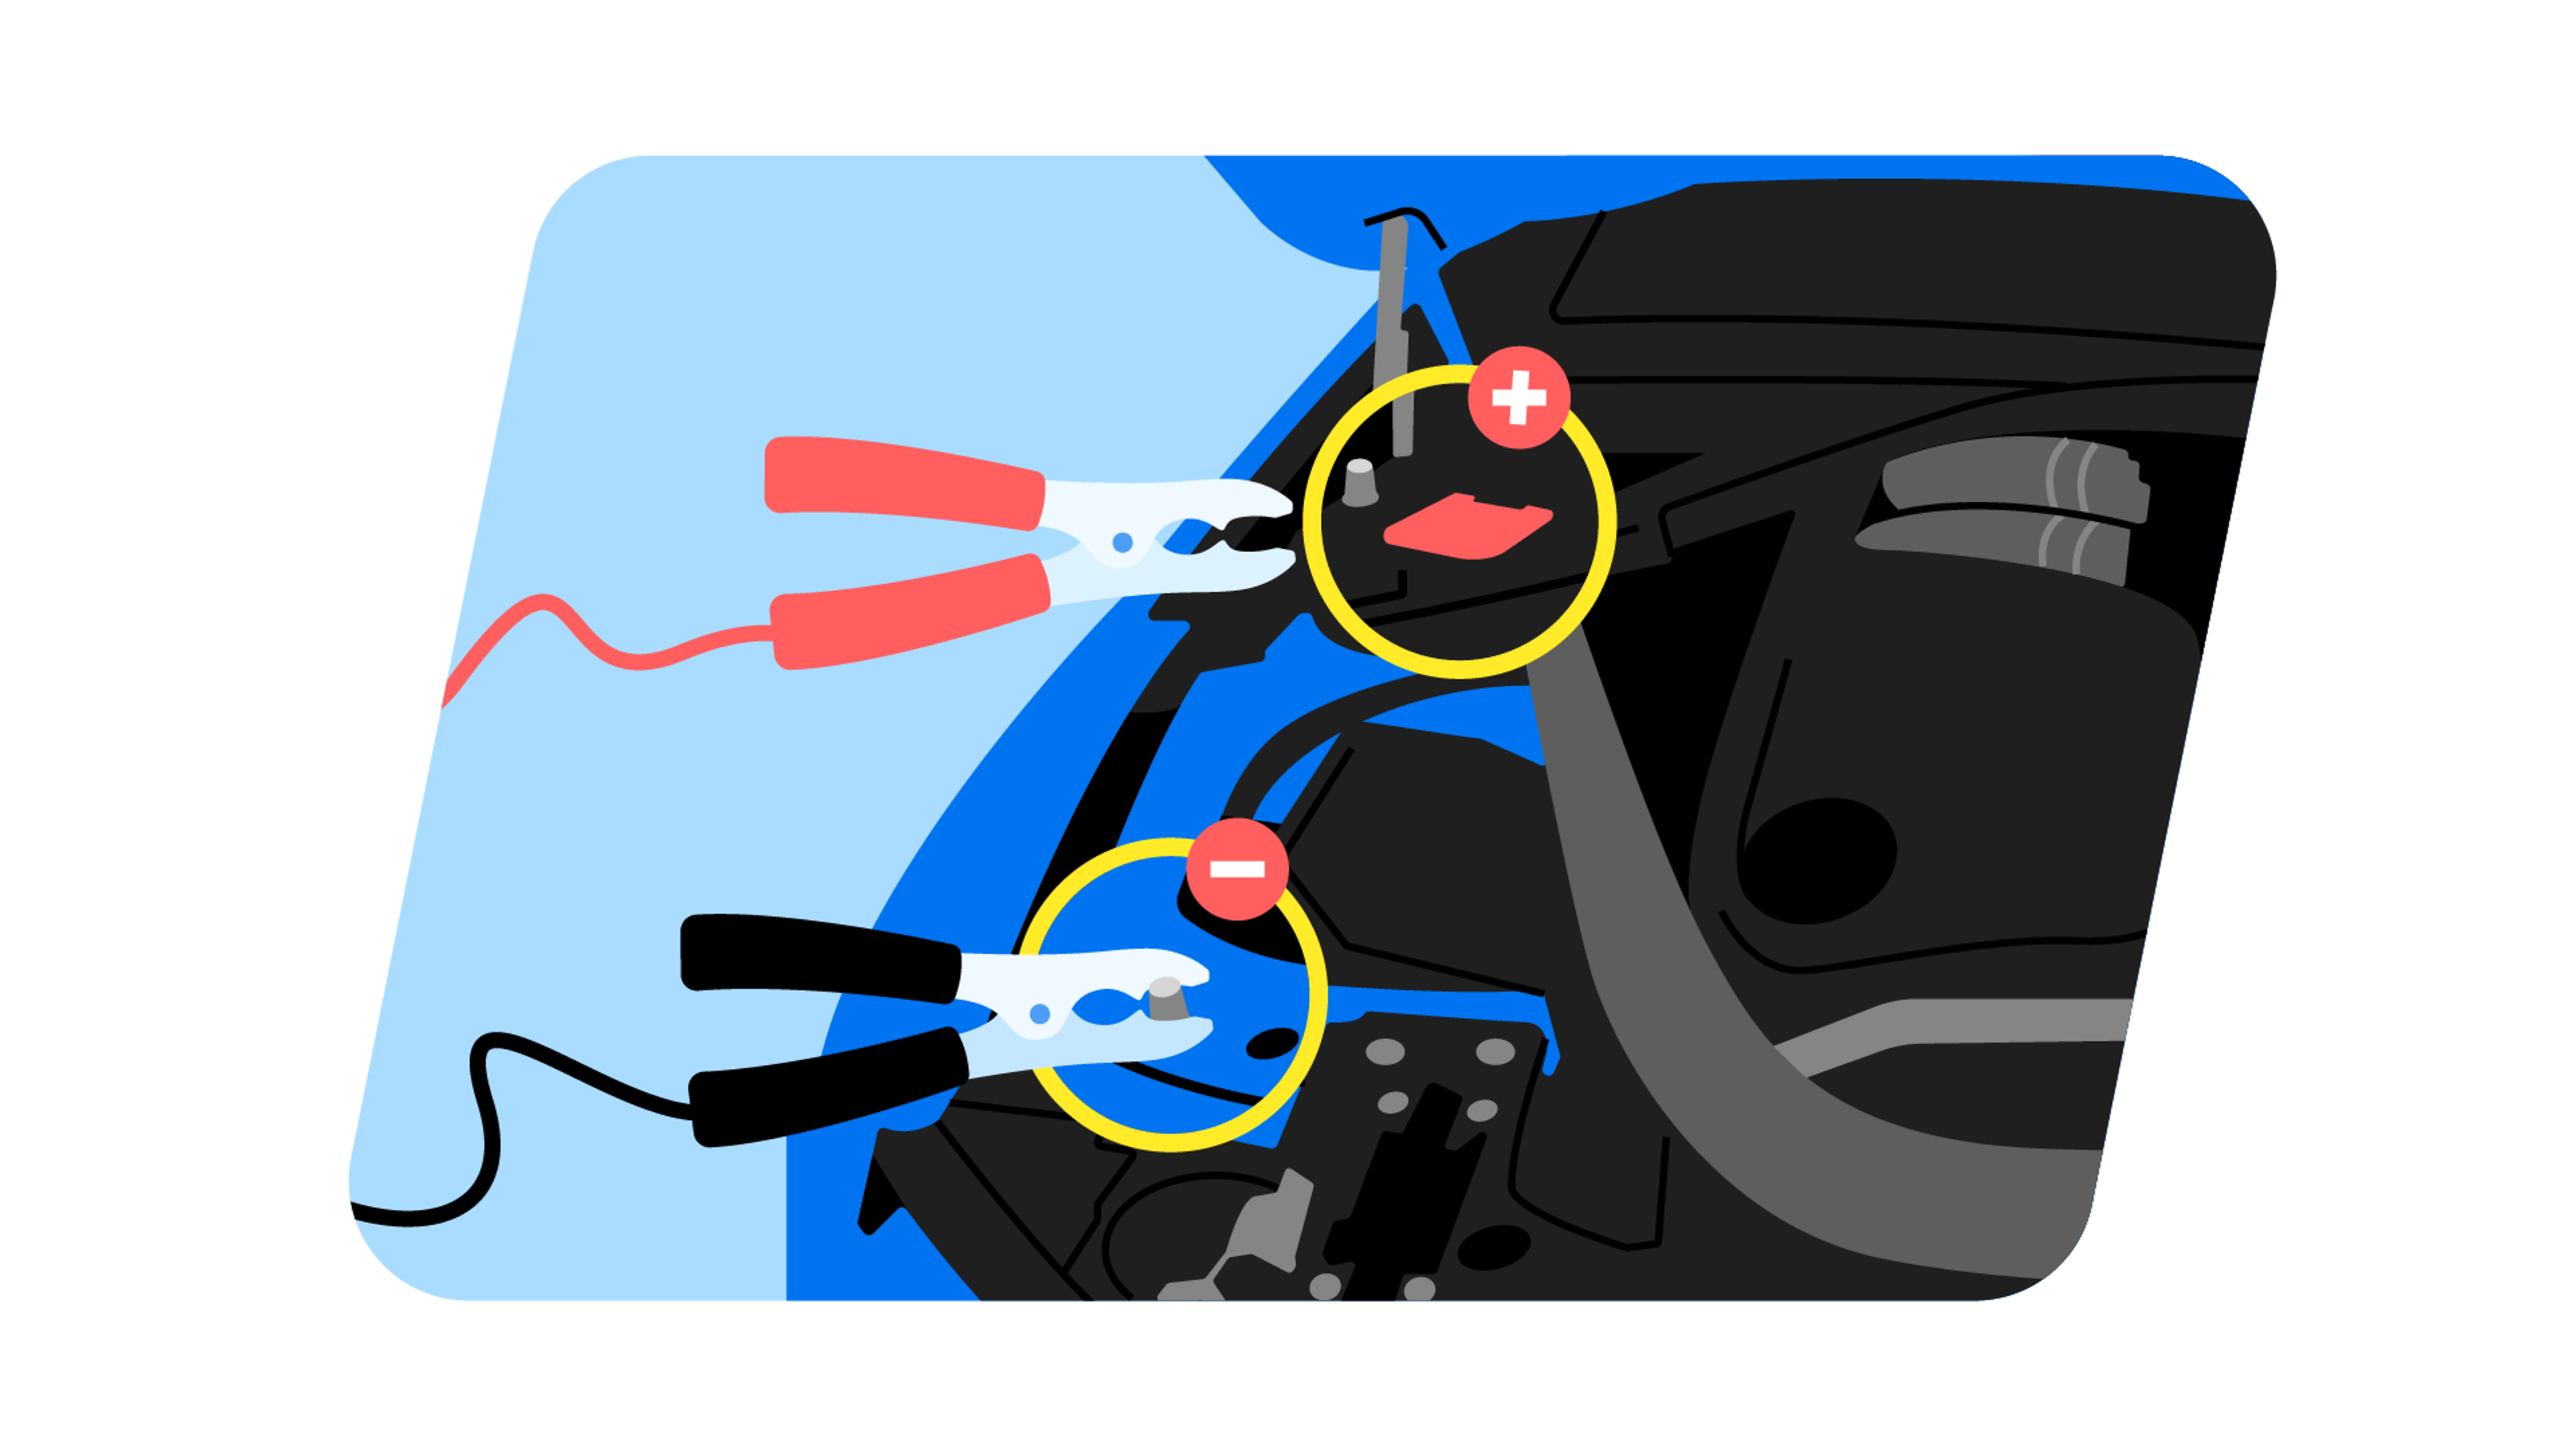
Identify the positive and negative terminals on the dead battery. The positive terminal is typically marked with a “+” sign and is often red, while the negative terminal is marked with a “-” sign and is usually black.

However, in newer cars equipped with intelligent battery sensors, the positive and negative terminals may be located elsewhere. Instead of connecting the other end of the jumper cables to the dead battery’s terminals, find two specific connecting points, which serve as a ground connection. This ensures a safe return pathway for the electrical current, minimizing the risk of sparks near the battery.
Typically, these connection points are easy to find. The positive terminal is often located behind red-colored plastic, featuring a distinctive “+” icon, while the negative terminal is an unpainted or black metal post that sticks out in the engine bay.
Different car manufacturers put negative terminals in different spots, so it’s a good idea to check the owner’s manual to find where it is exactly.
Step 4: Connect the jumper cables
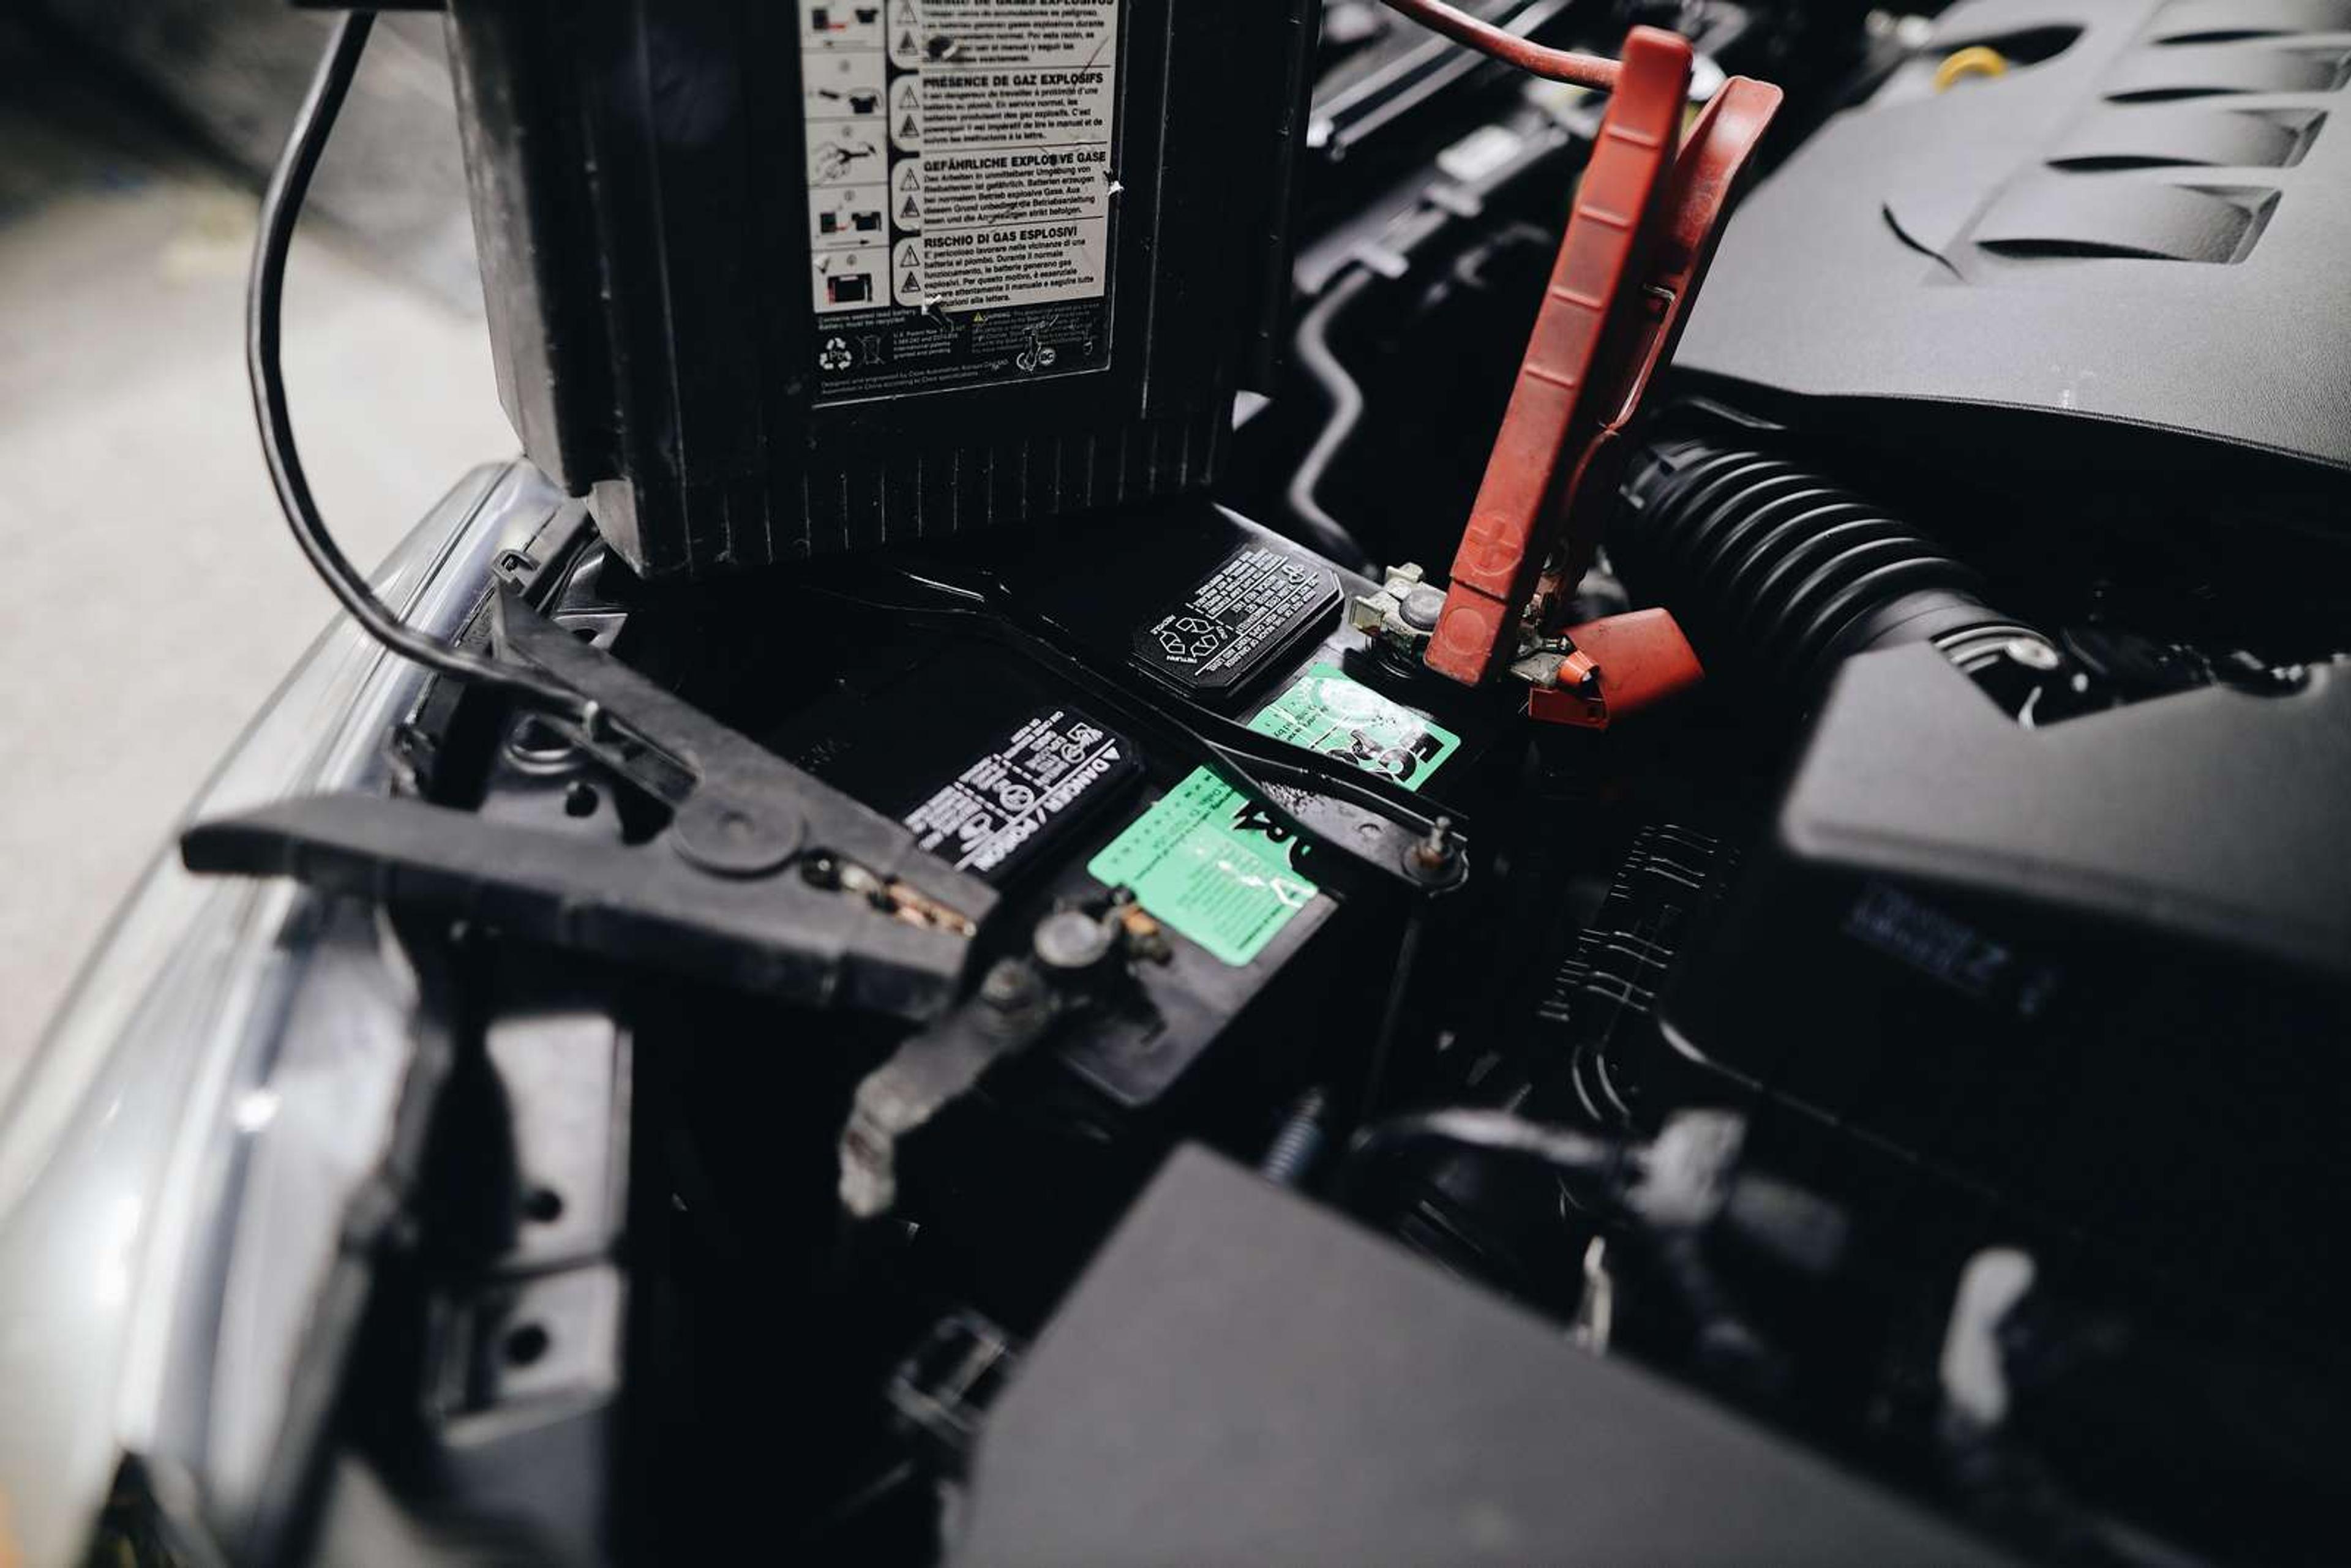
Start by connecting one red clamp to the positive terminal. Then, connect the other red clamp to the positive terminal of the booster vehicle. After that, connect one black clamp to the negative terminal of the booster vehicle. Finally, connect the last black clamp to your vehicle’s negative terminal.
Step 5: Start the booster vehicle
Start the engine of the vehicle with a good battery and let it run for a few minutes. This allows the dead battery to charge.
Step 6: Attempt to start the dead vehicle
Try to start the vehicle with a dead battery. If it doesn’t start, wait a few more minutes and try again. If the dead vehicle still doesn’t start, there might be other issues, and professional assistance may be necessary.
Step 7: Remove the jumper cables
Once the dead vehicle is running, carefully remove the jumper cables in the reverse order in which they were connected.
Step 8: Drive the revived vehicle
Keep the jump-started vehicle running for at least 15 minutes to allow the alternator to recharge the battery. Take it for a short drive to ensure the battery is adequately charged.
Recognizing signs of a dead car battery

From the sluggish cranking of the engine to the faint flickering of lights, these signals are the car’s way of communicating its energy needs:
- Clicking sound when turning the key. A rapid clicking noise when attempting to start the car suggests the battery may not have enough charge to engage the starter.
- Interior lights and electronics malfunction. Dimming interior lights, flickering dashboard lights, sluggish operation of power windows, or erratic behavior of electronic components can indicate a weakening battery.
- Check engine light. While a check engine light can signal various issues, it may illuminate due to a struggling battery affecting the car’s electrical systems.
- Corroded battery terminals. If you see a powdery or crusty buildup around the battery connections, it’s a sign of corrosion. This can block the flow of electricity, causing connection issues.
- Dashboard battery indicator. The appearance of a battery-shaped symbol on your dashboard signals potential issues with the charging system. This light may suggest a failing battery, a faulty alternator, or a problem within the electrical system.
Choosing the right tools

Every vehicle owner should master at least three essential tasks: refilling windshield cleaning fluid, changing a tire, and reviving a dead car battery. Armed with the right tools, the latter will become a breeze.
Jumper cables
Jumper cables are the classic troubleshooter. It remains a steadfast solution when a boost from another vehicle is available. Thanks to insulated cables with metal clamps on each end, they establish a direct connection between the two batteries.
Car jump starter
A car jump starter is your go-to companion in the face of a stubbornly silent engine. It’s a portable power pack equipped with a rechargeable battery, which is designed to jump-start your vehicle without the need for another car.
Battery booster
A battery booster encompasses tools designed not just for the urgent revival of a dead battery but also for the long-term health and maintenance of your vehicle’s power source. It can include trickle chargers and battery maintainers.
Checking the car alternator and battery life after a jump-start
After jump-starting your vehicle, it’s important to wait a few minutes and inspect the dashboard for any new or additional warning lights. This quick check can help you ensure that the jump-start was successful and that there are no new issues.
If you have a suspicion that your car alternator is dying, listen for any unusual noises to identify its unusual behavior, such as grinding or whining. They may indicate a problem with the alternator. Additionally, you can inspect the alternator belt for any signs of wear or damage, as a damaged belt can impact the alternator’s performance.
A simple color ball indicator is a convenient way to assess your standard lead-acid car battery’s status: green signifies sufficient charge, a dark indicator suggests a charge below 60%, and a clear indicator signals low electrolyte levels, indicating the need for a new battery.
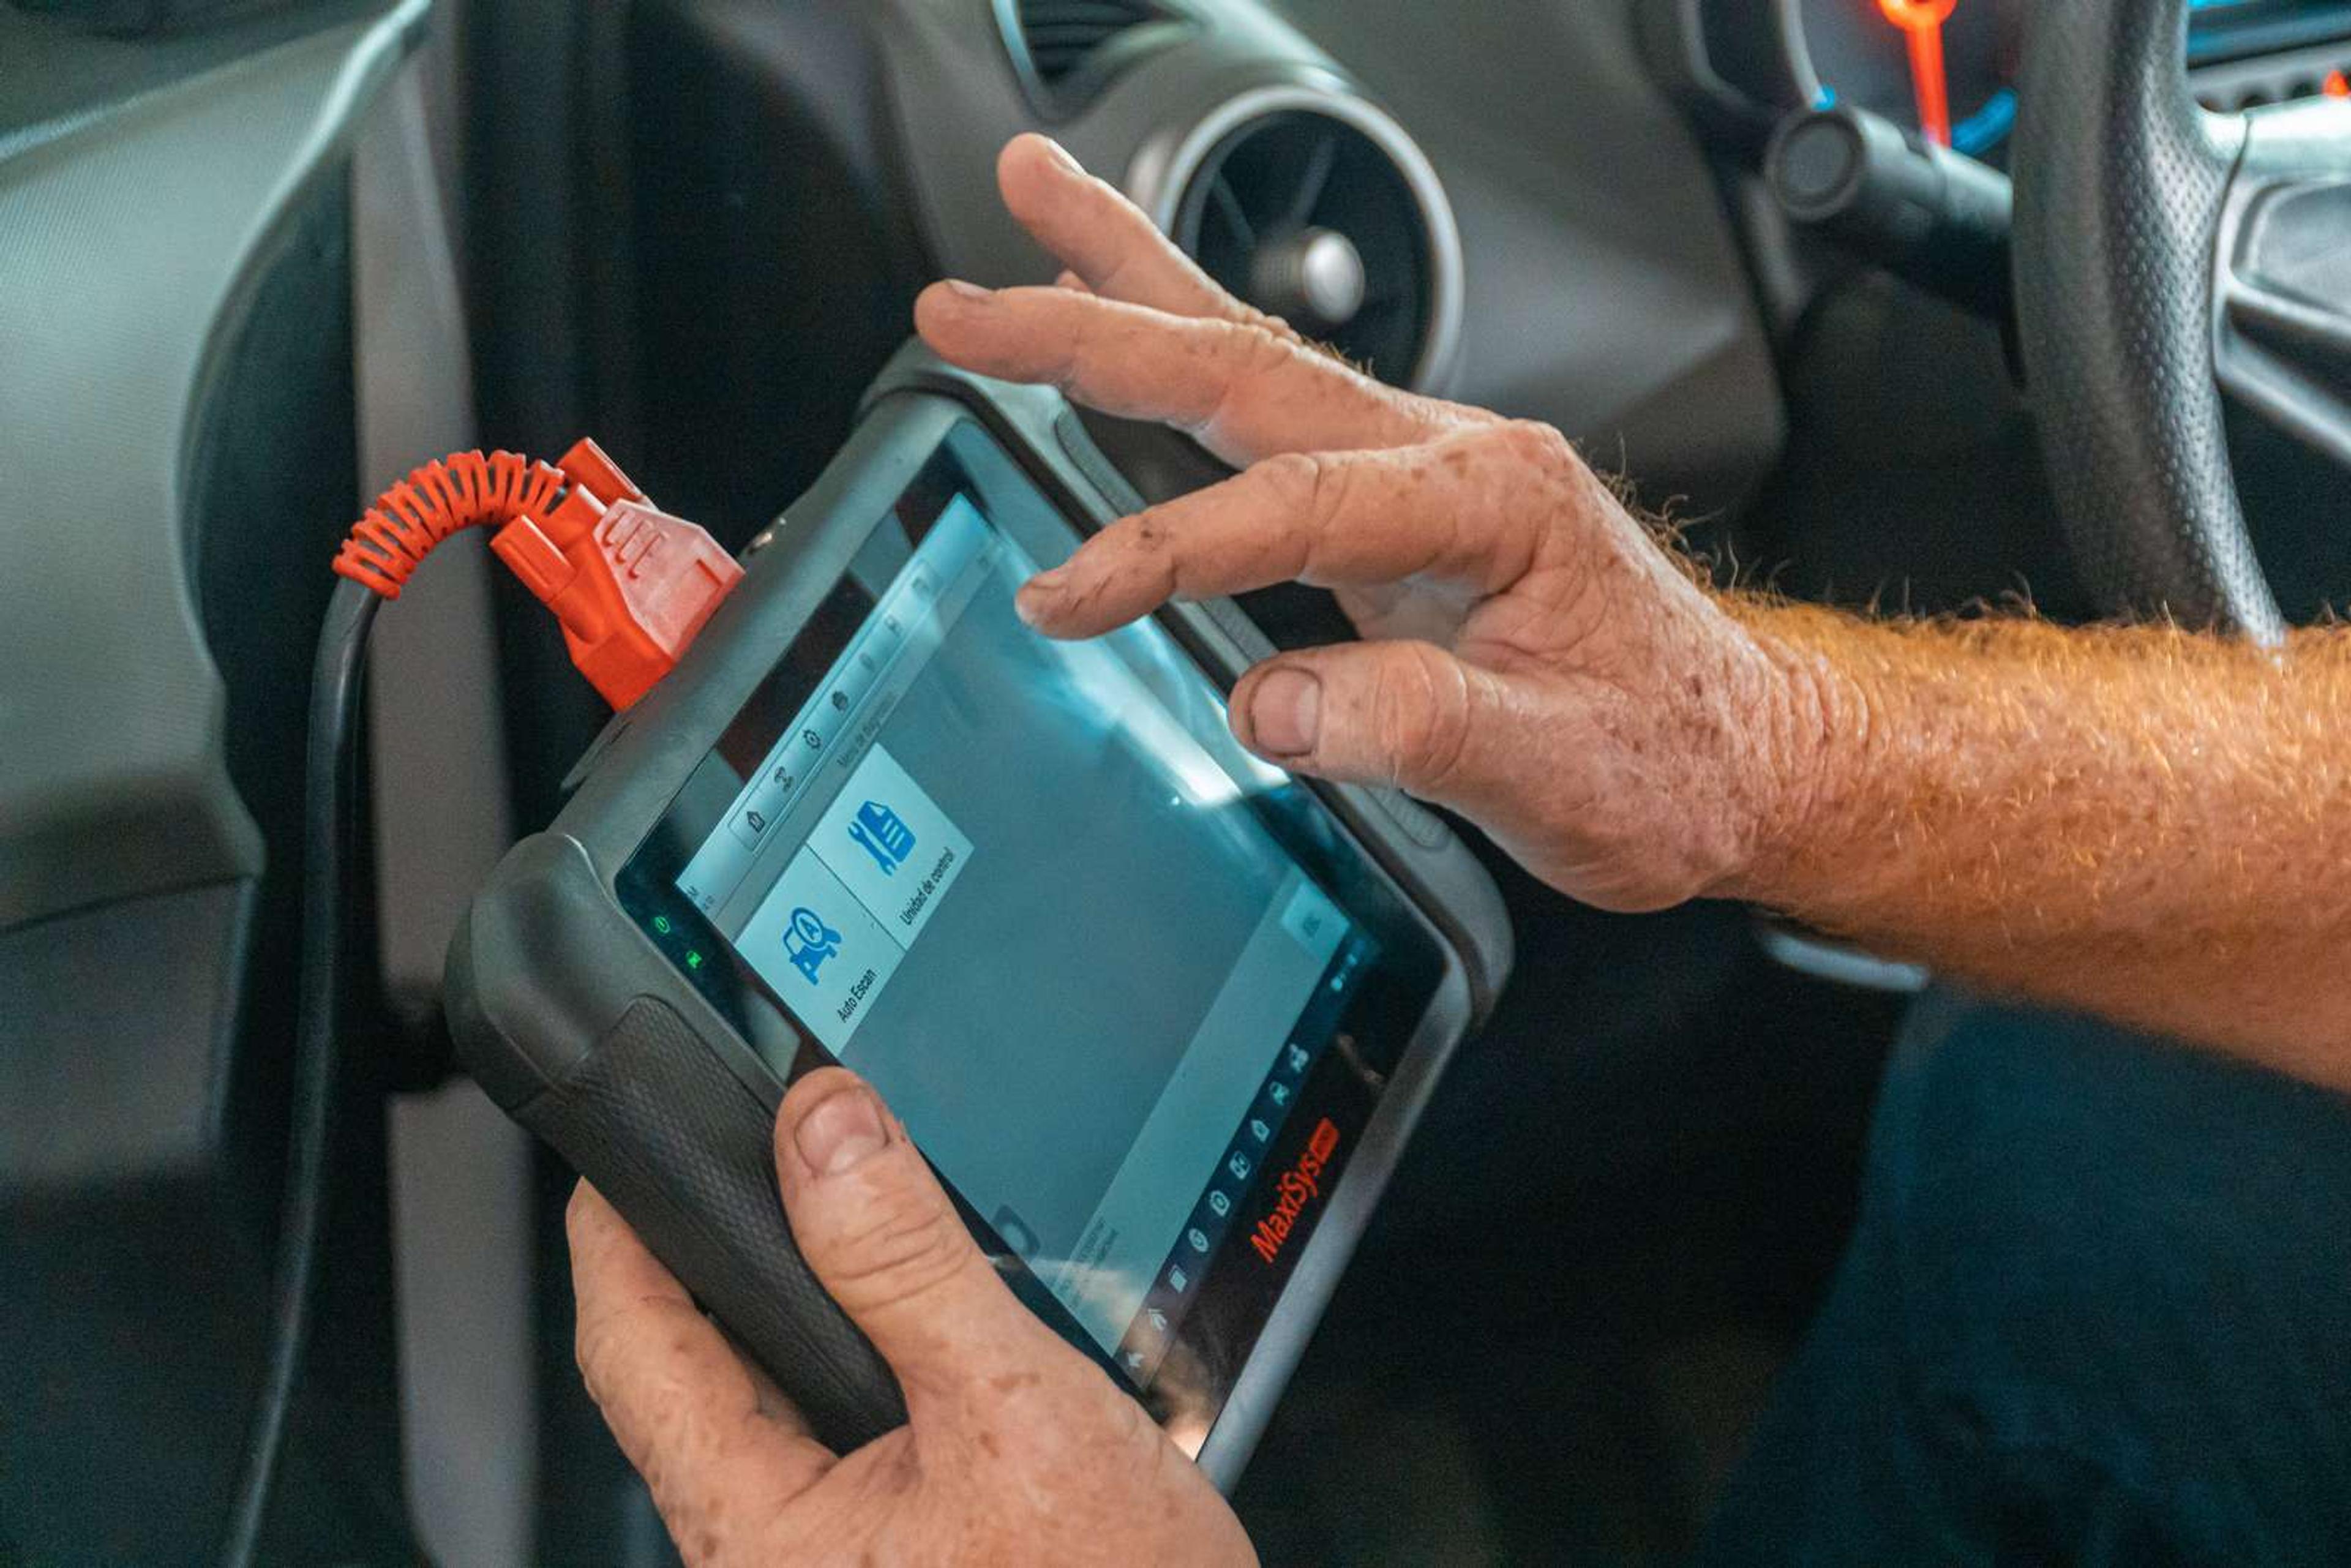
However, for AGM or EGM battery health, rely on a multimeter for voltage measurement or connect to the vehicle’s computer using diagnostic tools for accurate battery voltage readings.
Tips and tricks on how to keep your car battery healthy

Your car’s battery is the silent powerhouse that keeps your wheels rolling smoothly and your music blasting on long drives. However, neglecting its maintenance can quickly lead to unexpected breakdowns and inconvenient delays.
To keep your battery in top-notch condition, follow these simple yet effective tips and tricks.
Keep the battery terminals clean
By keeping your car’s battery terminals clean, you will ensure seamless communication between the battery and the vehicle’s electrical systems.
Here’s how to do it:
- Disconnect the battery terminals – start with the negative terminal (black) and follow with the positive (red).
- Use white vinegar, lemon juice, or baking soda to clean your battery terminals.
- Scrub the positive and negative terminals and cable ends with a wire or toothbrush.
- Clean and dry battery terminals with a damp cloth.
- Reconnect the terminals, starting with the positive (red), followed by the negative (black).
Buy a battery charger for prolonged inactivity
Investing in a quality battery charger for prolonged periods of inactivity is like giving your car’s power source a personalized fitness regimen – it ensures the battery stays in optimal shape even during extended periods of rest.
Check the battery’s health life before the cold weather starts
As the temperature drops, the strain on your car’s battery increases, making it essential to assess its health before the cold weather sets in. You can do so by using a simple color ball indicator, multimeter, or just by taking your vehicle to a trusted mechanic.
If you find yourself using your car less frequently in winter, consider taking it out for a spin every now and then for 10 or 20 miles. This practice can assist the alternator in recharging your car’s battery, ensuring it remains in top-notch condition when you need it the most.
Check the battery manufacturing date before buying a used car
If you’re considering purchasing a used car with features like heated seats or adaptive cruise control, ensure these perks are in optimal working order. Furthermore, take a step further and check the battery’s manufacturing date or request evidence of when the battery was replaced.
If the battery is a few years old or if the owner can’t tell when it was replaced, anticipate a potentially costlier battery replacement. Many modern cars demand more expensive AGM type batteries and additional visit to the workshop, where diagnostic tools are used to register and reset the battery management system.
The battery replacement history might seem like a small detail, but it can be the tip of the iceberg. An old or non-compliant battery could signal that the car seller might be hiding more concerning aspects of its history. To get a clearer picture, consider using the VIN number to acquire a detailed vehicle history report. This extra step can reveal any hidden issues, making it easier for you to make an informed decision about the car’s overall condition.

Check your VIN
Avoid costly problems by checking a vehicle's history. Get a report instantly!
Frequently asked questions

Article by
Aivaras Grigelevičius
Aivaras has been excited about cars since he was a little kid. Later, this passion for drivable objects (and everything that surrounds them) grew into work as an automotive journalist. Since then, Aivaras has written for several different magazines, covering anything with an accelerator pedal. He has a soft spot for cars with an Alfa Romeo badge.
