
Tires can go flat when we least expect it, leaving us stranded on the side of the road. It’s a challenge many drivers have faced, so learning how to change a flat tire is essential and can save you a lot of hassle.
In this guide, we’ll walk you through the step-by-step process of changing a flat tire, the necessary tools, and safety precautions, ensuring you can do it confidently and efficiently if it happens to you.

Afraid of buying a wreck?
Check any VIN to learn a vehicle's history!
Why change a flat tire by yourself?
Sharp debris or unexpected potholes are some common reasons for getting a flat tire. Although such a situation is already unfortunate, it can become even worse if it turns into a long and frustrating wait for road assistance.
Fortunately, you can take matters into your own hands, which can be beneficial for several reasons:
- Cost-efficiency. It’s probably one of the most convincing reasons to do it because DIY tire change saves you money.
- Time-saving. Waiting for assistance can be time-consuming, especially in remote areas. Being able to change the tire by yourself will get you back on the road much faster.
- It’s practical. Learning to change a tire is a practical life skill that can prove valuable in sudden emergencies.
Safety tips to follow when changing a flat tire

Car maintenance tasks can be easy and stress-free if you stick to additional safety precautions. Changing a flat tire is no exception.
If you noticed that your tire needs replacement and decided to do it yourself, follow these tips to ensure your safety while doing it:
- Pull over safely. Avoid sudden movements when your tire pressure monitoring system alerts you to a flat tire. Drive your vehicle to a flat and straight section of road. If available, aim for a wide emergency lane to ensure sufficient space between your car and passing traffic.
- Place a reflective triangle. Place a reflective triangle behind your vehicle to warn oncoming traffic about an emergency stop. This safety measure is particularly important in low-visibility weather conditions.
- Use wheel chocks. When changing a tire on a slope or incline is inevitable, use wheel chocks or find large rocks or bricks to block the wheels with properly inflated tires.
- Inform someone. Keep loved ones informed about your situation, and if needed, share your location for added safety.
Tools you need to change a tire: from lug wrench to breaker bar
Before starting, ensure you have the necessary tools within reach. The essential trio consists of a car jack, a lug wrench, and, of course, a spare tire. Car jacks and lug wrenches typically come standard with all vehicles unless a previous owner removed them from the trunk.
Securing a spare tire can be a bit more challenging if you drive a modern car. Nowadays, it’s often an optional extra, and some manufacturers don’t include it to use the trunk’s floor space for batteries or subwoofers.
If your car lacks a spare tire, consider buying a flat tire repair kit. These kits can help temporarily seal tire damage, enabling you to reach the nearest tire workshop for a permanent solution.
Other beneficial add-ons
In addition to the main tools for changing a flat tire, a few extra items can significantly improve the flow of the whole process.
First and foremost, consider investing in a pair of gloves to protect your hands from dirt and grime.
A reliable flashlight is another invaluable asset, especially during nighttime emergencies or in poorly lit areas.
Furthermore, it’s recommended to have a high-quality breaker bar. This tool helps loosen tight nuts on the wheel, eliminating the need for excessive physical strength and ensuring a smoother tire-changing experience.
How to change a flat tire on a car: a step-by-step guide
While the tire-changing process might seem intimidating, fear not. Gather all the necessary tools, put on your gloves, and follow the changing tire steps.
1. Loosen lug nuts
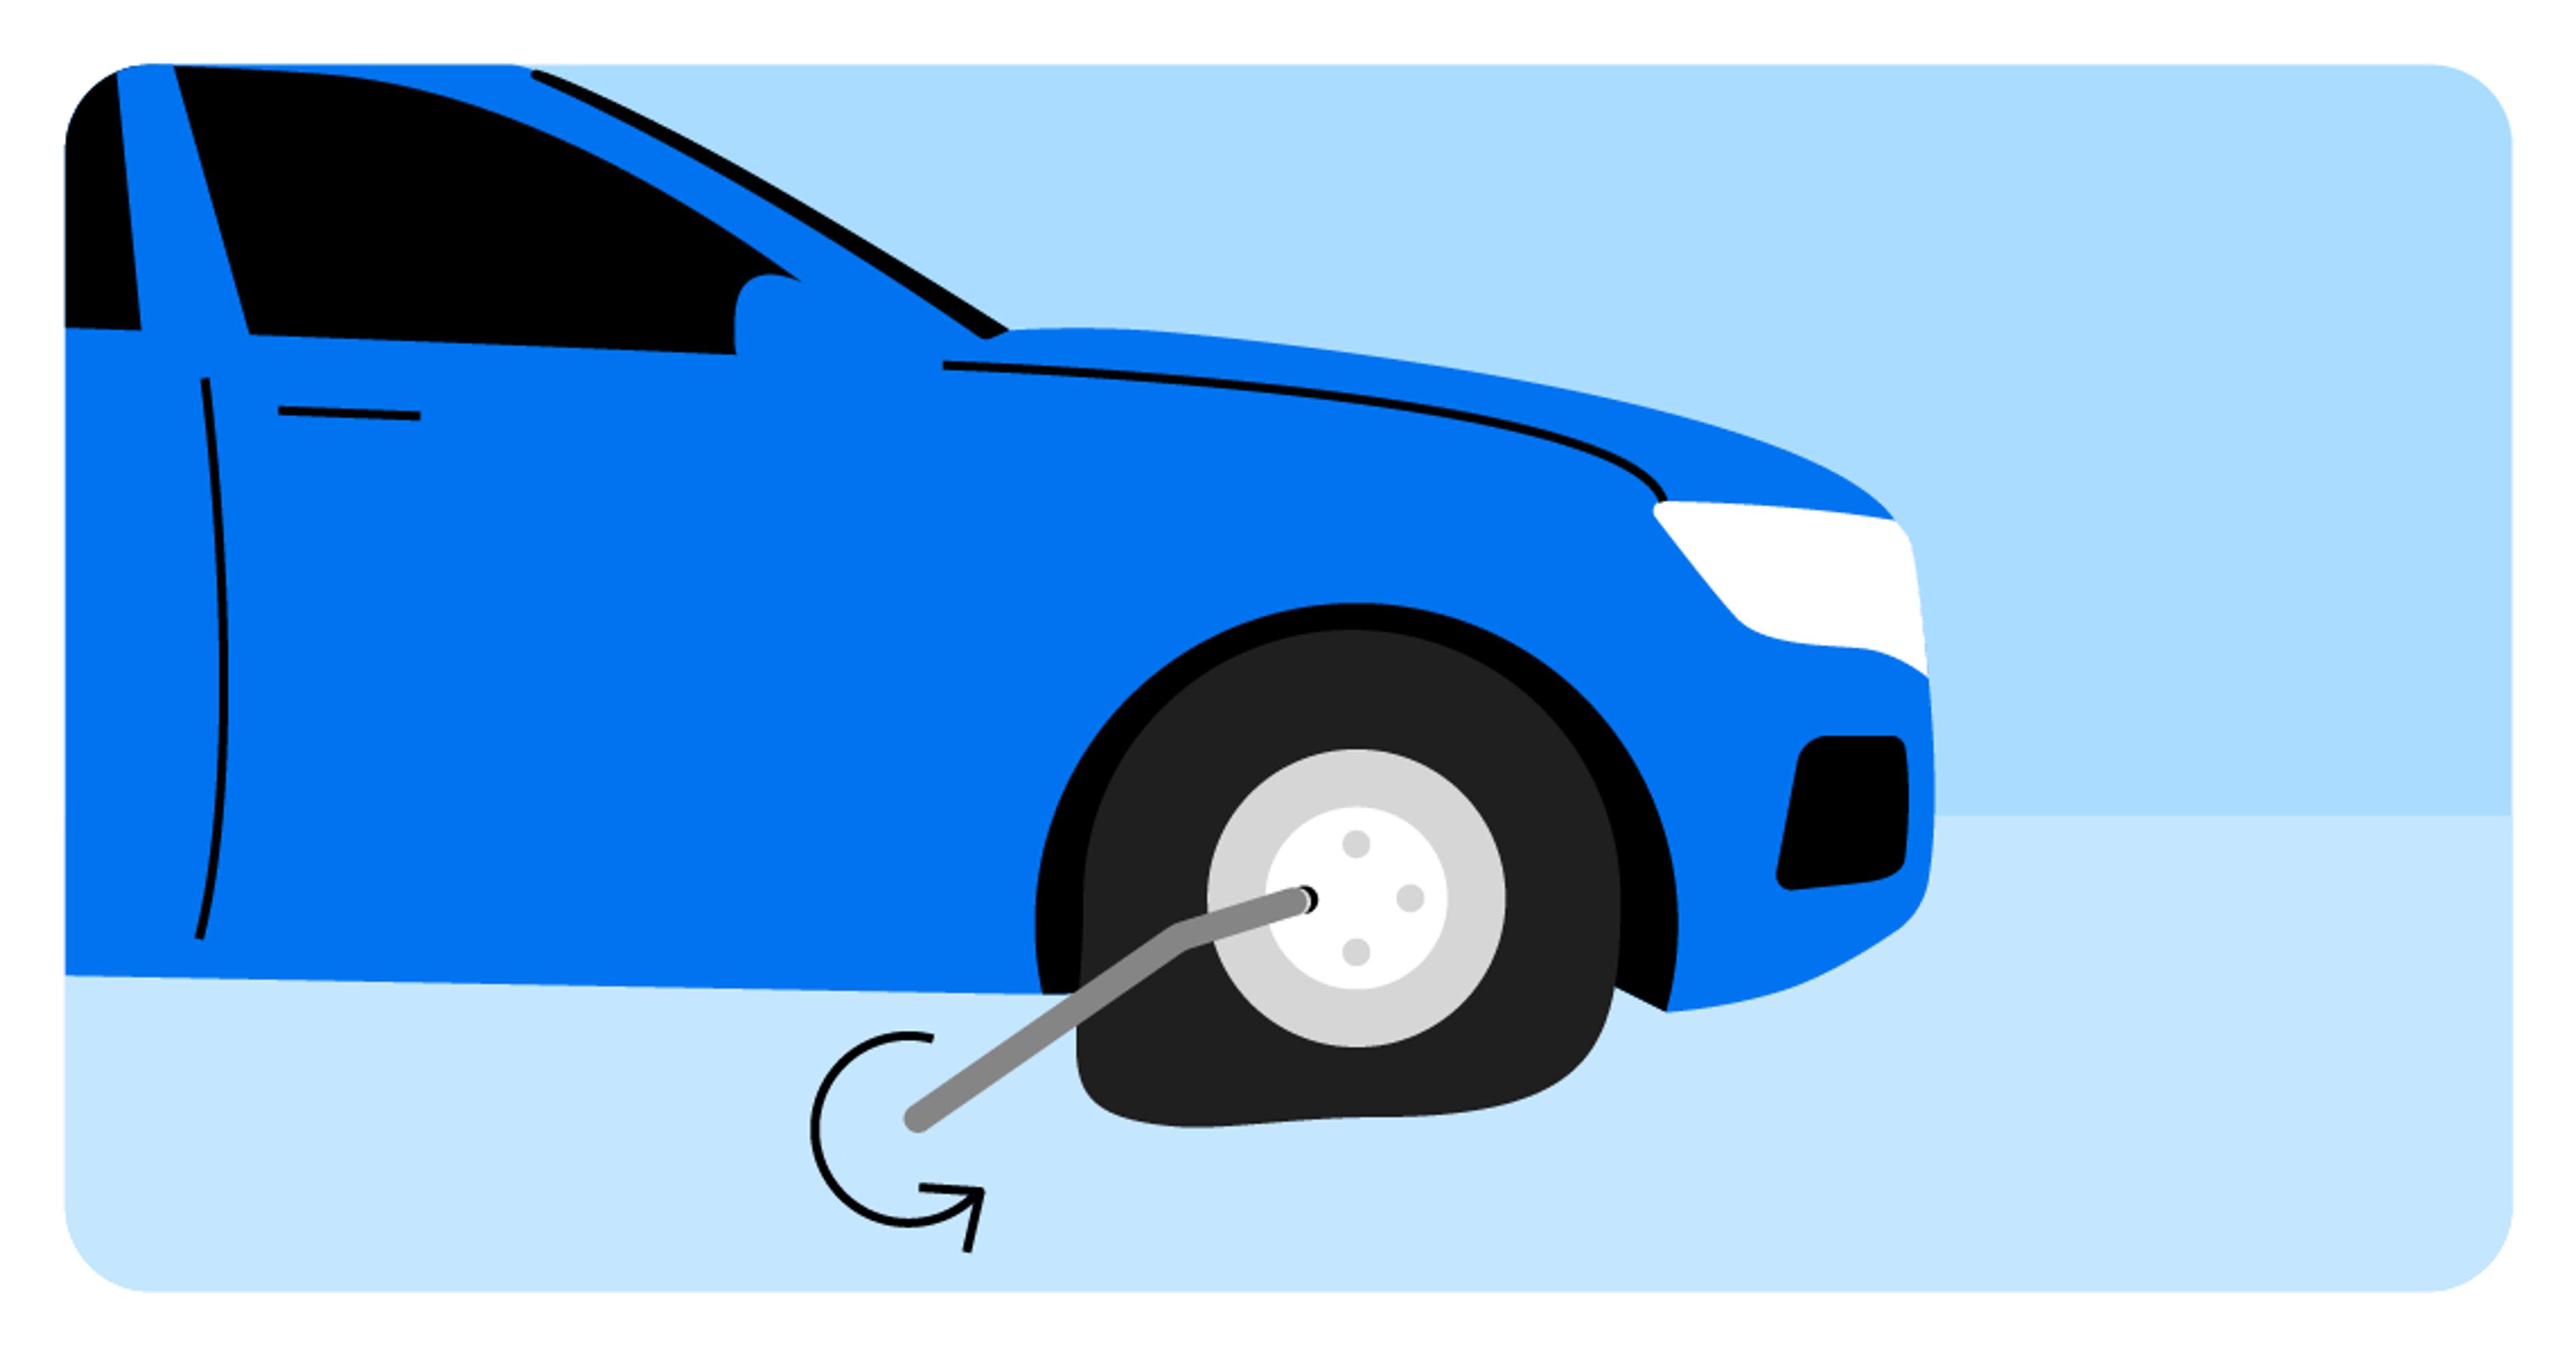
To start replacing the tire, slightly loosen the lug nuts on the flat tire using a breaker bar and/or lug wrench. Turn each lug nut counterclockwise. Loosening the nuts at this stage makes the subsequent removal much more manageable.
2. Lift the vehicle
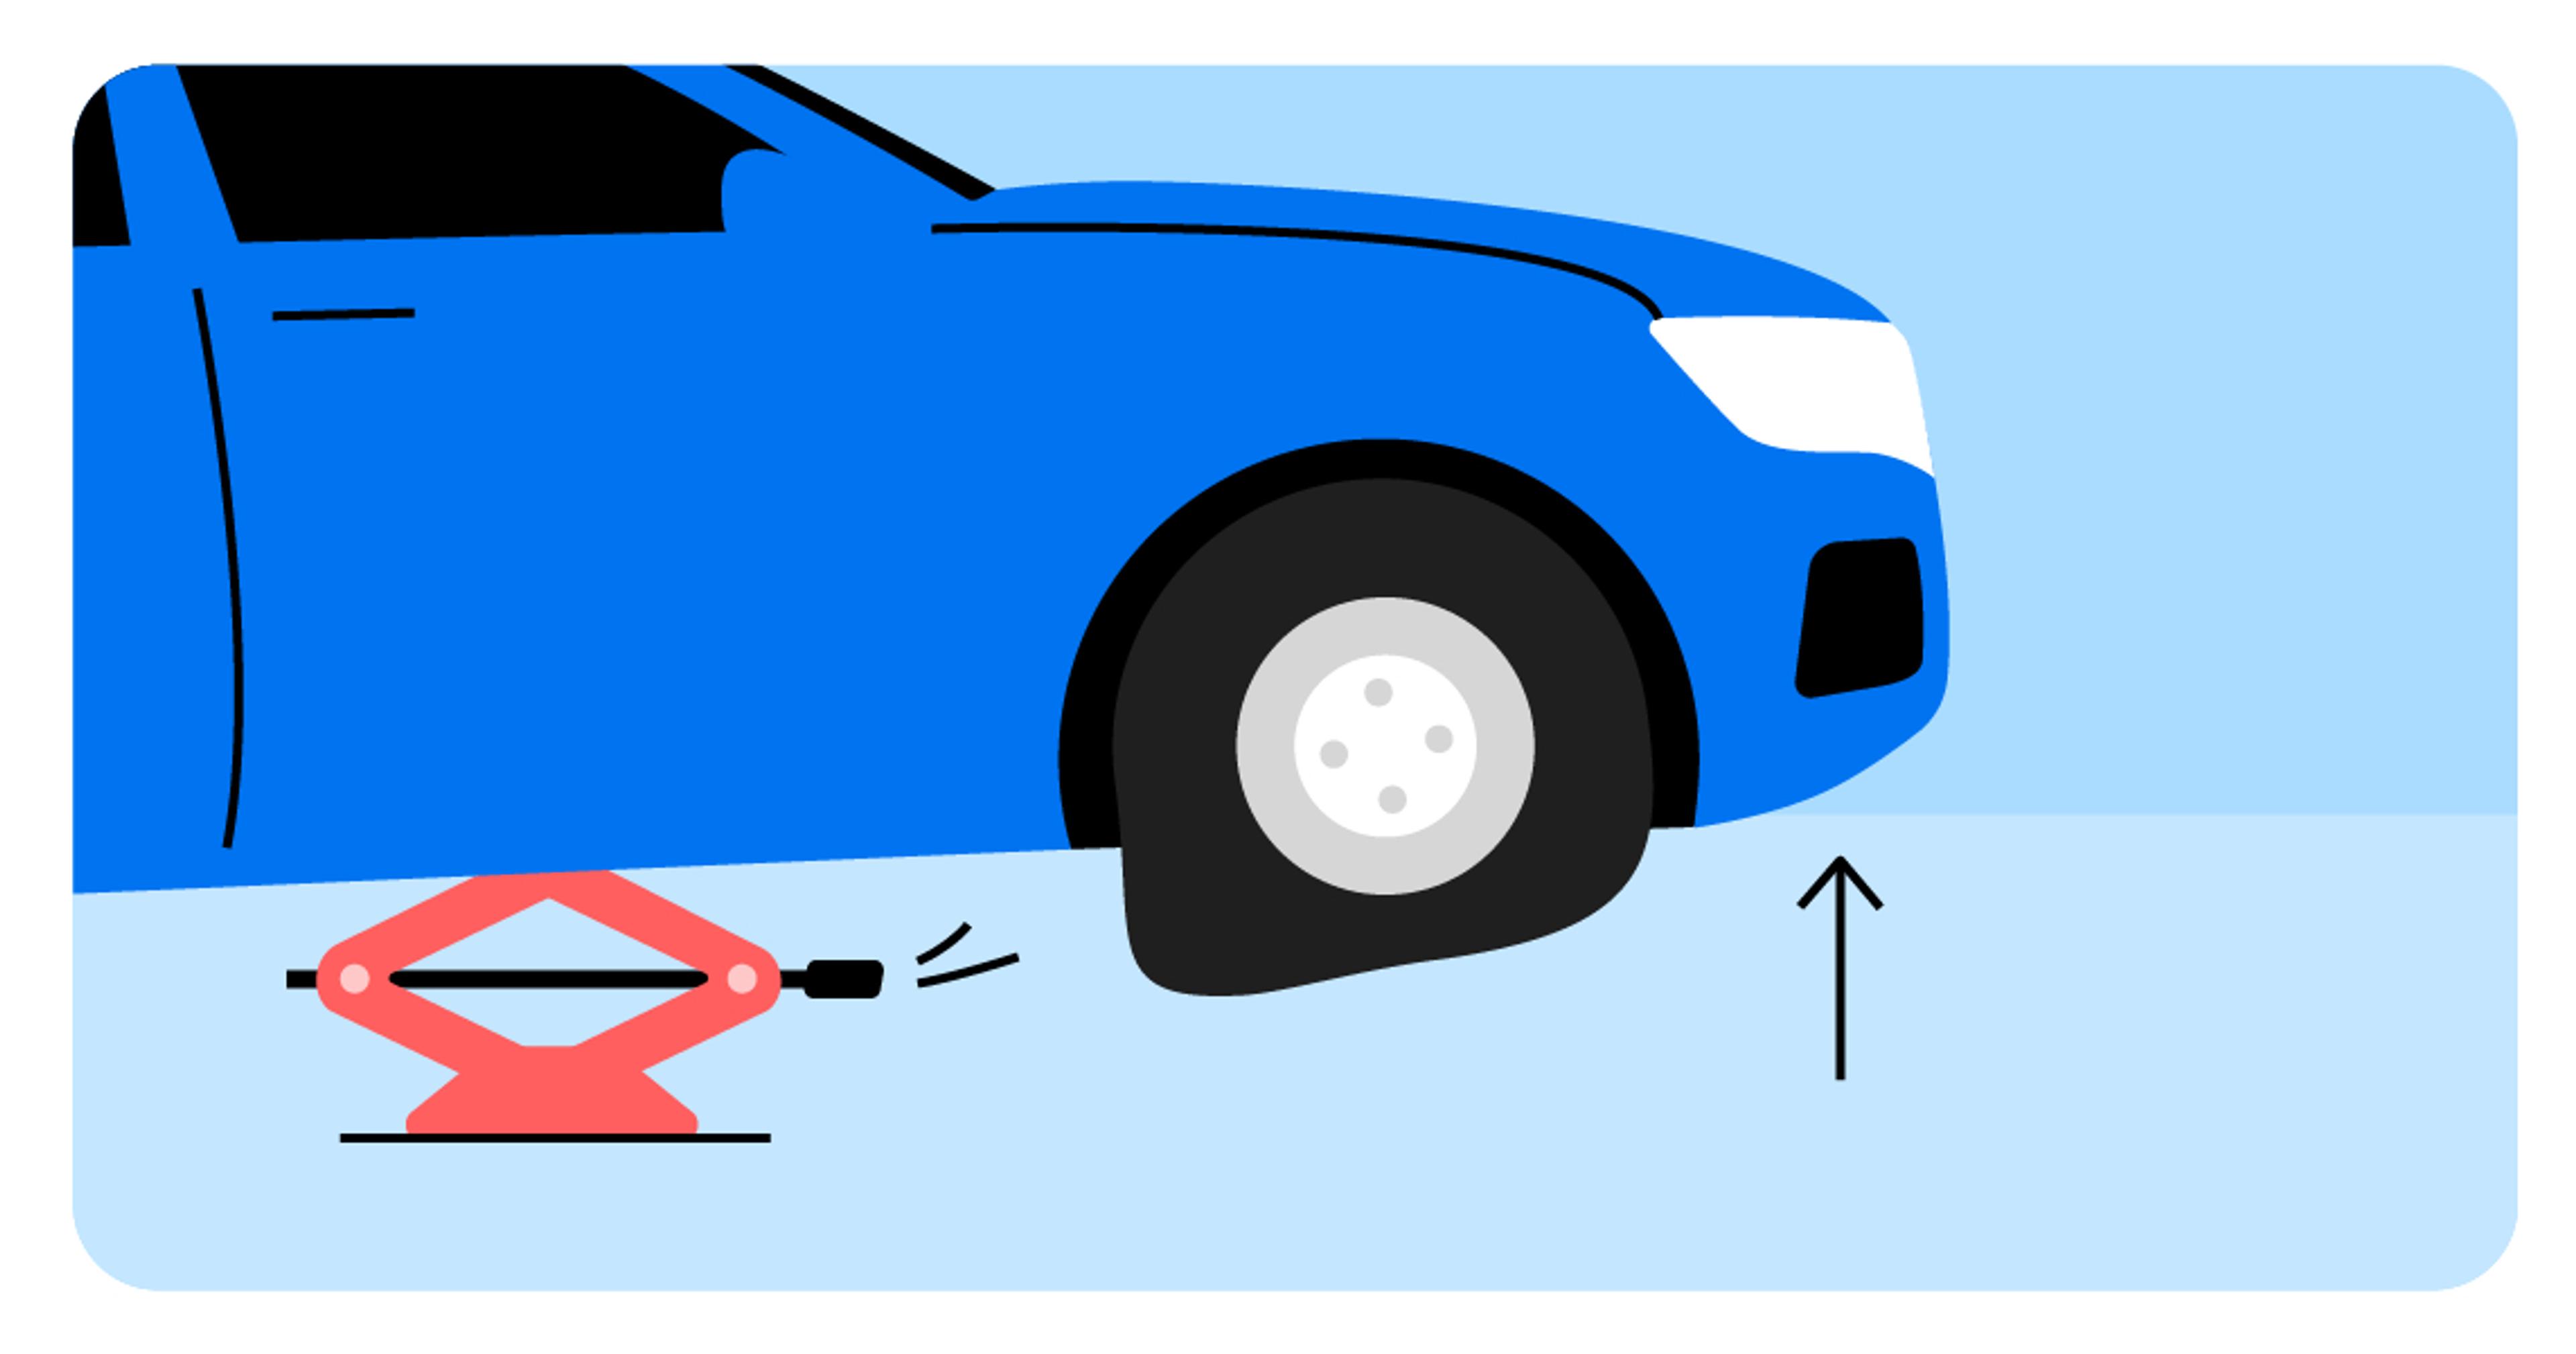
The next step involves lifting the vehicle using the car jack. Place the jack beneath the vehicle frame, ensuring a secure fit. Gently pump the handle of the jack until the flat tire is just above the ground. This elevated position allows for easier removal and replacement of the tire.
3. Remove the lug nuts and tire
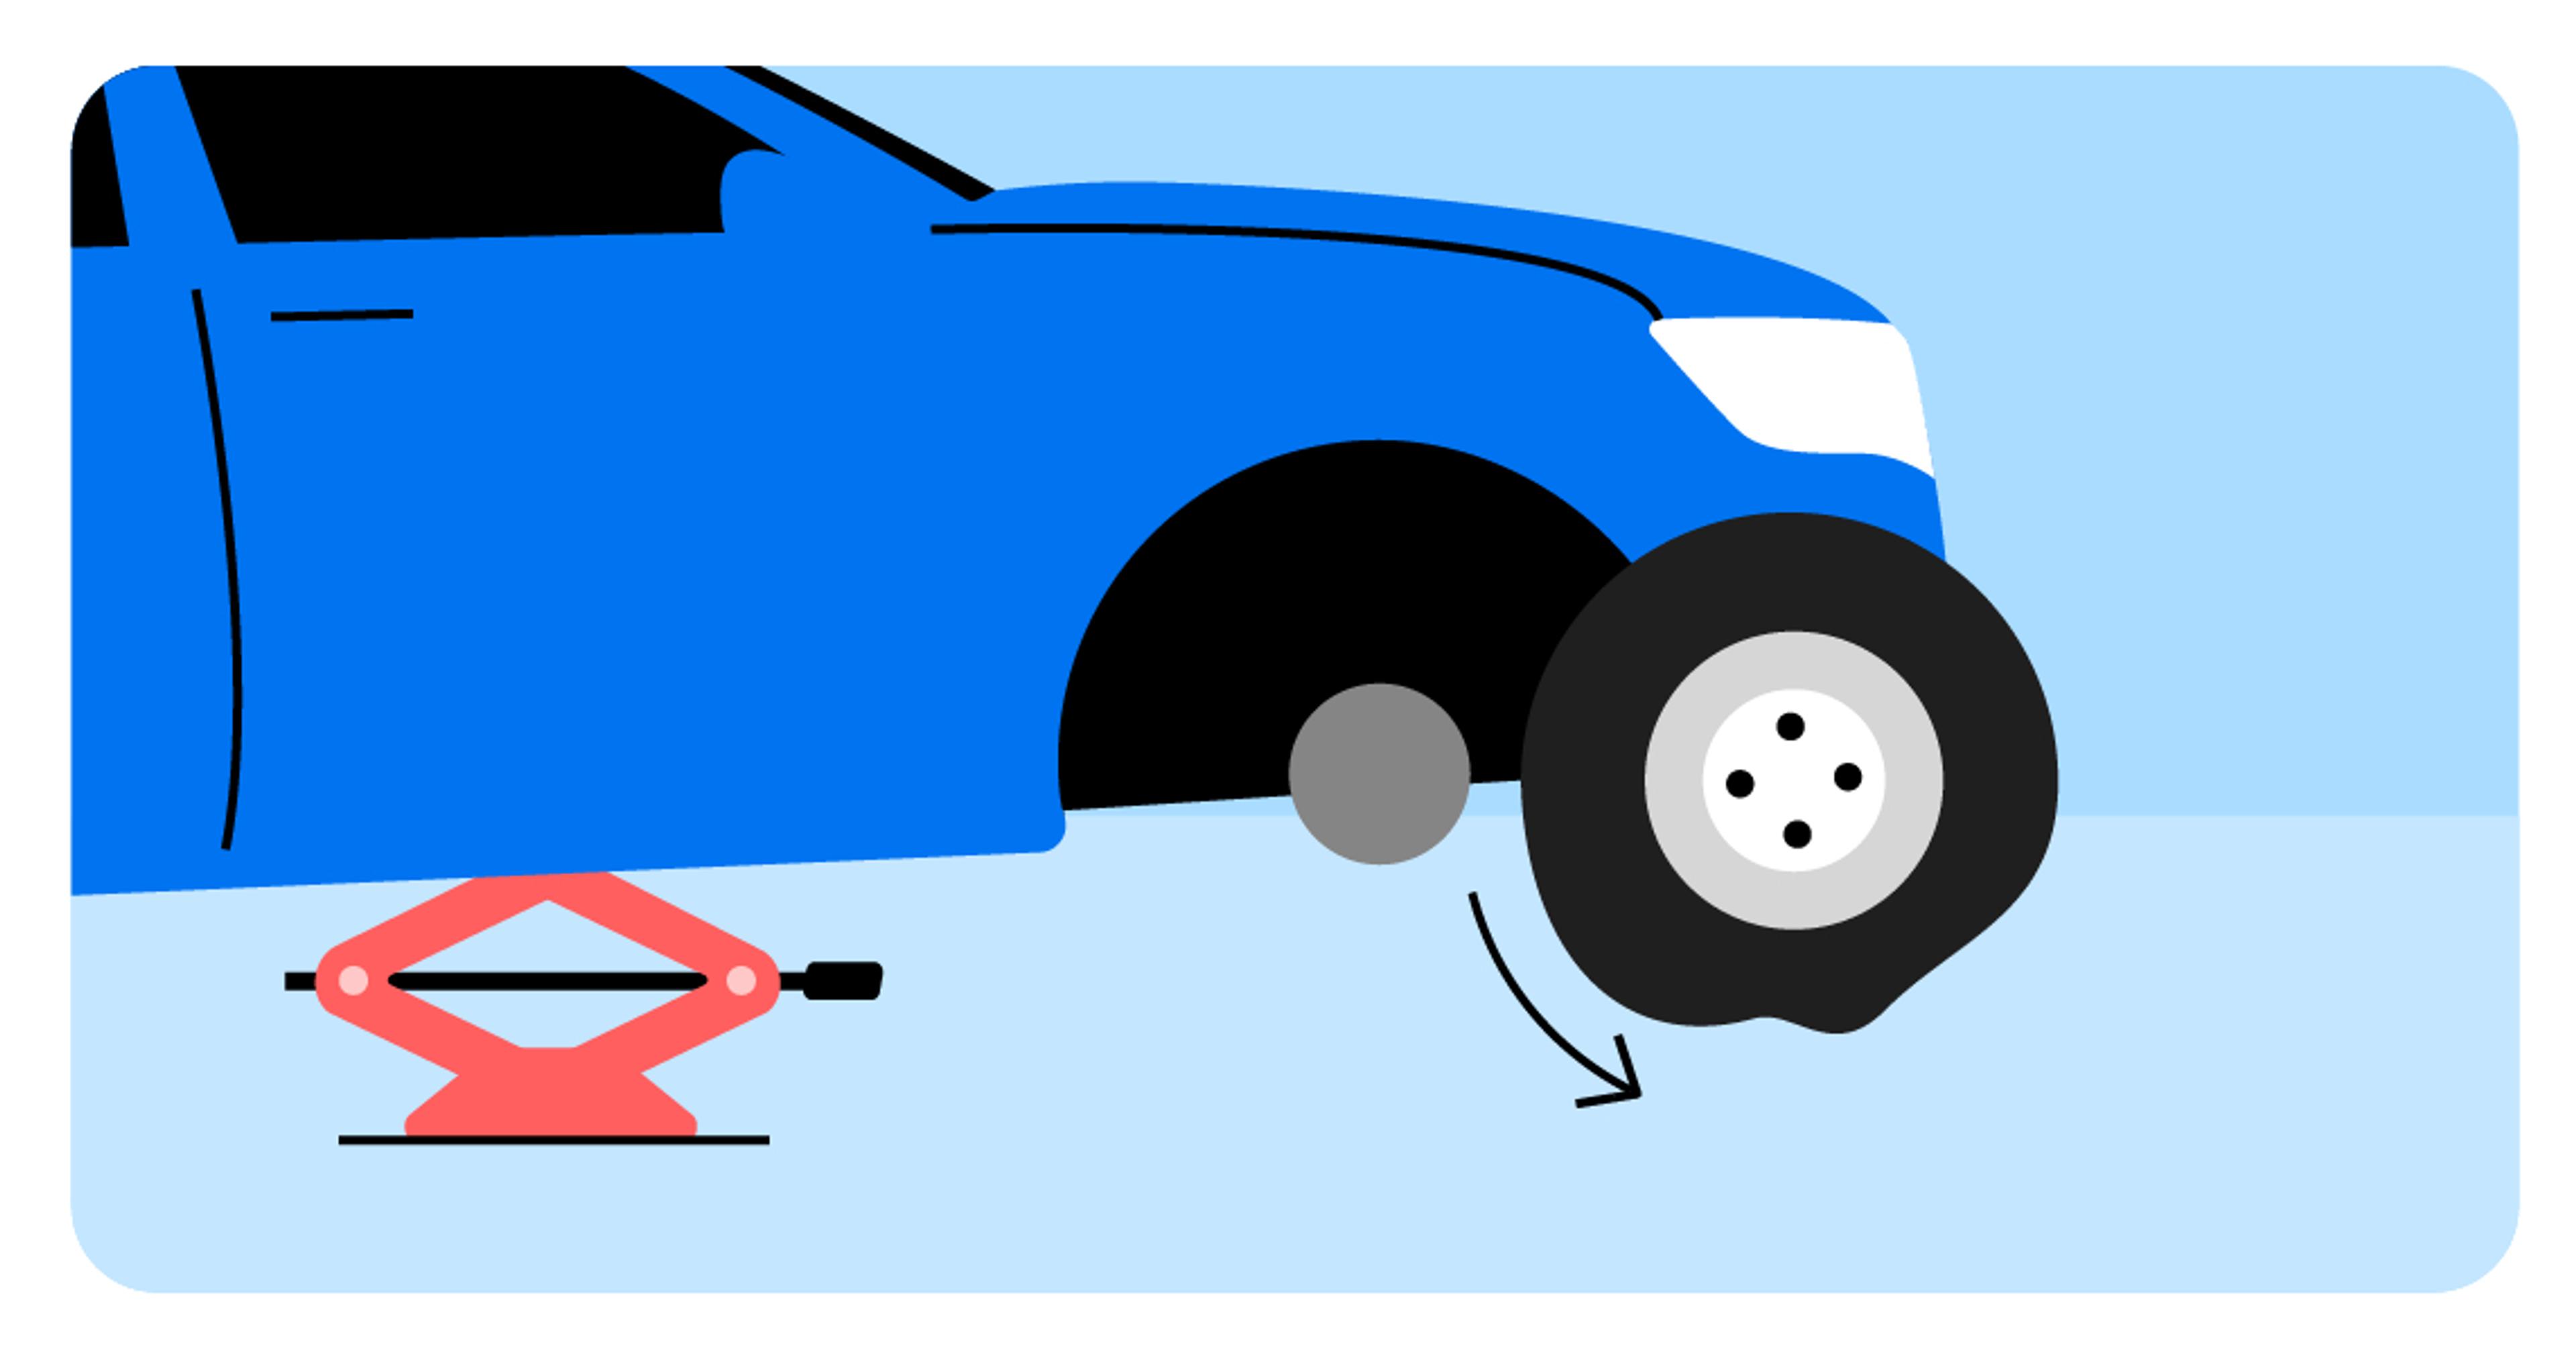
With the lug nuts now loosened and the vehicle elevated, you can remove the flat tire. Take off each lug nut and then slide the flat tire off the wheel hub. Place the flat tire aside, making room for the installation of the spare.
4. Mount the spare
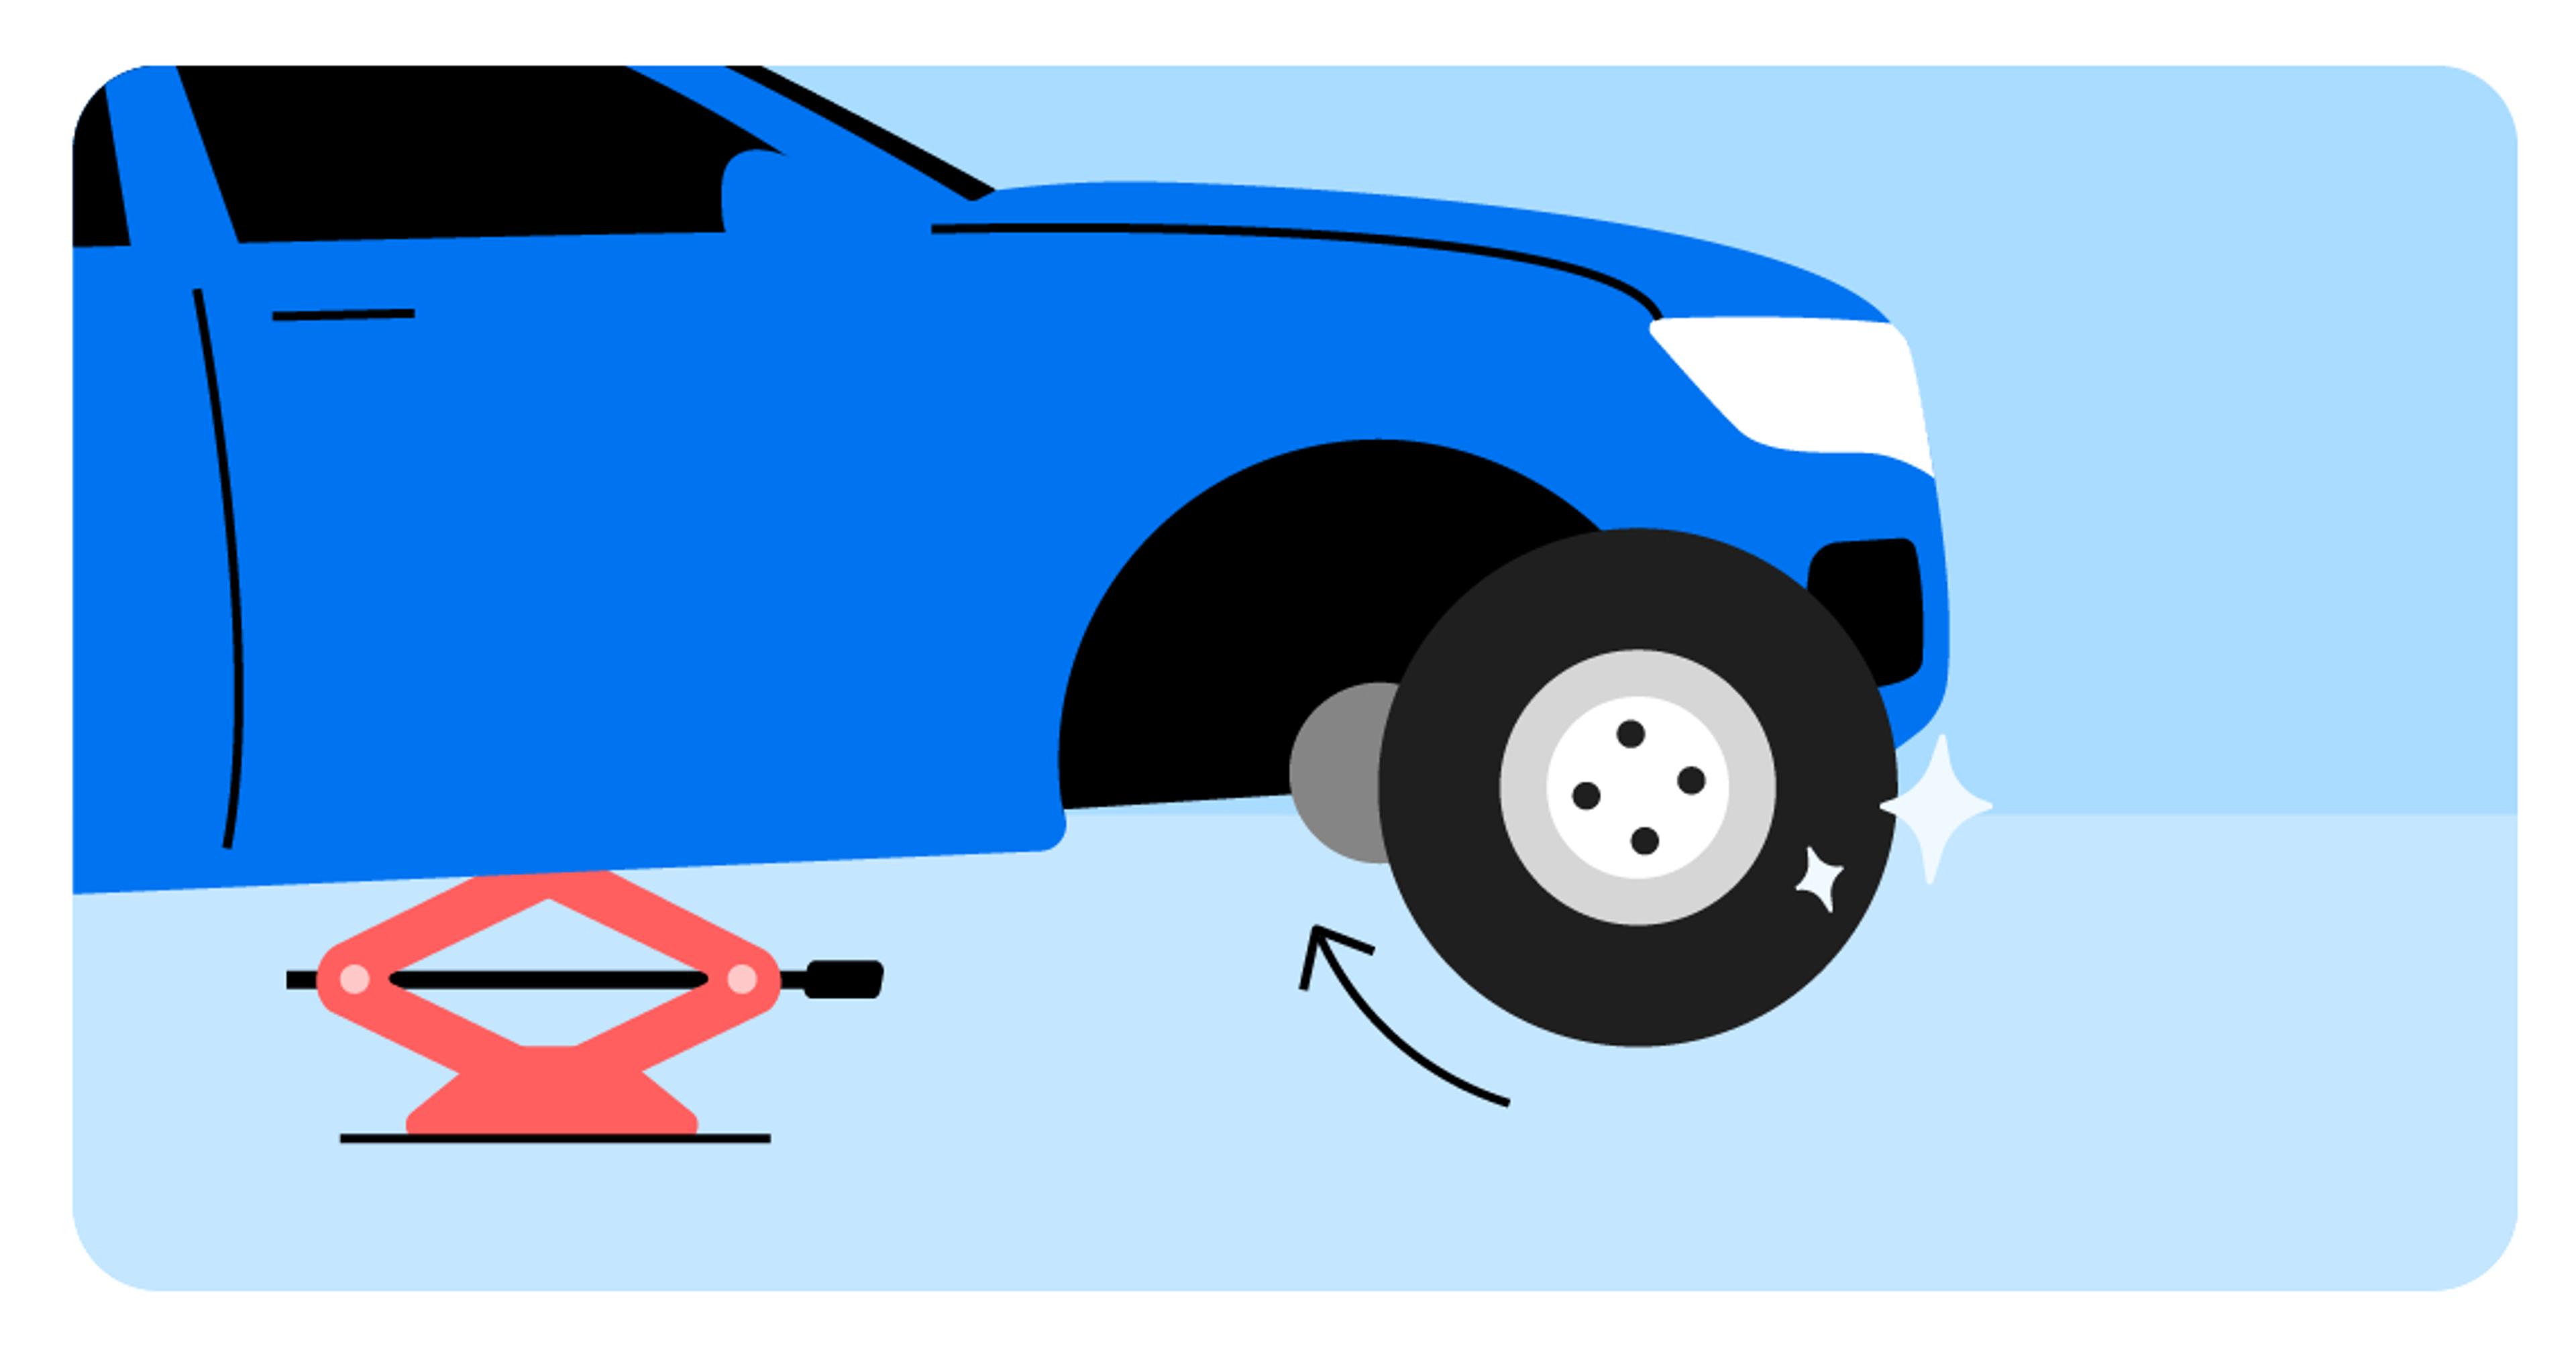
The spare tire is now ready for mounting. Align the spare tire with the wheel bolts on the hub and gently push it onto the hub until it’s snug. Hand-tighten the lug nuts onto the bolts to secure the spare in place.
5. Lower the vehicle
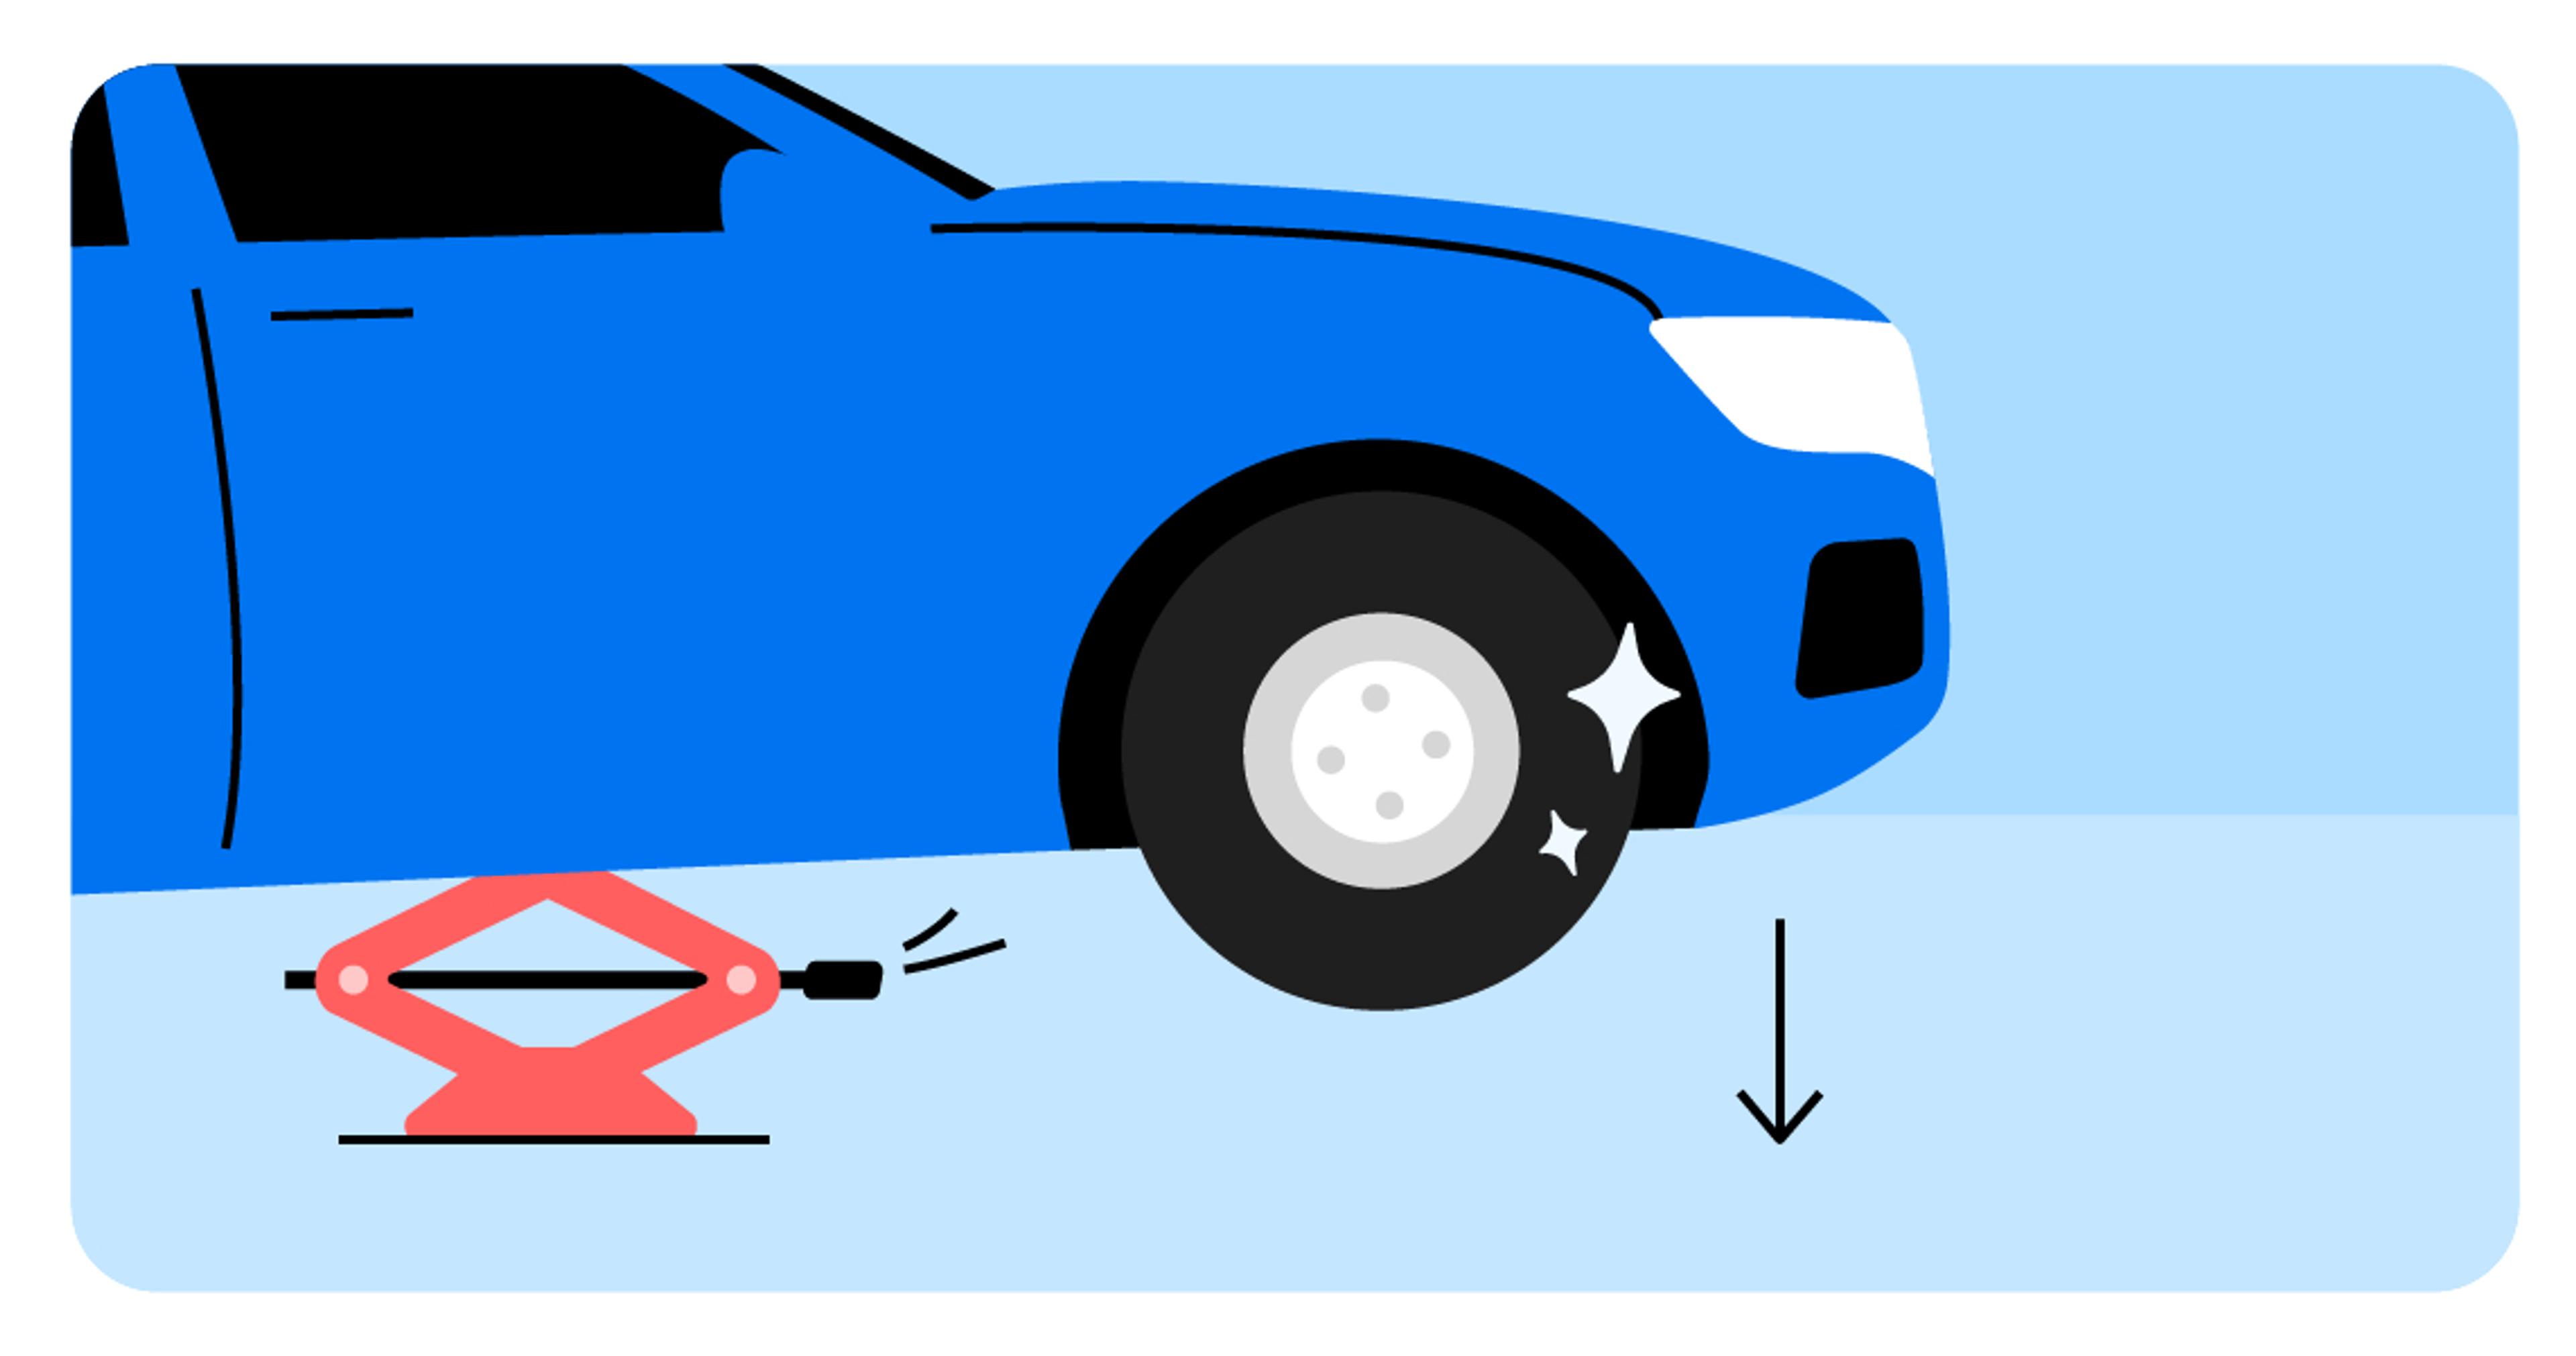
Gradually lower the vehicle using the car jack, allowing it to rest on the ground. This controlled descent ensures a safe and stable reconnection with the road surface.
6. Tighten lug nuts
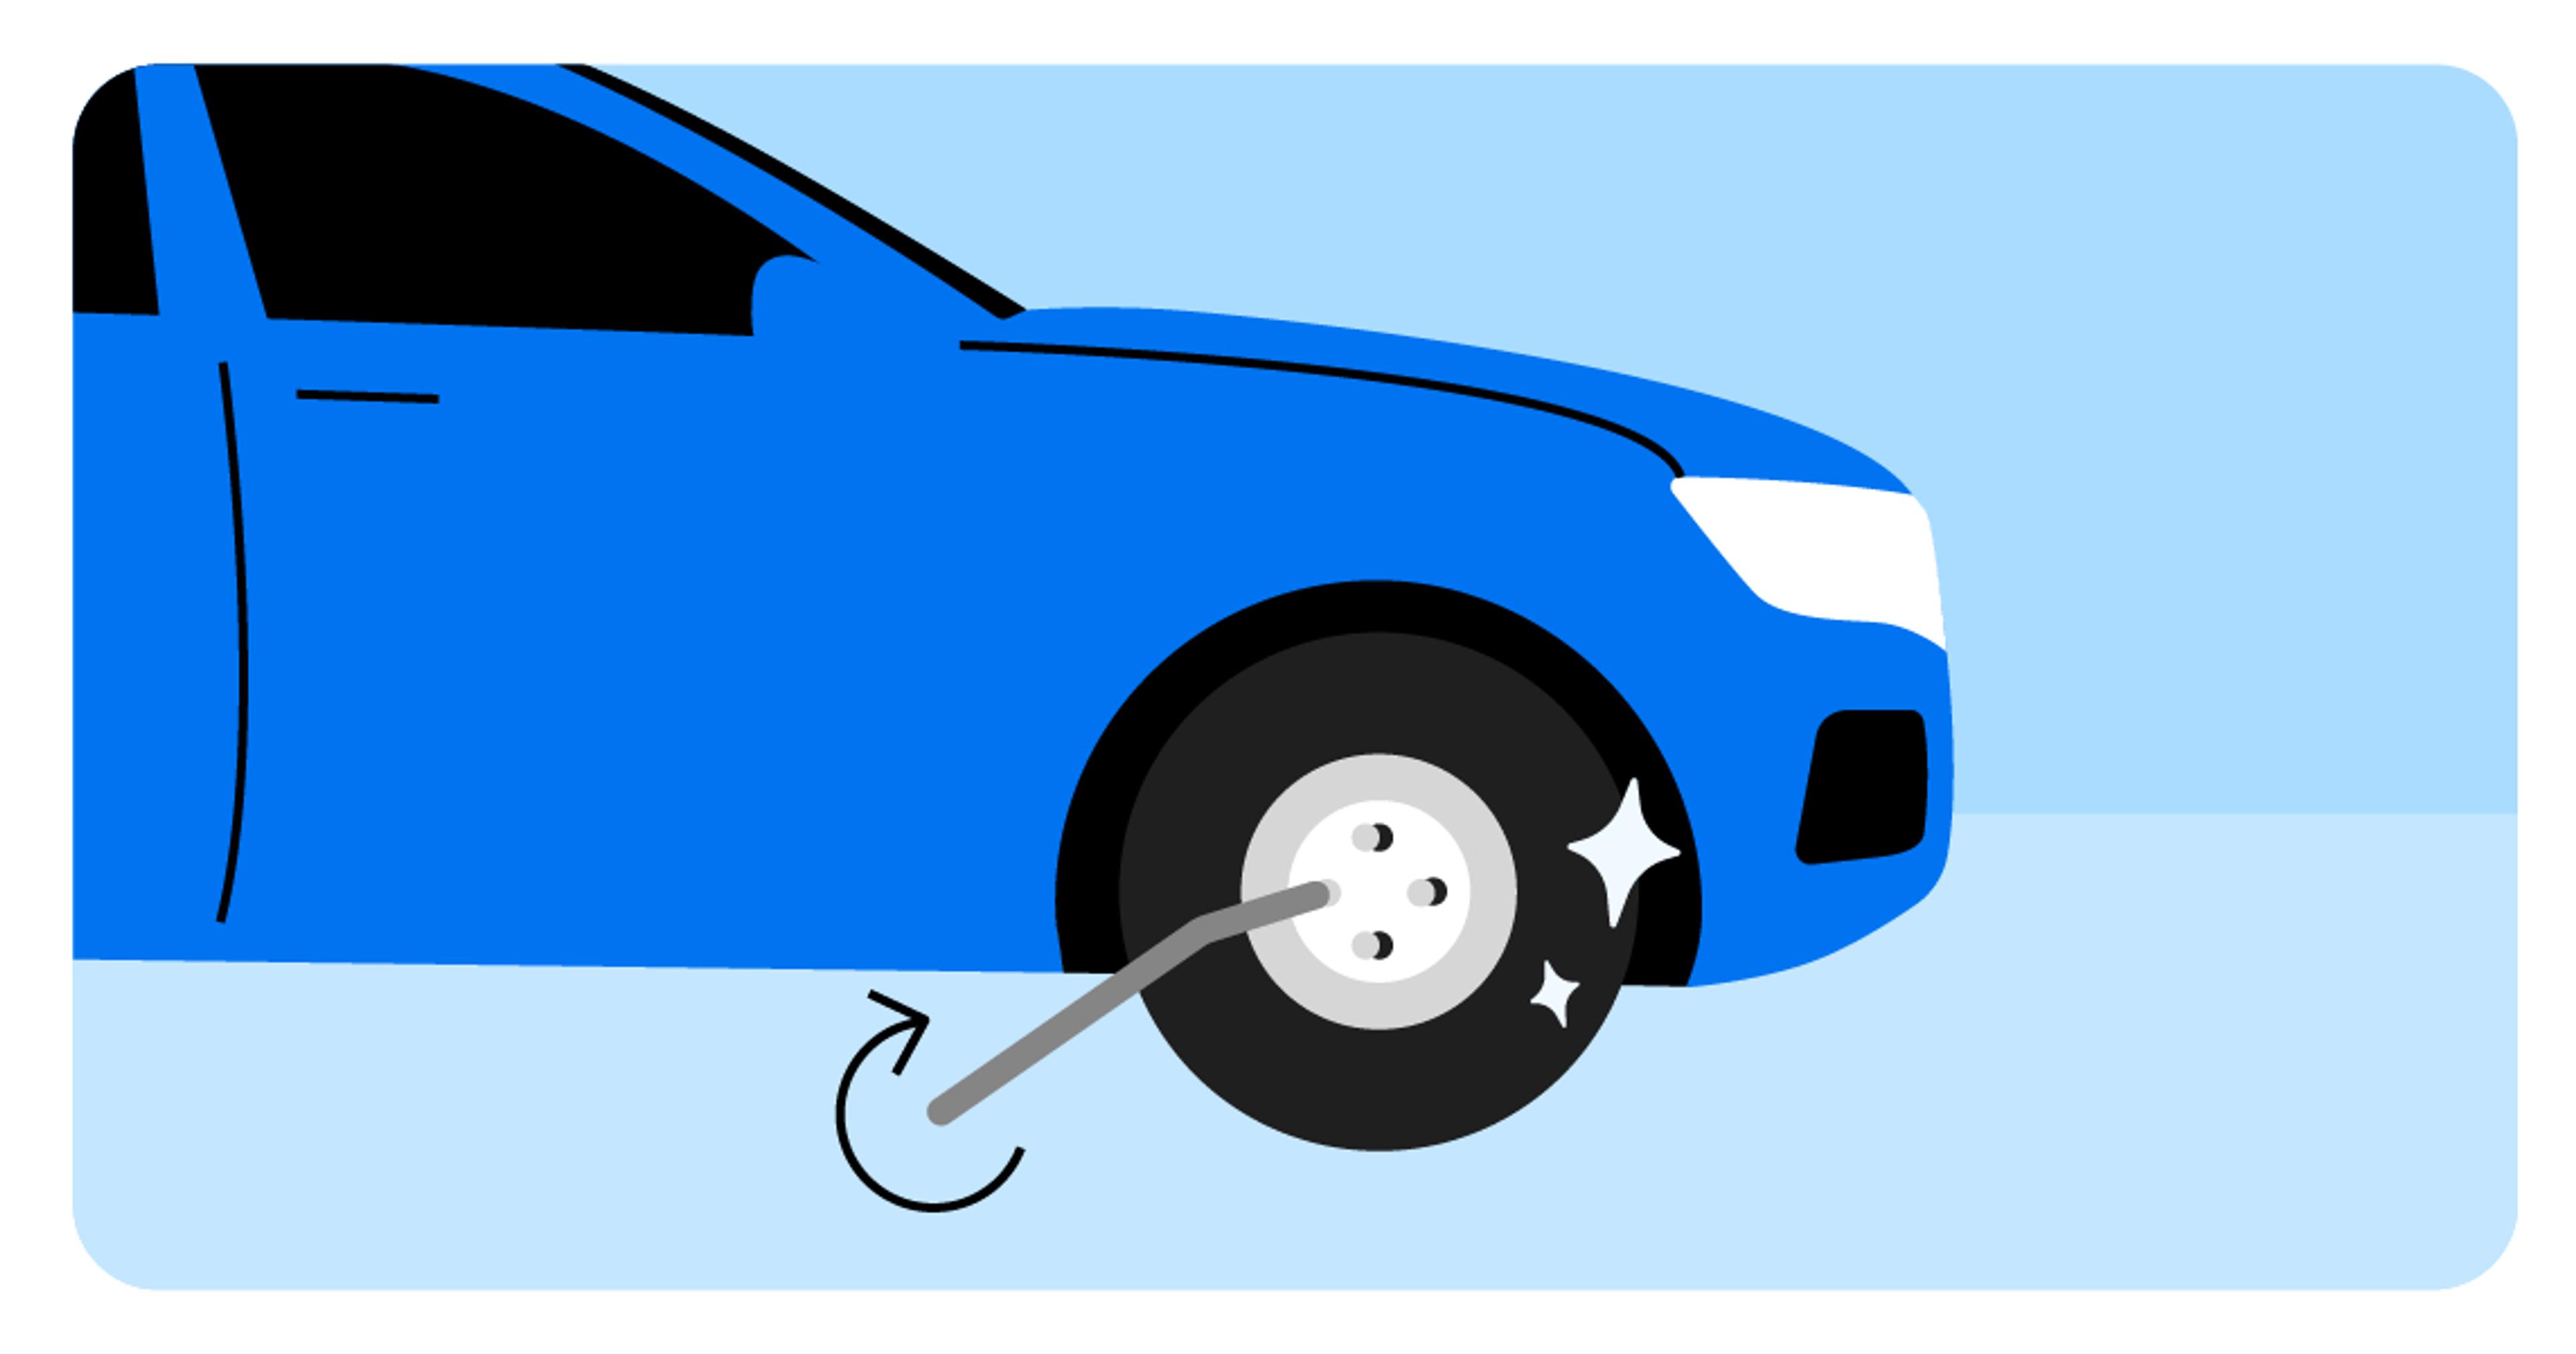
Now that the vehicle is on the ground, tighten the lug nuts using the lug wrench. This is a critical step, as the lug nuts need to be firmly secured. Tighten each lug nut in a crisscross pattern to distribute the pressure evenly.
7. Double-check
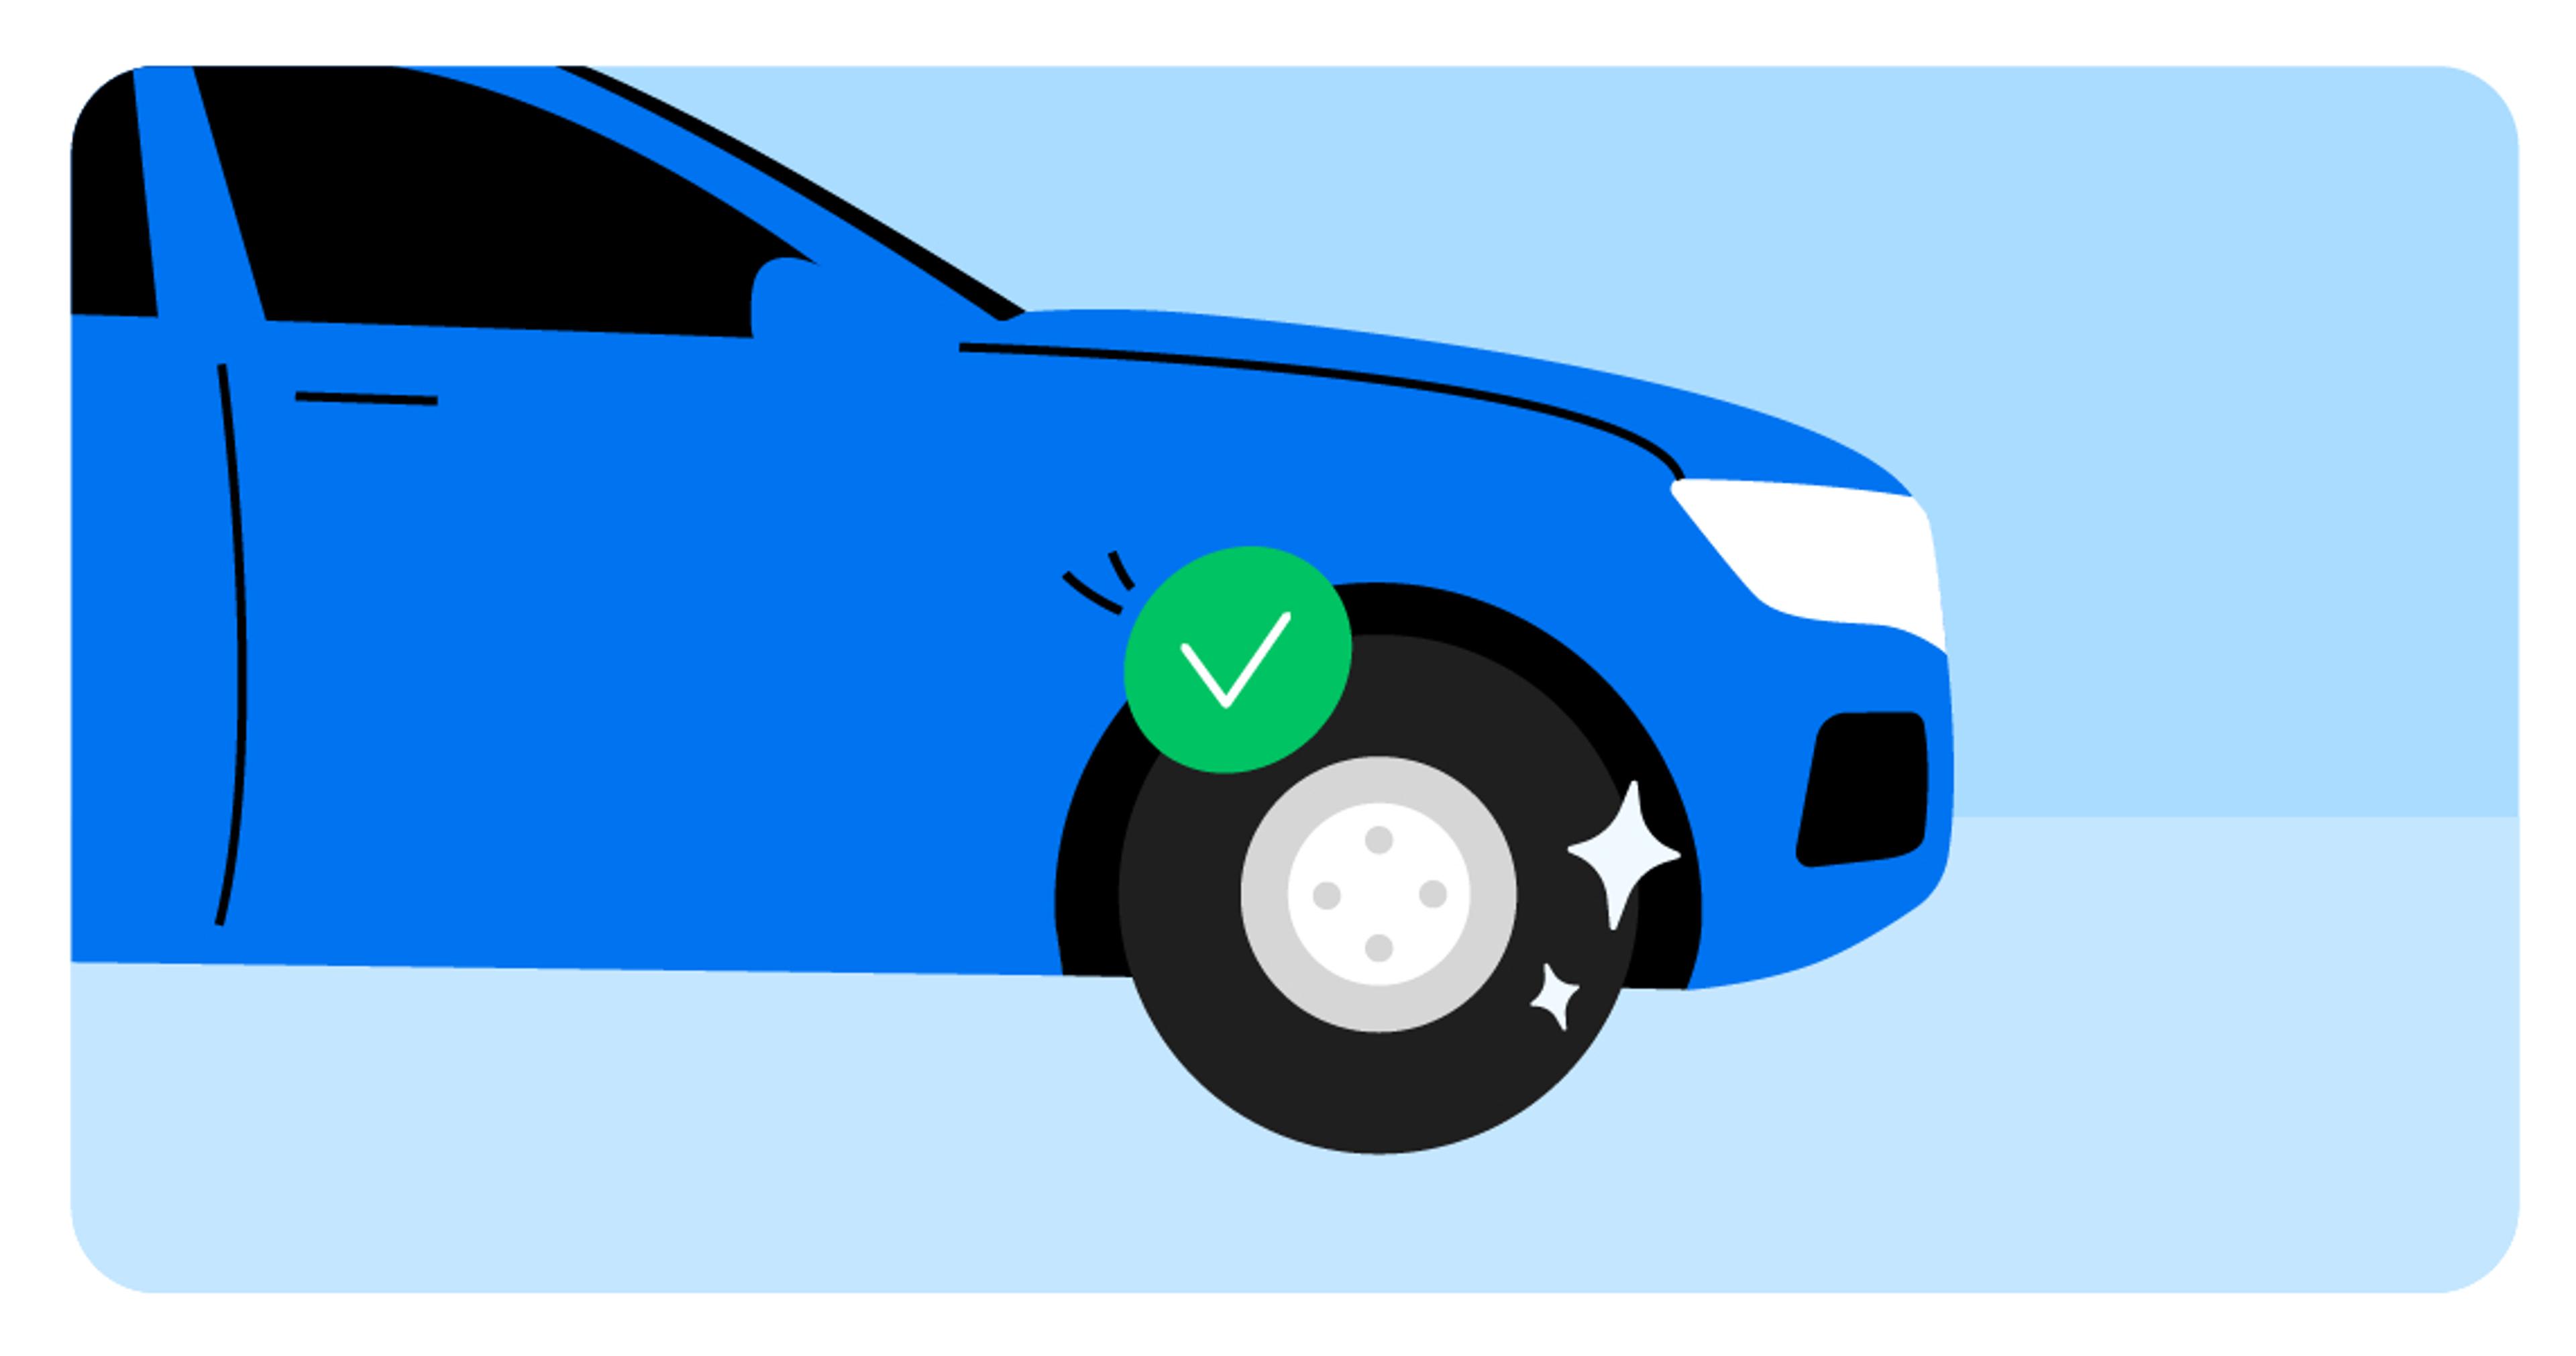
Confirm the tightness of each lug nut by rechecking. This step ensures that the lug nuts are adequately fastened, minimizing the risk of complications while driving.
8. Stow equipment

Safely store away the tools used for the process, including the car jack and lug wrench. Additionally, stow the flat tire in the trunk, ensuring all items are properly secured for future use.
How to use a flat tire repair kit
If your vehicle lacks a spare tire, there’s no need to worry. Follow these tips on how to use a flat tire repair kit:
1.Locate the source of the puncture. The punctured area on the tire should be identified. Inspect the tire to pinpoint the location of the puncture.
2.Remove the object. If there is an object lodged in the tire, carefully remove it using a screwdriver or pliers.
3.Connect the sealant bottle. Connect the sealant bottle to the tire valve. Follow the instructions provided in the kit for the correct attachment.
4.Connect the compressor. Attach the compressor hose to the tire valve, ensuring a secure fit for proper inflation. Furthermore, power up the compressor and inflate the tire to the recommended pressure. Monitor the gauge on the compressor to avoid overinflation.
5.Remove the hose. Once the tire is properly inflated, withdraw the hose and immediately drive the vehicle. The motion of the vehicle helps distribute the sealant and ensures a proper seal.
6.Drive to the nearest workshop. The flat tire repair kit provides a temporary solution, so it is recommended to drive to the nearest workshop promptly for a thorough inspection and permanent repair or replacement.
Post-tire change tips
After successfully completing the tire change, ensure a smooth transition back to the road by following these post-tire change tips.
Check tire pressure
After changing or repairing a flat tire, check the tire pressure. If the pressure is below the recommended level, use an air compressor to inflate the tire to the correct pressure.
If the pressure is too high, release some air until the proper pressure is achieved.
Reset tire pressure monitoring system
Check your vehicle’s manual to locate the tire pressure monitoring system reset button. In many vehicles, this button could be found near the steering wheel, the instrument panel, or the infotainment system.
After you reset the system, drive the vehicle for at least 10 minutes. This allows the system to recalibrate and register the new tire pressure.
Maintain caution on the road
After changing a flat tire, adopt a cautious driving approach. Accelerate, brake, and turn gently to assess the stability of the repaired tire.
Ongoing maintenance
Beyond routine tire rotations and pressure checks, using a VIN decoder can provide a glimpse into your vehicle’s past incidents, recalls, and manufacturer specifications.
This synergy between ongoing tire maintenance and VIN-based insights will help expand your general understanding of the car and give you a better idea of what to look out for when buying your next car.

Check your VIN
Avoid costly problems by checking a vehicle's history. Get a report instantly!
Pro tips: valve stem care to roadside assistance
Maintaining your car is an ongoing commitment that can help your vehicle to remain in optimal condition for the long time ahead. Here are a couple of pro tips to guide you in the right direction.
Valve stem care
These small rubber components play a crucial role in maintaining tire pressure. A damaged valve stem can lead to slow leaks, impacting both fuel efficiency and tire longevity.
If you discover a damaged valve stem, go to the nearest tire workshop, where they can install new ones for you.
Roadside assistance membership
If you spend a lot of time on the road, it may be worth investing in a roadside assistance membership. This type of membership typically includes a wide range of tire-related services, such as changing a flat tire, providing a spare, or towing your vehicle to a repair facility.
Frequently asked questions

Article by
Aivaras Grigelevičius
Aivaras has been excited about cars since he was a little kid. Later, this passion for drivable objects (and everything that surrounds them) grew into work as an automotive journalist. Since then, Aivaras has written for several different magazines, covering anything with an accelerator pedal. He has a soft spot for cars with an Alfa Romeo badge.
