15/11/2023
How to replace a headlight bulb
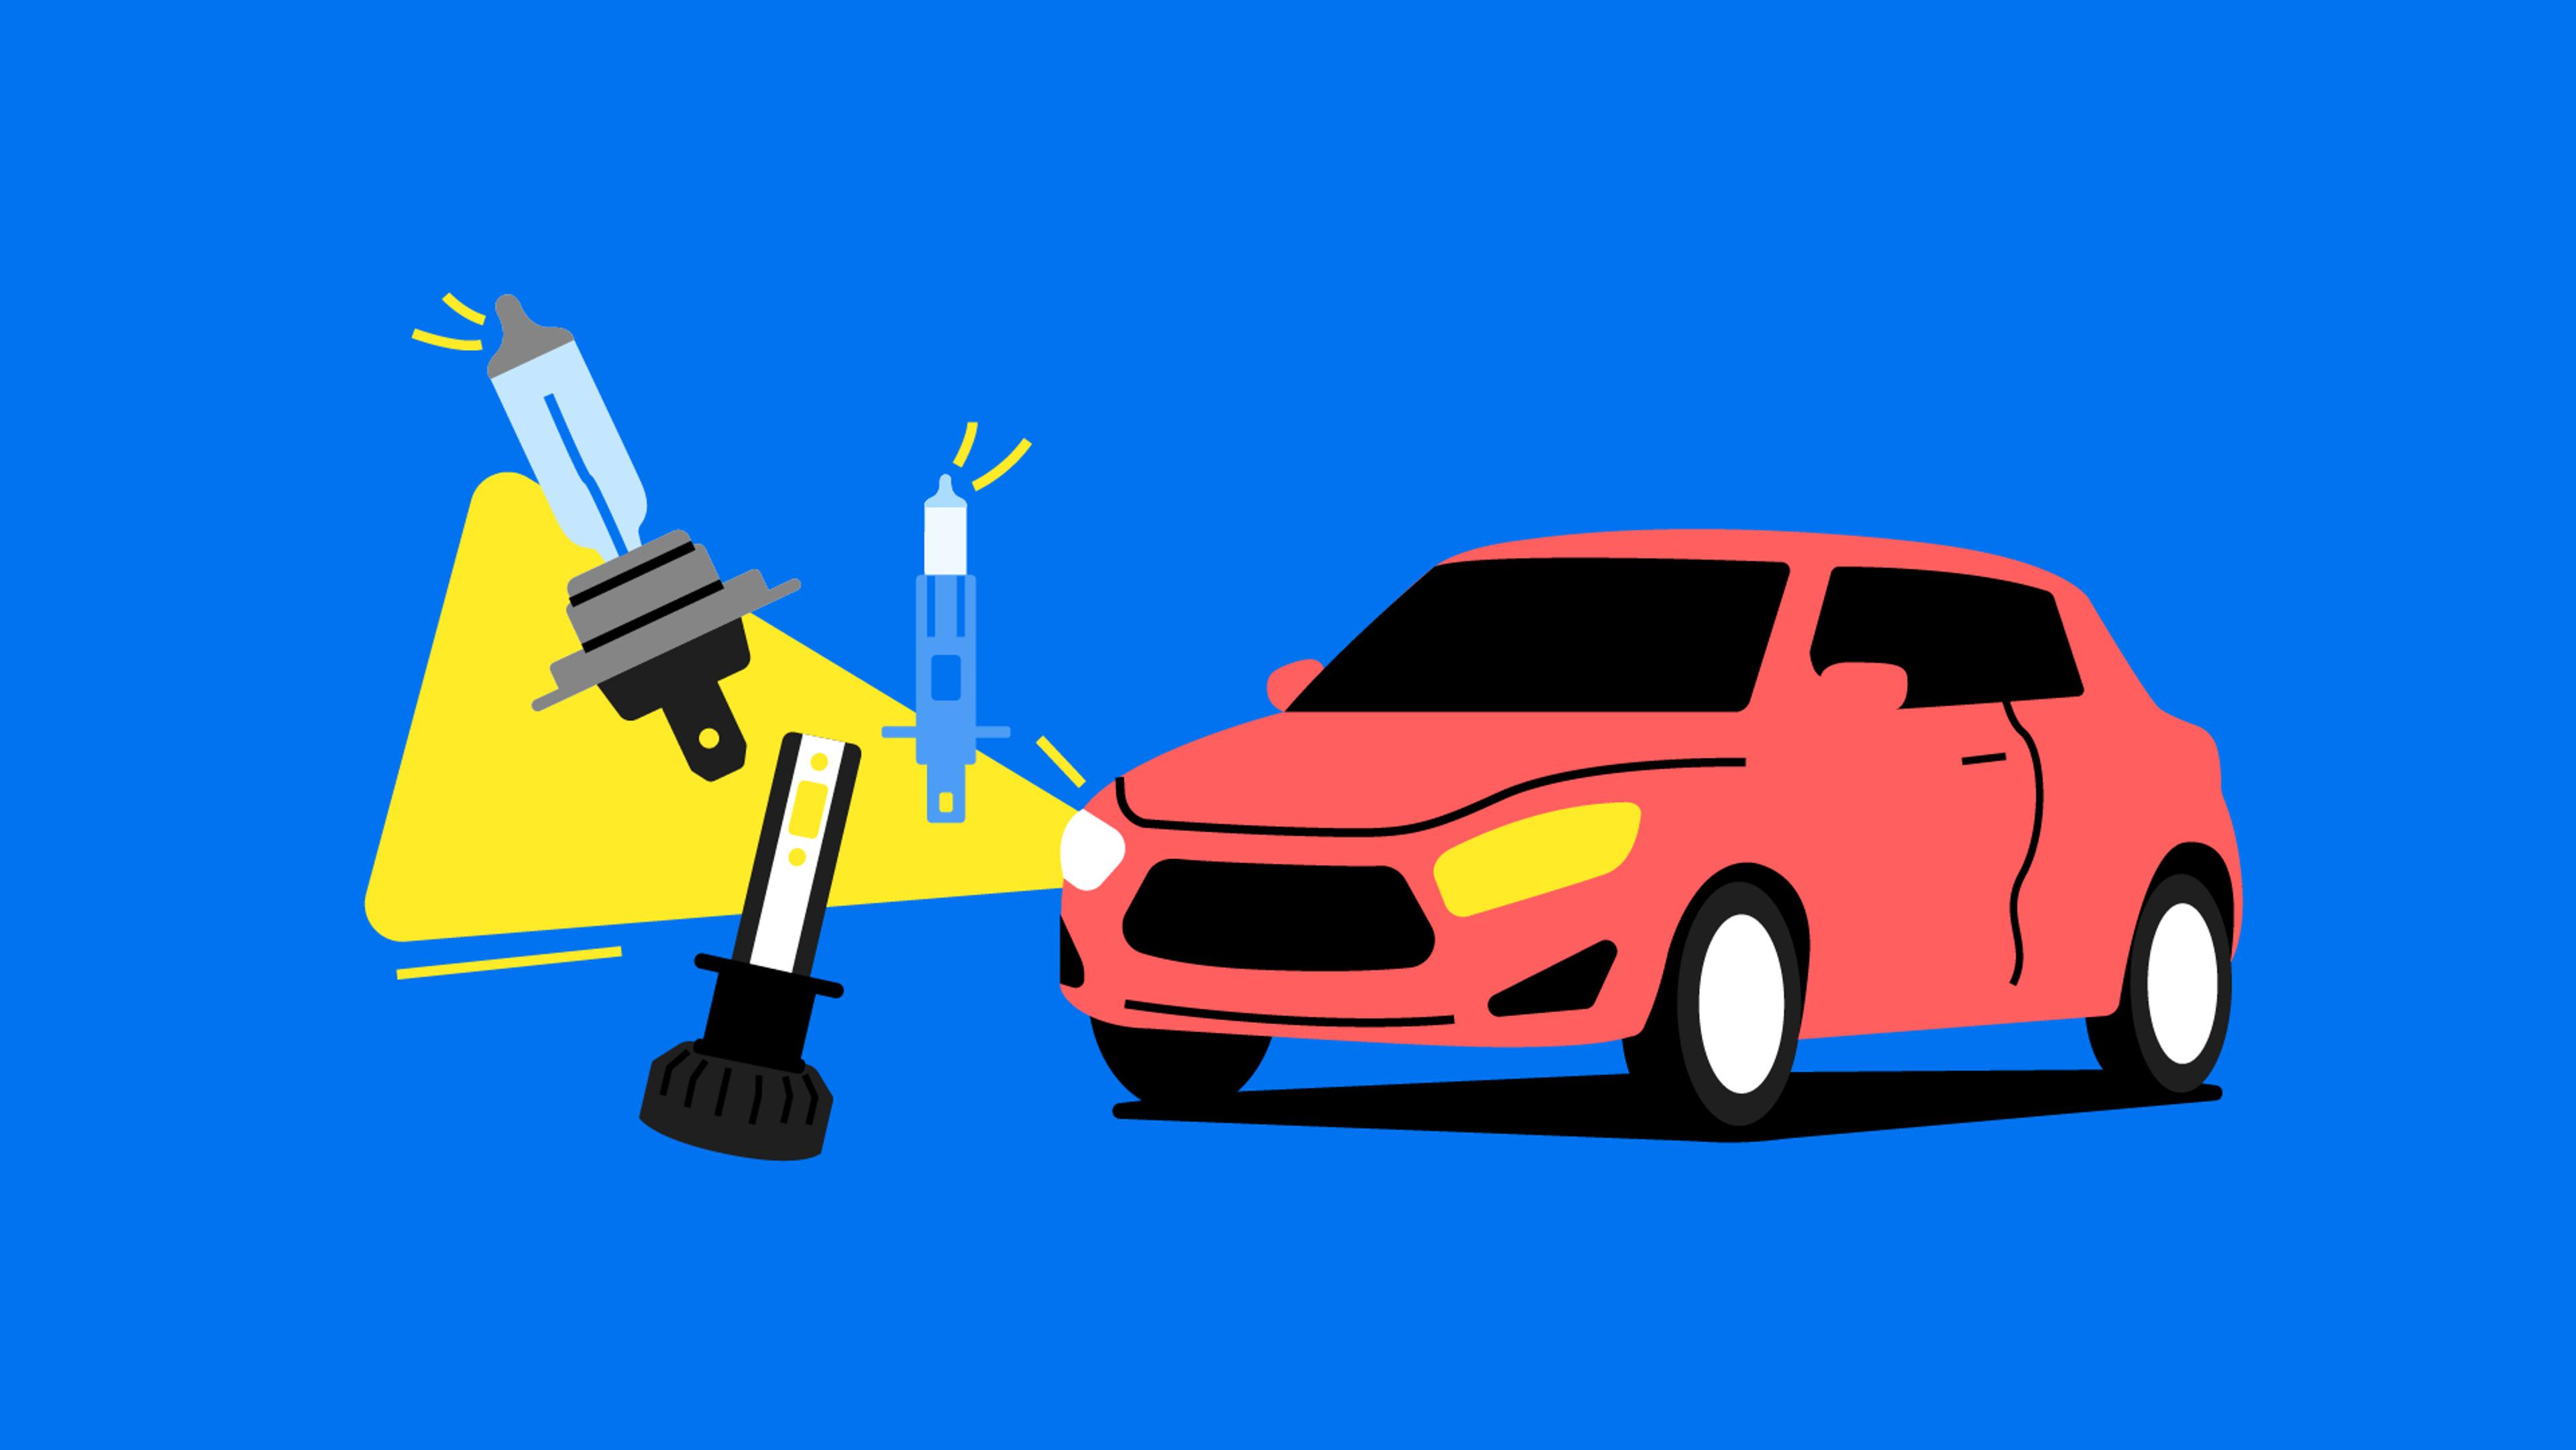
Functioning car headlights are vital to safe driving, especially after the sun goes down. But what if they just stop working? This sounds like an unpleasant scenario, but it can happen to anyone.
Therefore, knowing how to replace a headlight bulb is essential to avoid the extra hassle. Usually, a headlight bulb change requires only a few minutes, but it can turn into a 2-hour nerve-wracking task when done incorrectly.
Let’s go through the signs that your car headlights need replacement, different bulb types, and the actual replacement process to ensure brighter trips.

Afraid of buying a wreck?
Check any VIN to learn a vehicle's history!
Signs your headlight bulb needs replacement
Over time, headlight bulbs can wear out and dim, significantly reducing your visibility or ability to be seen. Therefore, recognizing the signs of old, damaged, and ineffective bulbs that need replacement is vital for everyone’s safety on the road.
Dim headlights
Your headlights can dim for numerous reasons, one of the most common being old bulbs. For example, as the filament inside the halogen bulb ages, it gradually dims, making the bulb less efficient. Xenon (HID) light bulbs also dim and become reddish as the gases inside them get older.
Moreover, the glass of the bulb can sometimes become black due to electrical issues or a blown filament.
Usually, replacing the bulb is the cheapest and most common way to fix dim headlights. Even if the old bulb visually looks fine, a new one can be much brighter because of the new elements inside it.
Flickering lights
Flickering is a common issue for all kinds of headlights, such as halogen, xenon, and LED.
Halogen bulbs usually start to flicker when their filament breaks but still maintains contact. Xenon lights have a tendency to flicker as they age, but this can also be caused by faulty wiring or control units.
This issue can be a bit more challenging, but checking the fuses and replacing the bulb is a great start.
Warning lights on the dashboard
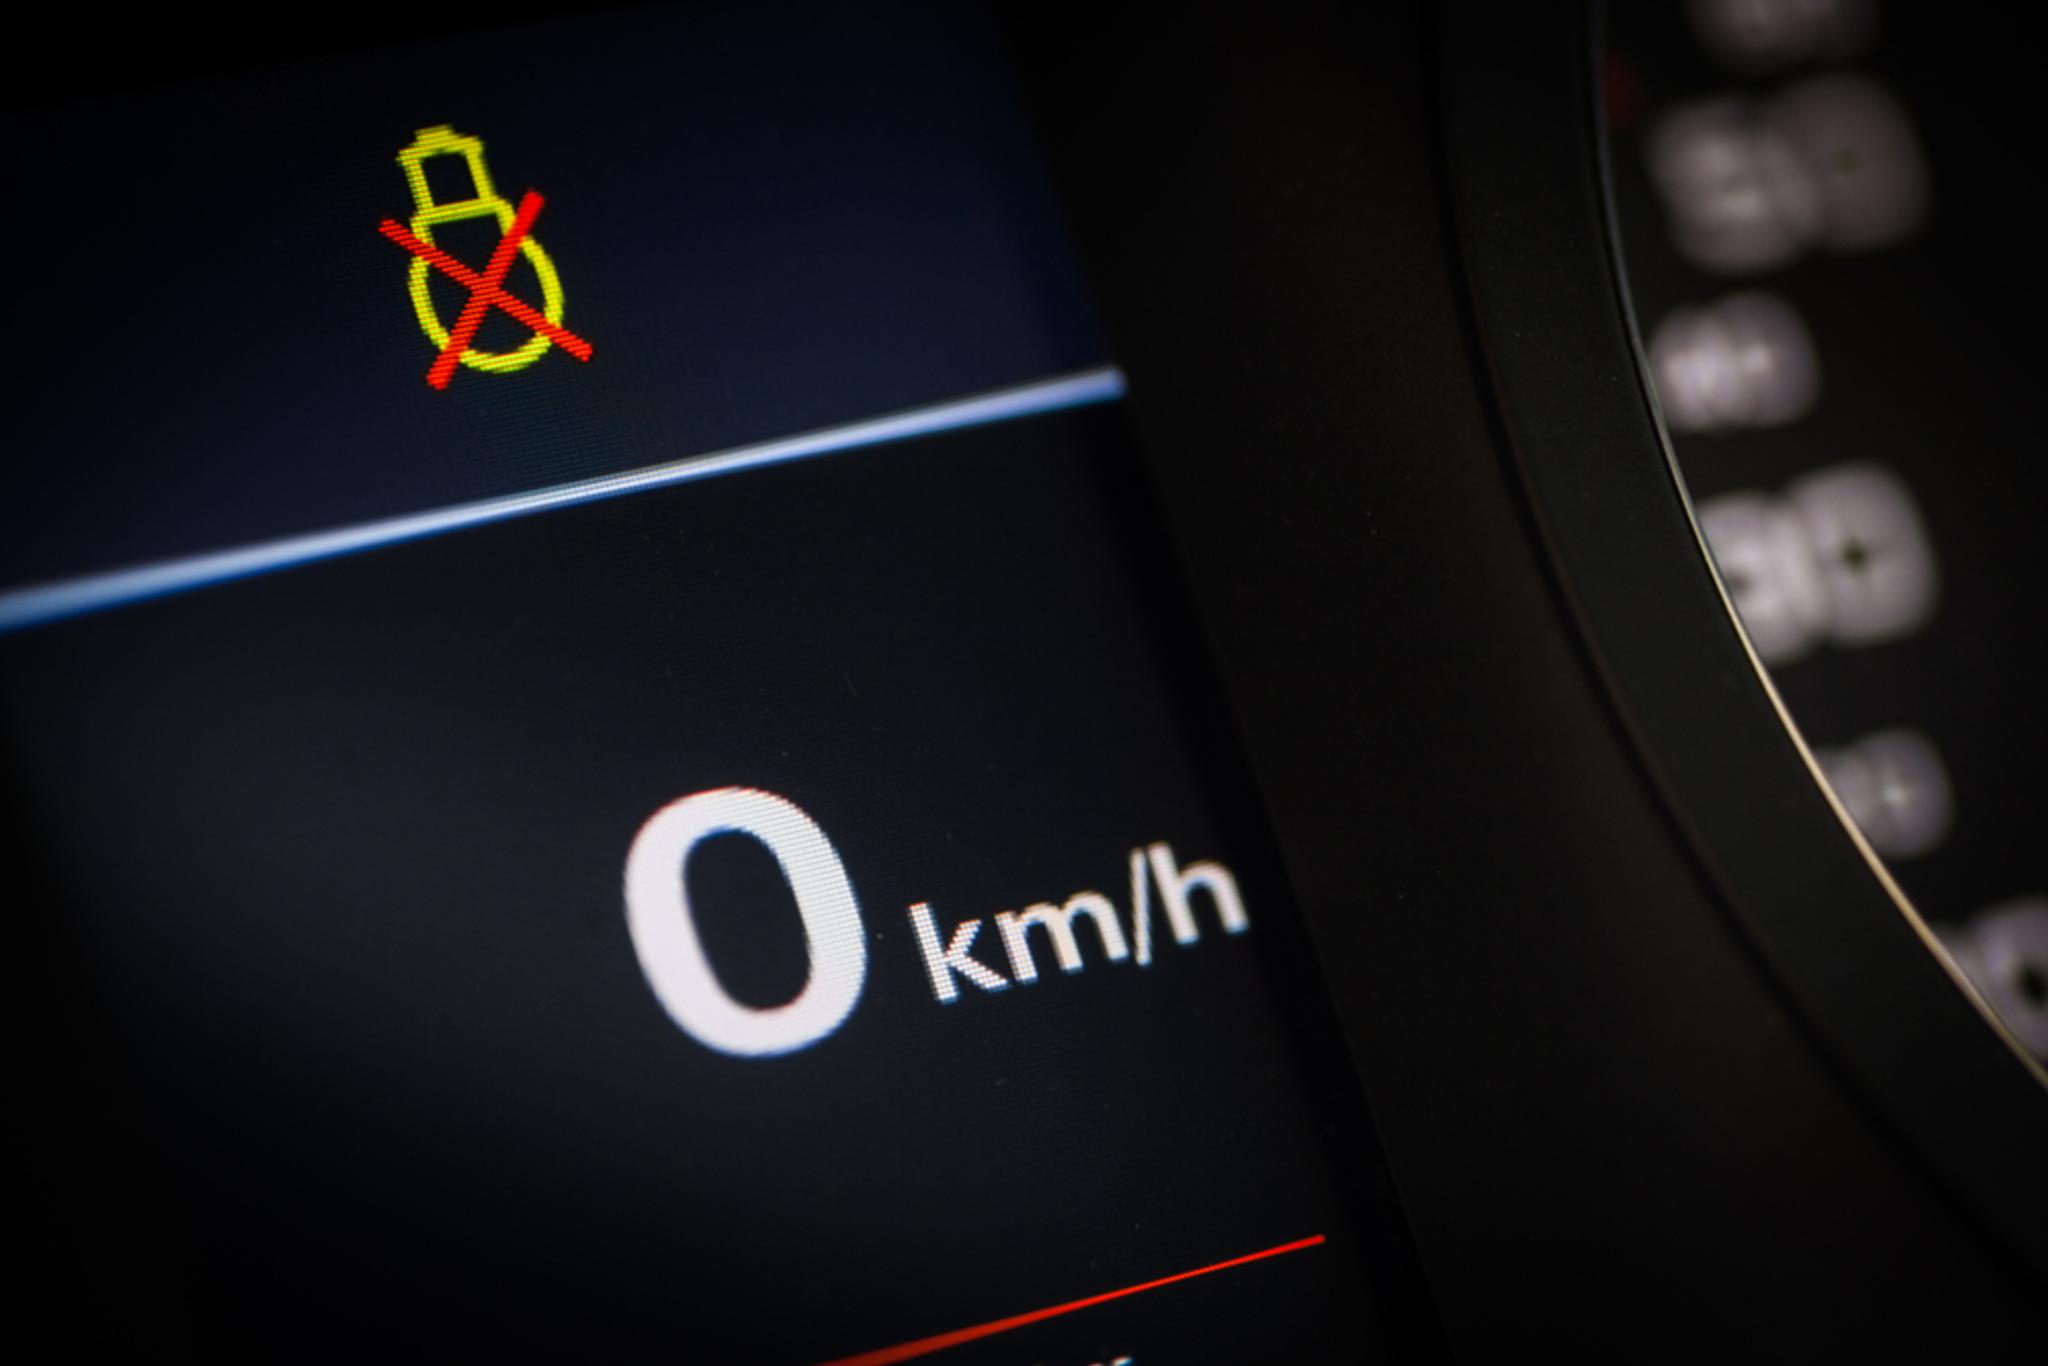
Most modern cars have systems that can notify the driver about faulty light bulbs via dashboard warning lights. Usually, a bulb warning light is orange and bulb-shaped, but modern cars also often tell which bulb is faulty via the infotainment screen.
Sometimes, the warning light remains on even after replacing the bulb, which usually indicates that the bulb isn’t compatible with the car or there’s a problem with the electrical system. This issue is very common when drivers install LED light bulbs instead of halogen or HID ones because of differences in voltage usage and resistance. Therefore, install only the original bulbs.
Burnt out or fused bulbs
If you’re lucky, the bulb will simply stop working, making troubleshooting significantly easier. In that case, take it out – you should notice that the filament is broken.
However, there’s no visual way to tell if an LED or xenon bulb is still working, but you can insert it in the other headlight and check.
Different types of headlight bulbs
Over the years, automotive lighting systems have evolved significantly, offering a range of options that go beyond the standard bulbs. From halogens to LEDs, the variety of light bulbs available for vehicles today allows car makers to create bolder and more efficient headlight designs.
Understanding the different headlight bulb types is crucial for improving visibility, ensuring proper safety, and making troubleshooting easier.
Incandescent and halogen bulbs
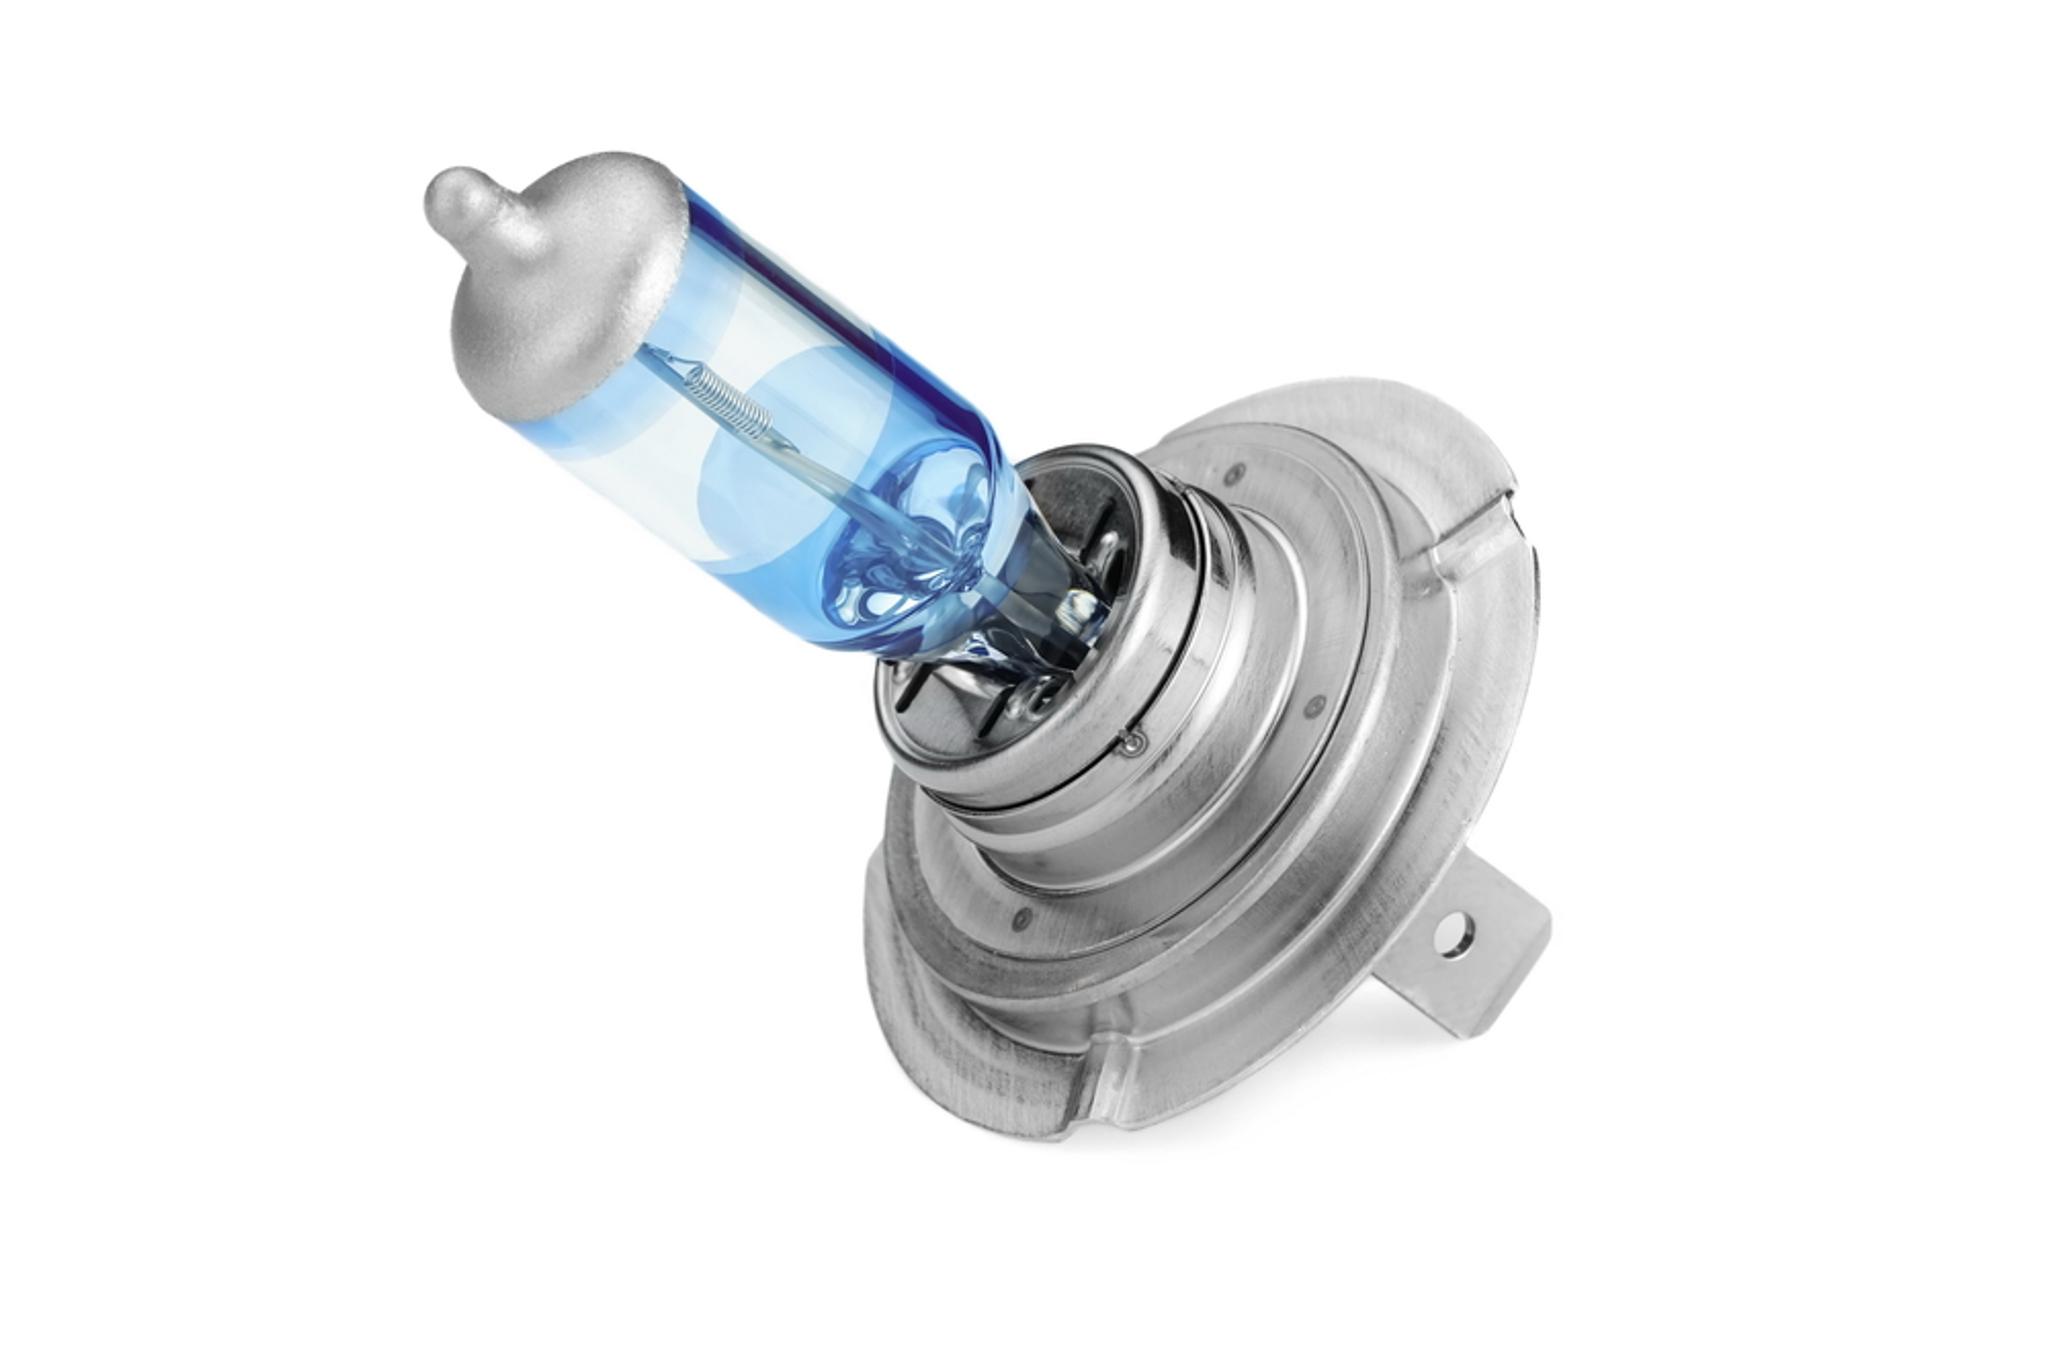
Incandescent and halogen light bulbs are very popular in car manufacturing due to low manufacturing costs, simplicity, and reliability. Both types work using the same principle – heating electricity lights up the filament inside. The only difference is that halogen bulbs have a capsule within the bulb, ensuring a brighter light and whiter color temperature.
Before buying a halogen bulb, learn what type is compatible with your car. You can find this information in your vehicle’s owner’s manual, sometimes the bulb type is written on the headlight, or you can just take the faulty bulb as a sample. Some of the most common halogen bulb types are H1, H3, H4, and H7.
Halogen bulbs are the least energy-efficient out of all light bulbs on the market. They emit light by forcing electrical current through the filament, which lights up in extremely high temperatures. Nowadays, you can find them in many cheaper or older cars.
LED bulbs
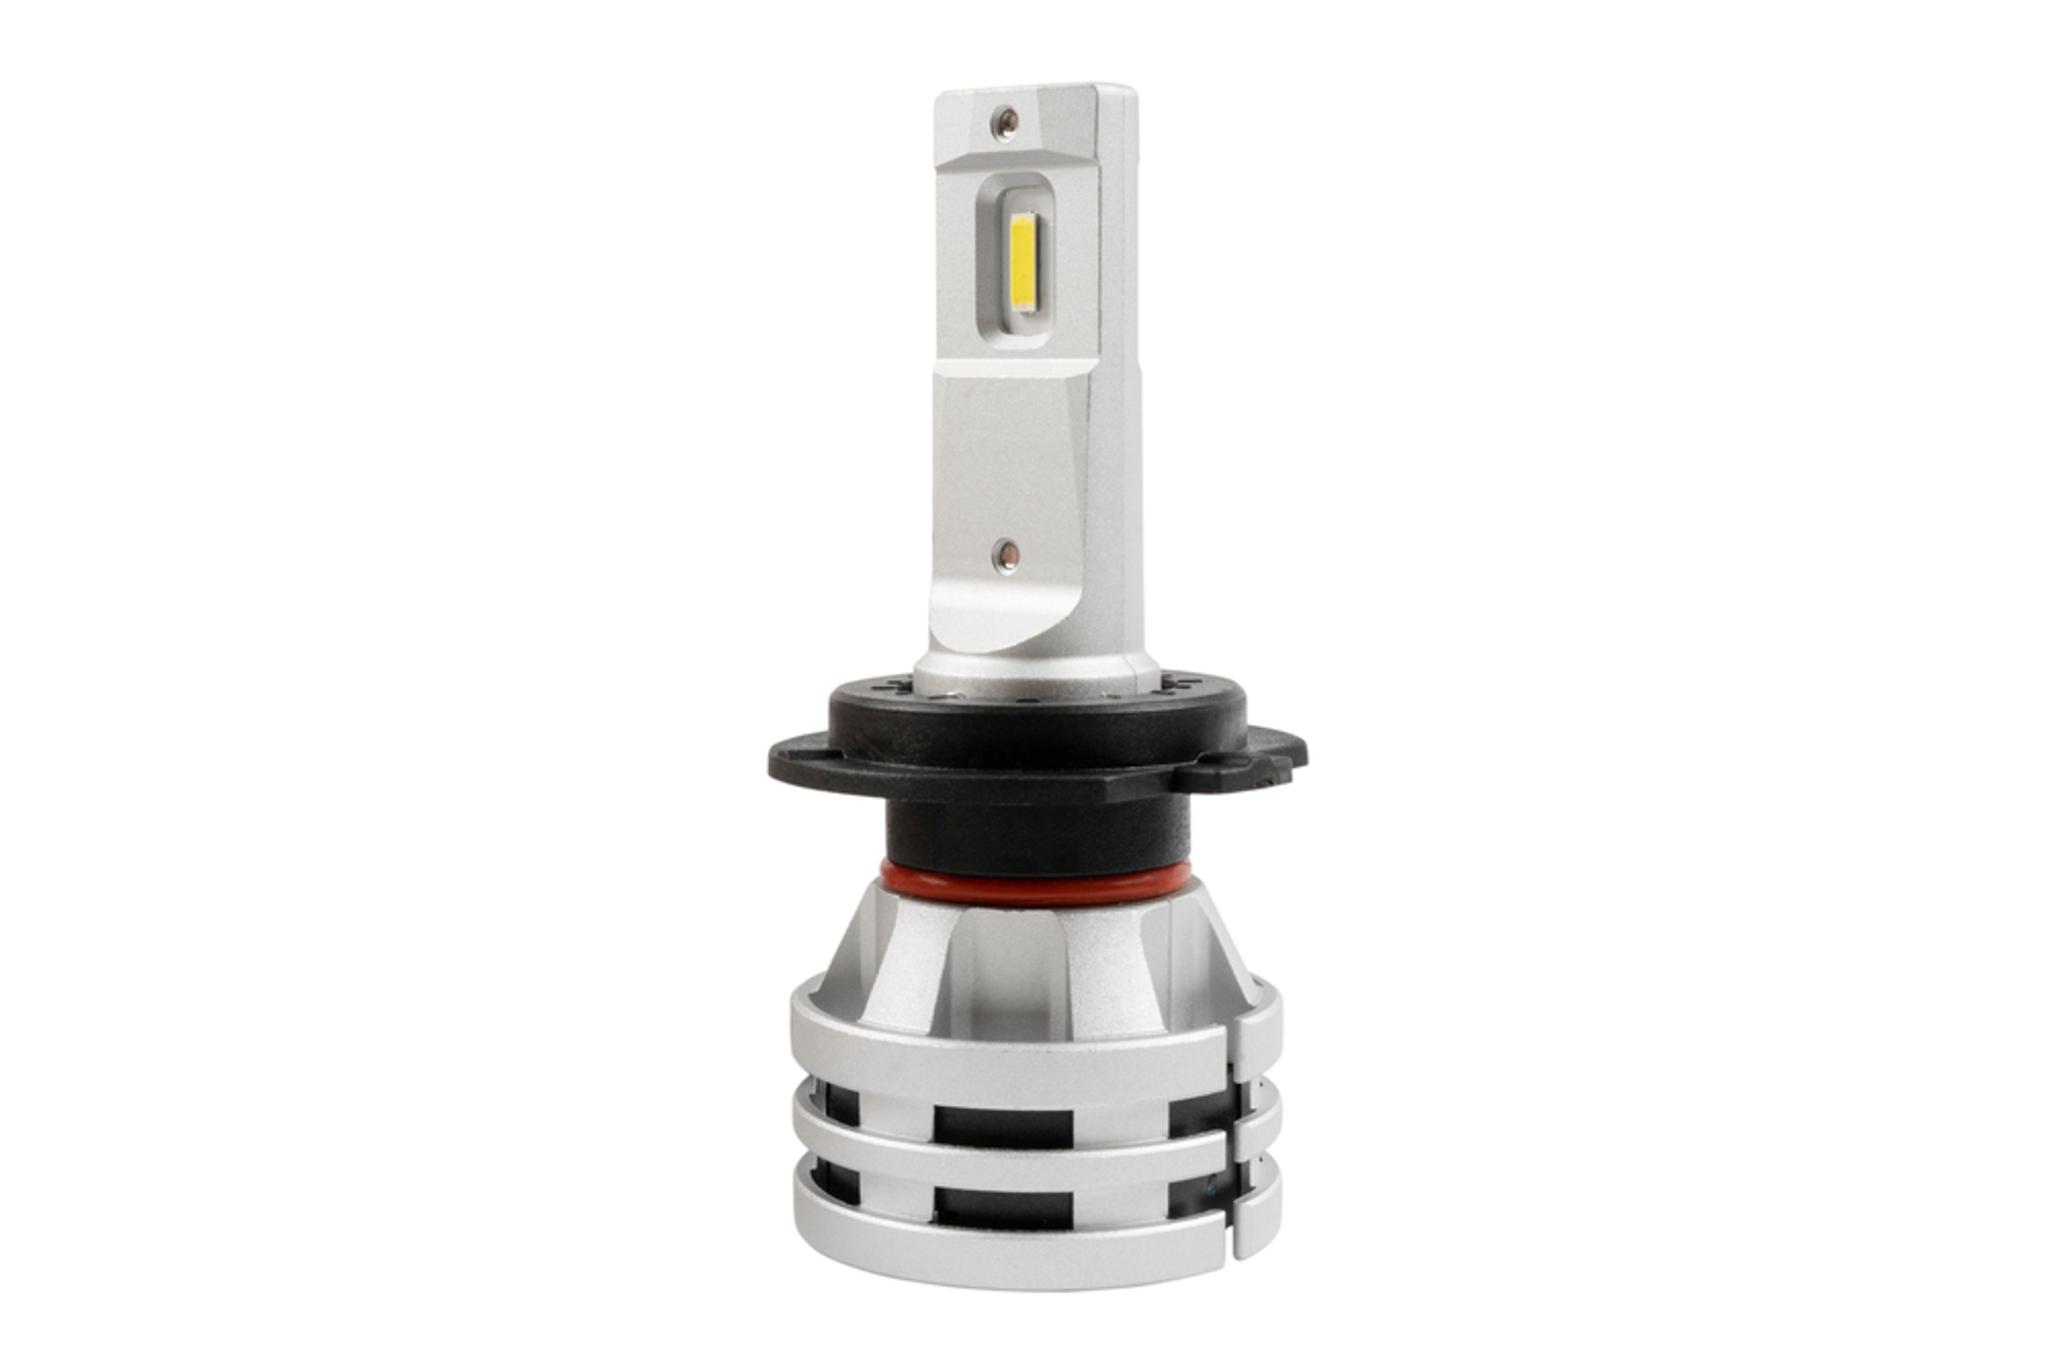
LED technology is the newest addition to the automotive lighting industry. LED bulbs are bright, compact, and offer a wide range of colors, converting electrical energy directly into light energy, thus generating significantly less heat. As a result, they consume less electricity.
LEDs are commonly used in day running lights, ambient lighting, and dashboards. However, modern technology allows manufacturers to create interesting lighting designs without wasting much money. Therefore, all kinds of vehicles, ranging from budget hatchbacks to premium SUVs, are often available with LED headlights as standard or optional.
The main issue with LED headlights is that drivers usually can’t replace burnt out bulbs by themselves because most modern LED headlight units are sealed and require a professional to access and replace the bulb.
Xenon (HID) bulbs
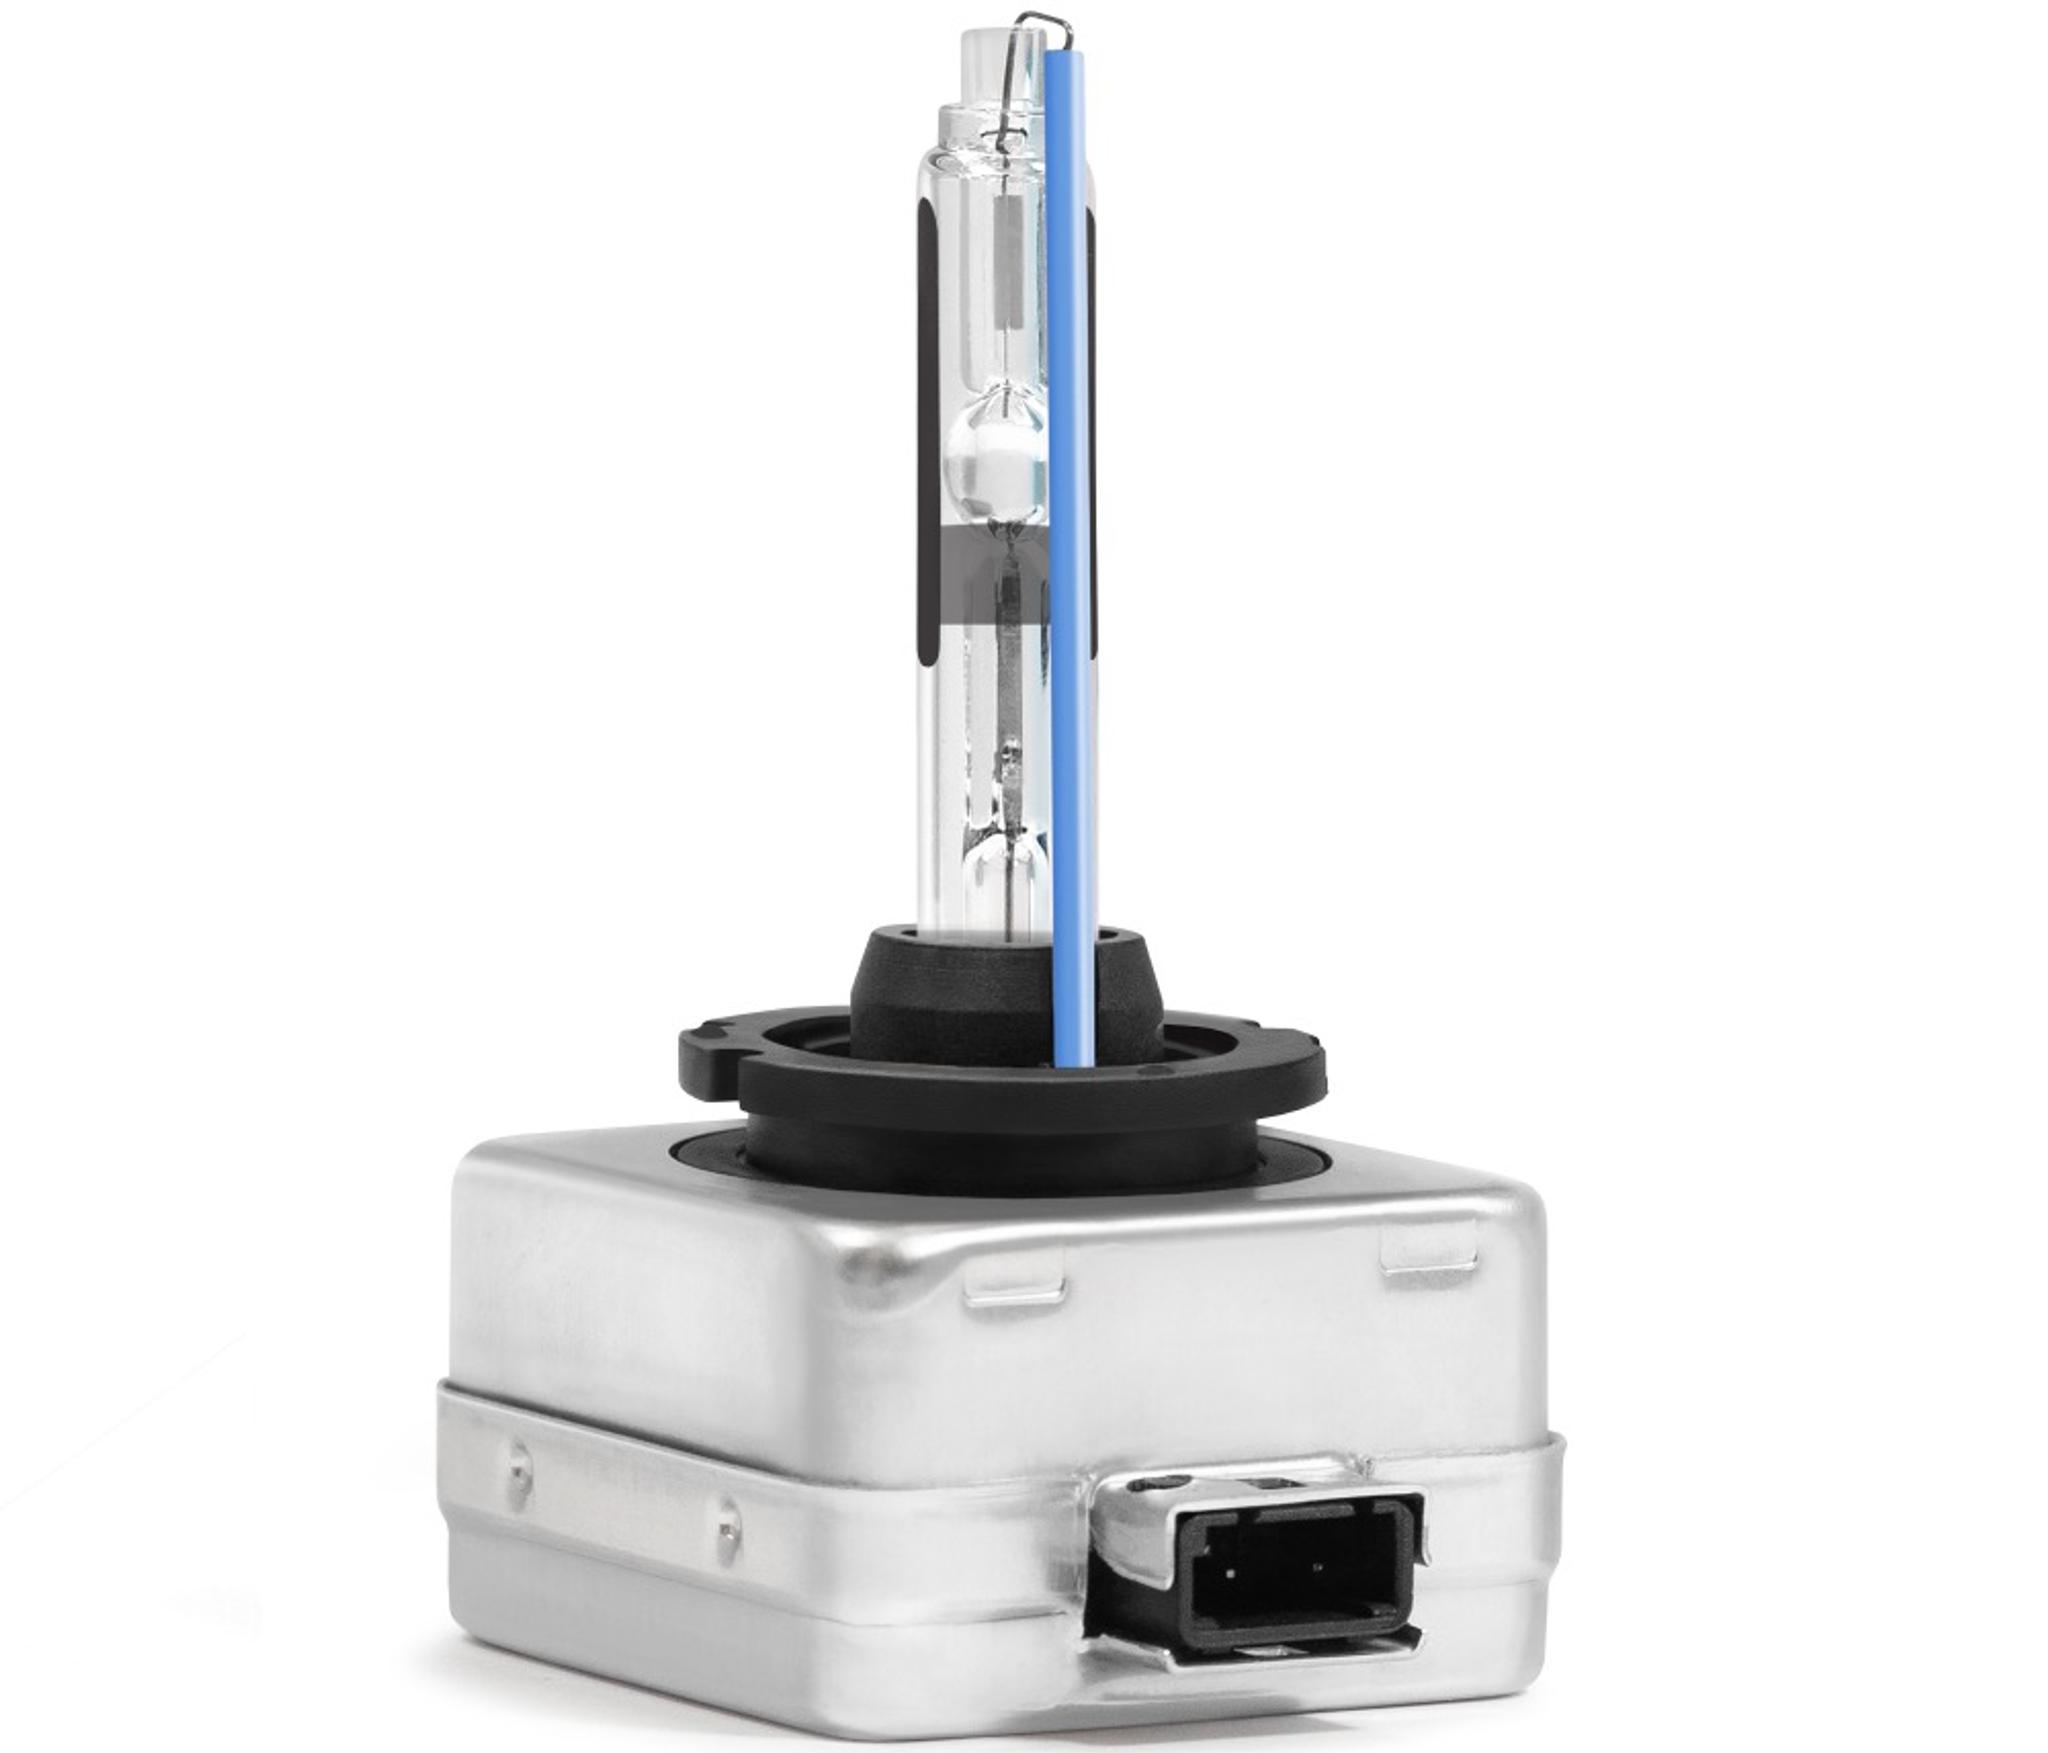
Xenon bulbs, also known as high-intensity discharge (HID) bulbs, are 100-300 times brighter and can last up to 10 times longer than halogen bulbs. It’s a gas-discharge lamp that produces light when electricity passes through the gases inside.
Xenon bulbs are also divided into several types, including D1S/D1R, D2S/D2R, and D3S/D3R. The major difference between the “S” and “R” types is the beam pattern. “S” bulbs are designed for vehicles with projector systems, while “R” bulbs are designed to work with the reflective surfaces inside reflector systems.
The main downside of HID lights is their high price, therefore, they used to be a premium feature often found in more expensive cars during the 2000s. Nowadays, LED lights are taking over because of lower power consumption and manufacturing costs.
Common challenges when replacing headlight bulbs
Usually, a bulb replacement is a pretty straightforward task, but corrosion, a lack of knowledge, or just bad car design can make it overly complicated. Knowing potential challenges can help you tackle them with ease.
Corroded sockets
Bulb socket corrosion in car headlights is very common, especially if a protective cover is missing, allowing moisture to reach metal connections. When metal is exposed to a mixture of oxygen and moisture, it starts developing rust, gradually damaging the metal and limiting the flow of electricity.
Check the connectors and terminals whenever you’re replacing bulbs in your headlights. You can use sandpaper to remove the rust, clean the terminals using an electrical contact cleaner, and apply some socket lubricant to prevent further corrosion. In more severe cases, you may need to replace the socket.
Incorrect bulb size or type
People often buy bulbs that aren’t compatible with their cars, discovering they don’t fit after taking the old bulb out. Some automotive bulbs, especially HID ones, can cost $50 or more, so it can be a costly mistake since most retailers don’t allow the return of electrical parts.
Take the faulty bulb out before buying a new one, or check your vehicle’s owner’s manual to find out what type of bulb is in your car.
Also, if you’re replacing an LED or HID bulb, pay attention to the color temperature because it usually varies from 3,000K (yellow) to 12,000K (blue). 5,000K is the most natural light, so it’s an optimal choice for all kinds of weather.
Faulty fuses or relays
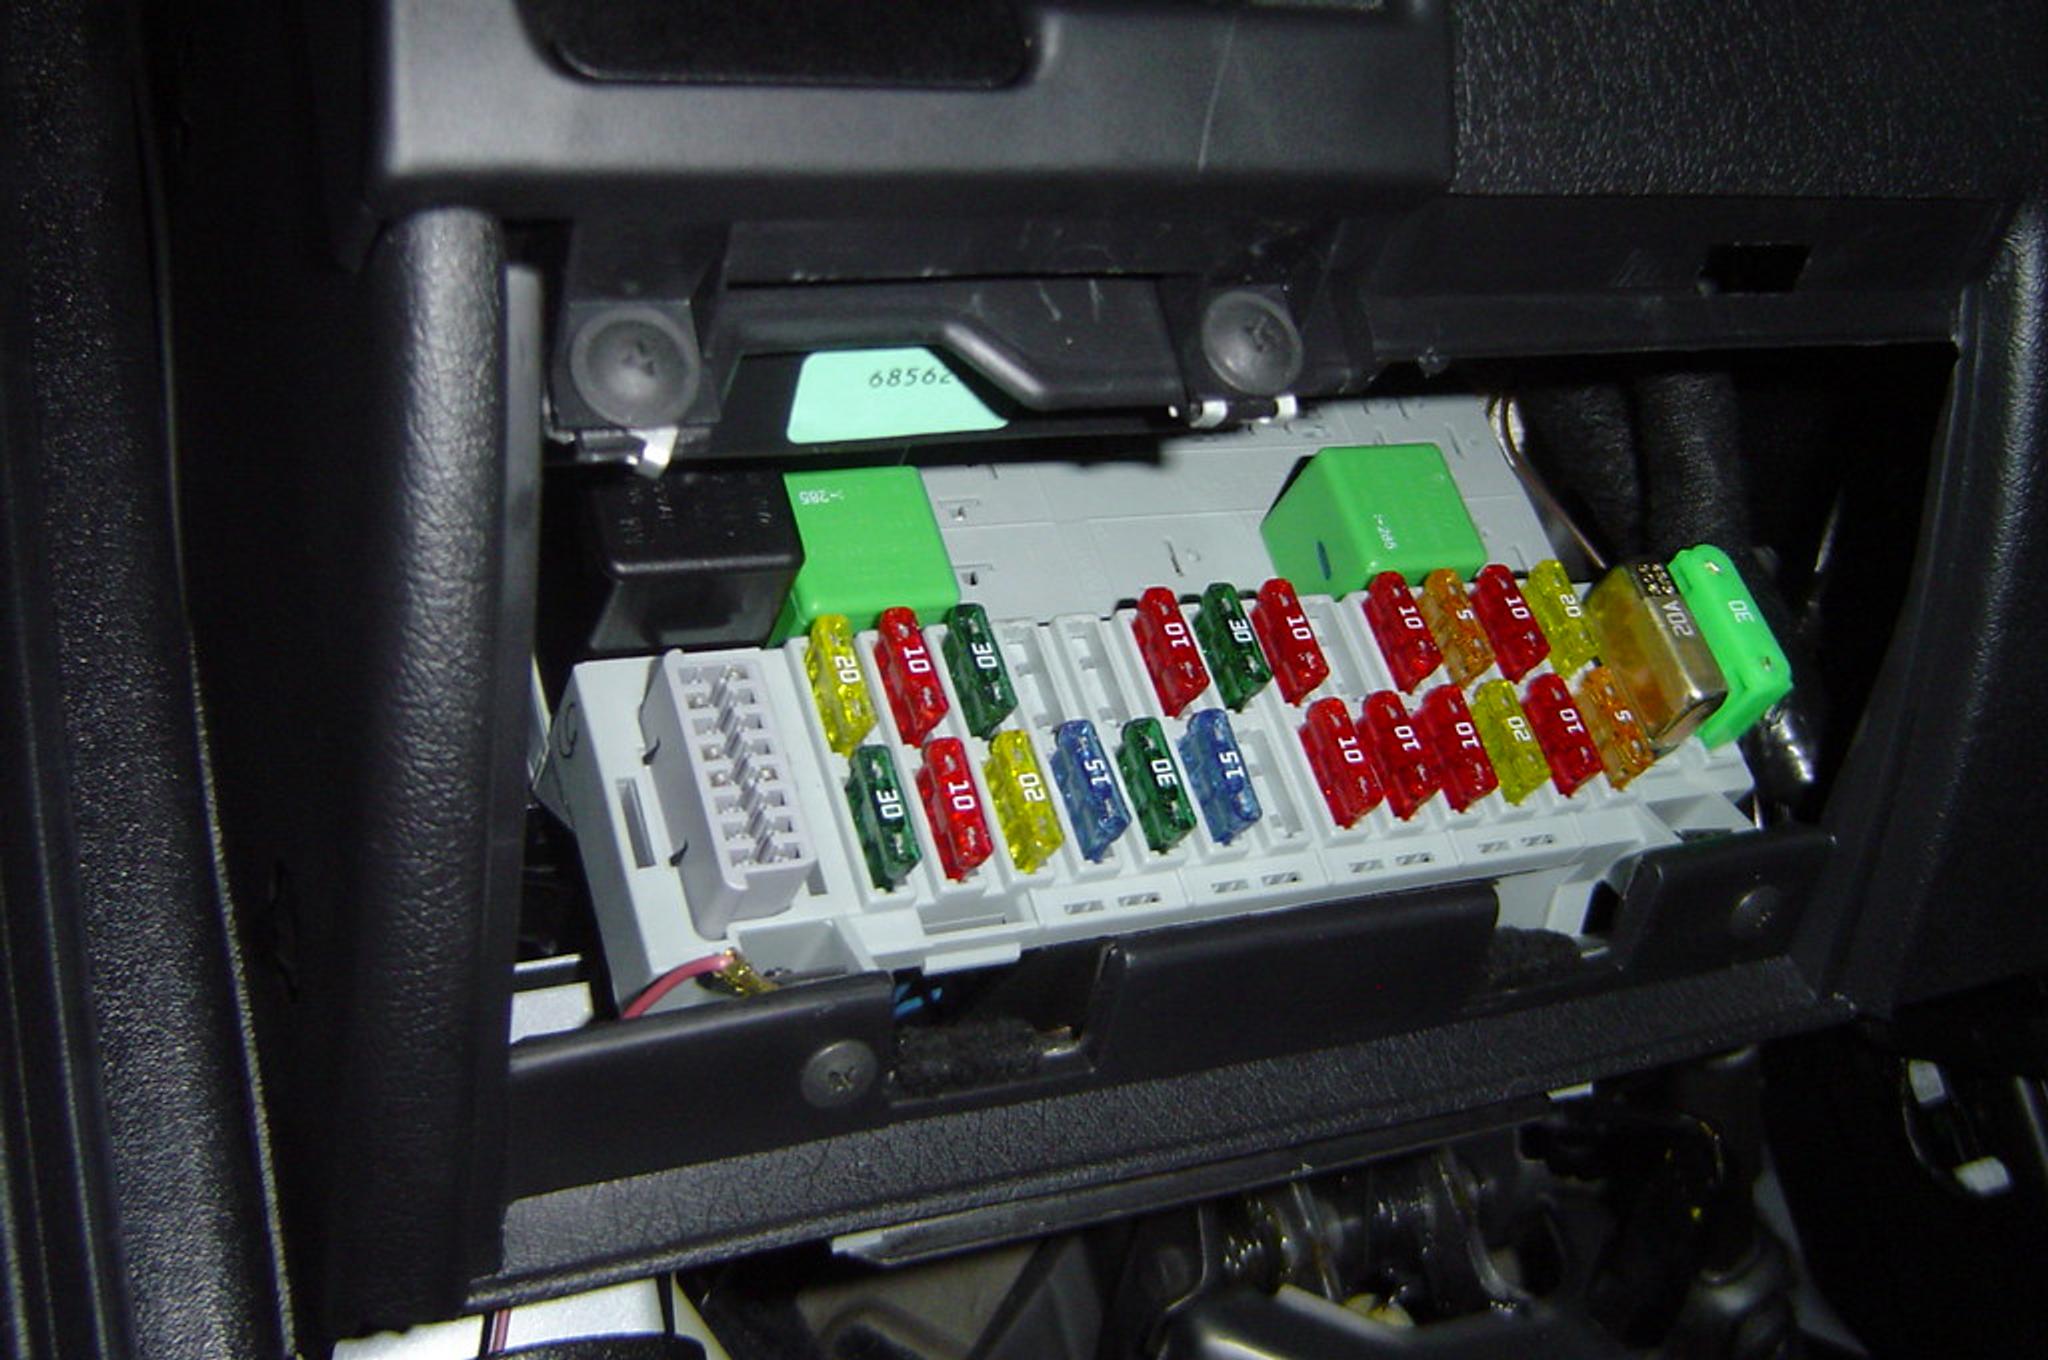
Car experts often recommend checking the fuses before doing any other electrical work because it’s usually the easiest part of troubleshooting.
All electrical devices and systems receive electrical current through the fuses that protect the electrical circuit from overload or short-circuit faults, and relays that open and close circuits by receiving electrical signals.
Checking a fuse is simple – all you have to do is find your fuse box, take the fuse out, and inspect the metal wire inside it. If the wire is broken in two pieces, you’ll need to replace the fuse. If you suspect a faulty relay, most relays have diagrams on their casings to find out what each terminal means and test them using a multimeter.
You can find the location and the diagram of each fuse box in your vehicle’s owner’s manual or online.
Difficult access to the headlight assembly
While a headlight bulb replacement should be one of the most basic car-related tasks, some car manufacturers overcomplicate it by implementing unusual designs and engineering solutions.
Normally, you should be able to access headlight bulb sockets from the engine bay by removing a plastic or rubber dust cover. However, depending on the model, you may need to take the bumper off, take out the headlight, or disconnect a few wiring harnesses first, which can aggravate the bulb change.
Step-by-step guide on how to replace a headlight bulb
All these horror stories of removing the bumper and taking out headlights to replace a bulb can make this task sound daunting, but with a structured approach, you can accomplish it relatively easily.
Here’s a step-by-step guide that will help you avoid common mistakes and properly replace the bulb.
1. Get the necessary tools
In most cases, you can replace a headlight bulb without using any tools at all. However, depending on the model, a phillips or flat head screwdriver may be needed to take off a dust cover.
Also, if other parts must be taken off to access the bulb, you may need additional screwdrivers or wrenches. Take your time to inspect the situation before taking action to make sure you have everything on hand.
2. Access the bulb
Once you access the headlight assembly, disconnect the wiring harness that’s connected to the headlight and remove the dust cover. You should be able to see the bulb socket.
Bear in mind that the sequence of these actions varies depending on the model and bulb type. However, the rule of thumb is to disconnect the power supply before removal.
3. Remove the old bulb
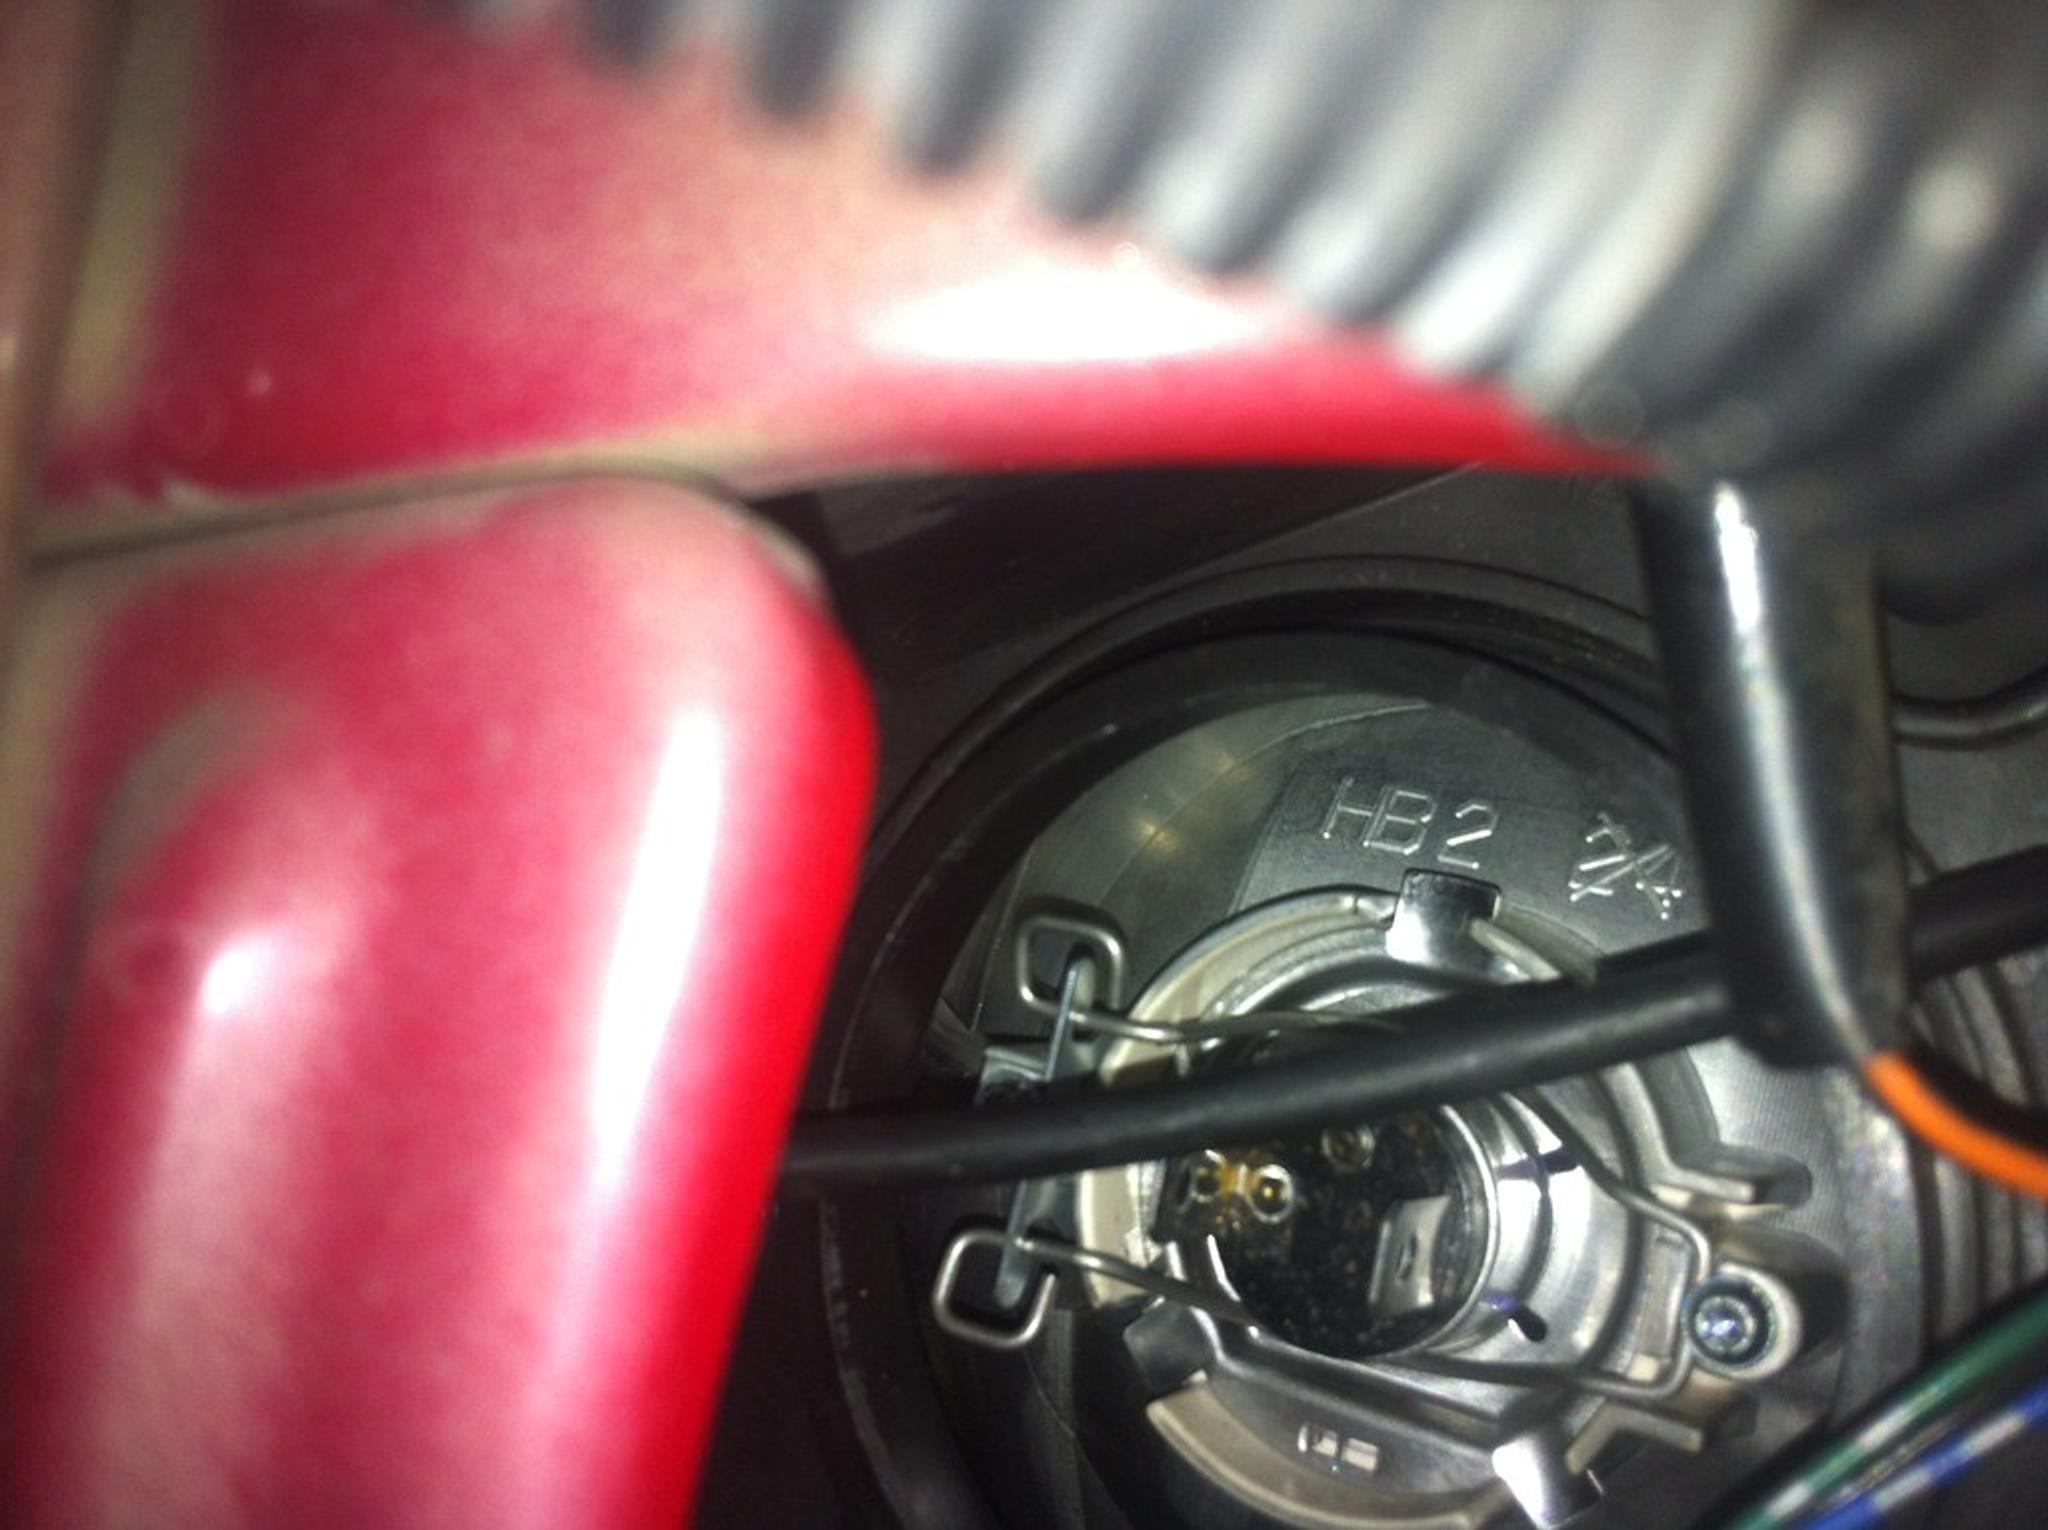
Before removing the bulb, make sure you know how it’s fixed in place. Most bulbs have metal retainer clips that you have to push and move to the side to free the bulb. The type of these retainer clips depends on the car and the bulb type – for instance, some cars have push-and-twist bulbs.
Once you free the bulb, slightly wiggle it to make sure it’s loose, and carefully pull it out.
4. Install the new bulb
Before you take the new bulb out of the box, remember not to touch the glass part because the oils from your skin will stick to the glass, concentrating the heat and damaging the bulb prematurely.
Make sure the bulb is the same type and size as the old one, and insert it the same way you pulled it out. Fix it into place and connect the wiring.
5. Test the headlights
If you’ve done any disassembling, it’s better to test the headlights before installing any parts you’ve uninstalled for better access. Turn on the headlights and check if the bulb you just replaced is working.
Sometimes, people install the bulb incorrectly, making the light beam wrong. If possible, park your car with its headlights facing the wall and check if both headlight beams are correct and on a similar level.
Tips for headlight maintenance
Maintaining your car's headlights is crucial for ensuring optimal visibility on the road, safety, and better aesthetics. Regular maintenance can prevent common issues such as dimming, yellowing, and eventual failure of the lights. Usually, drivers only react when there’s a problem without taking appropriate actions to prevent it in the first place.
Here are a few simple and effective tips to preserve your headlights.
Clean carefully
Whenever you’re washing your car, be careful with the headlights because they easily become scratched and faded when not maintained properly. Usually, a high-pressure washer can do the job without touching the headlights, however, if they need some scrubbing, you can use a soft microfiber cloth.
Install paint protection film (PPF)
Paint protection film (PPF) is one of the most effective ways to protect the paint and headlights from rocks, scratches, and sun damage. If your headlights are in perfect condition and you want to keep them that way, installing PPF is a quick and effective way to preserve the looks and condition of your headlights. It costs around $100-$120 if done by professionals, but the task isn’t complicated, so you can save some money by doing this yourself.
Change bulbs on both sides at the same time
Bulbs dim and reduce brightness over time, therefore, you can notice a significant difference after replacing a bulb on only one side. This is especially common with xenon bulbs because they fade pretty quickly. However, this is mostly an aesthetical issue, so it’s up to you how many bulbs to replace.
Avoid moisture build-up
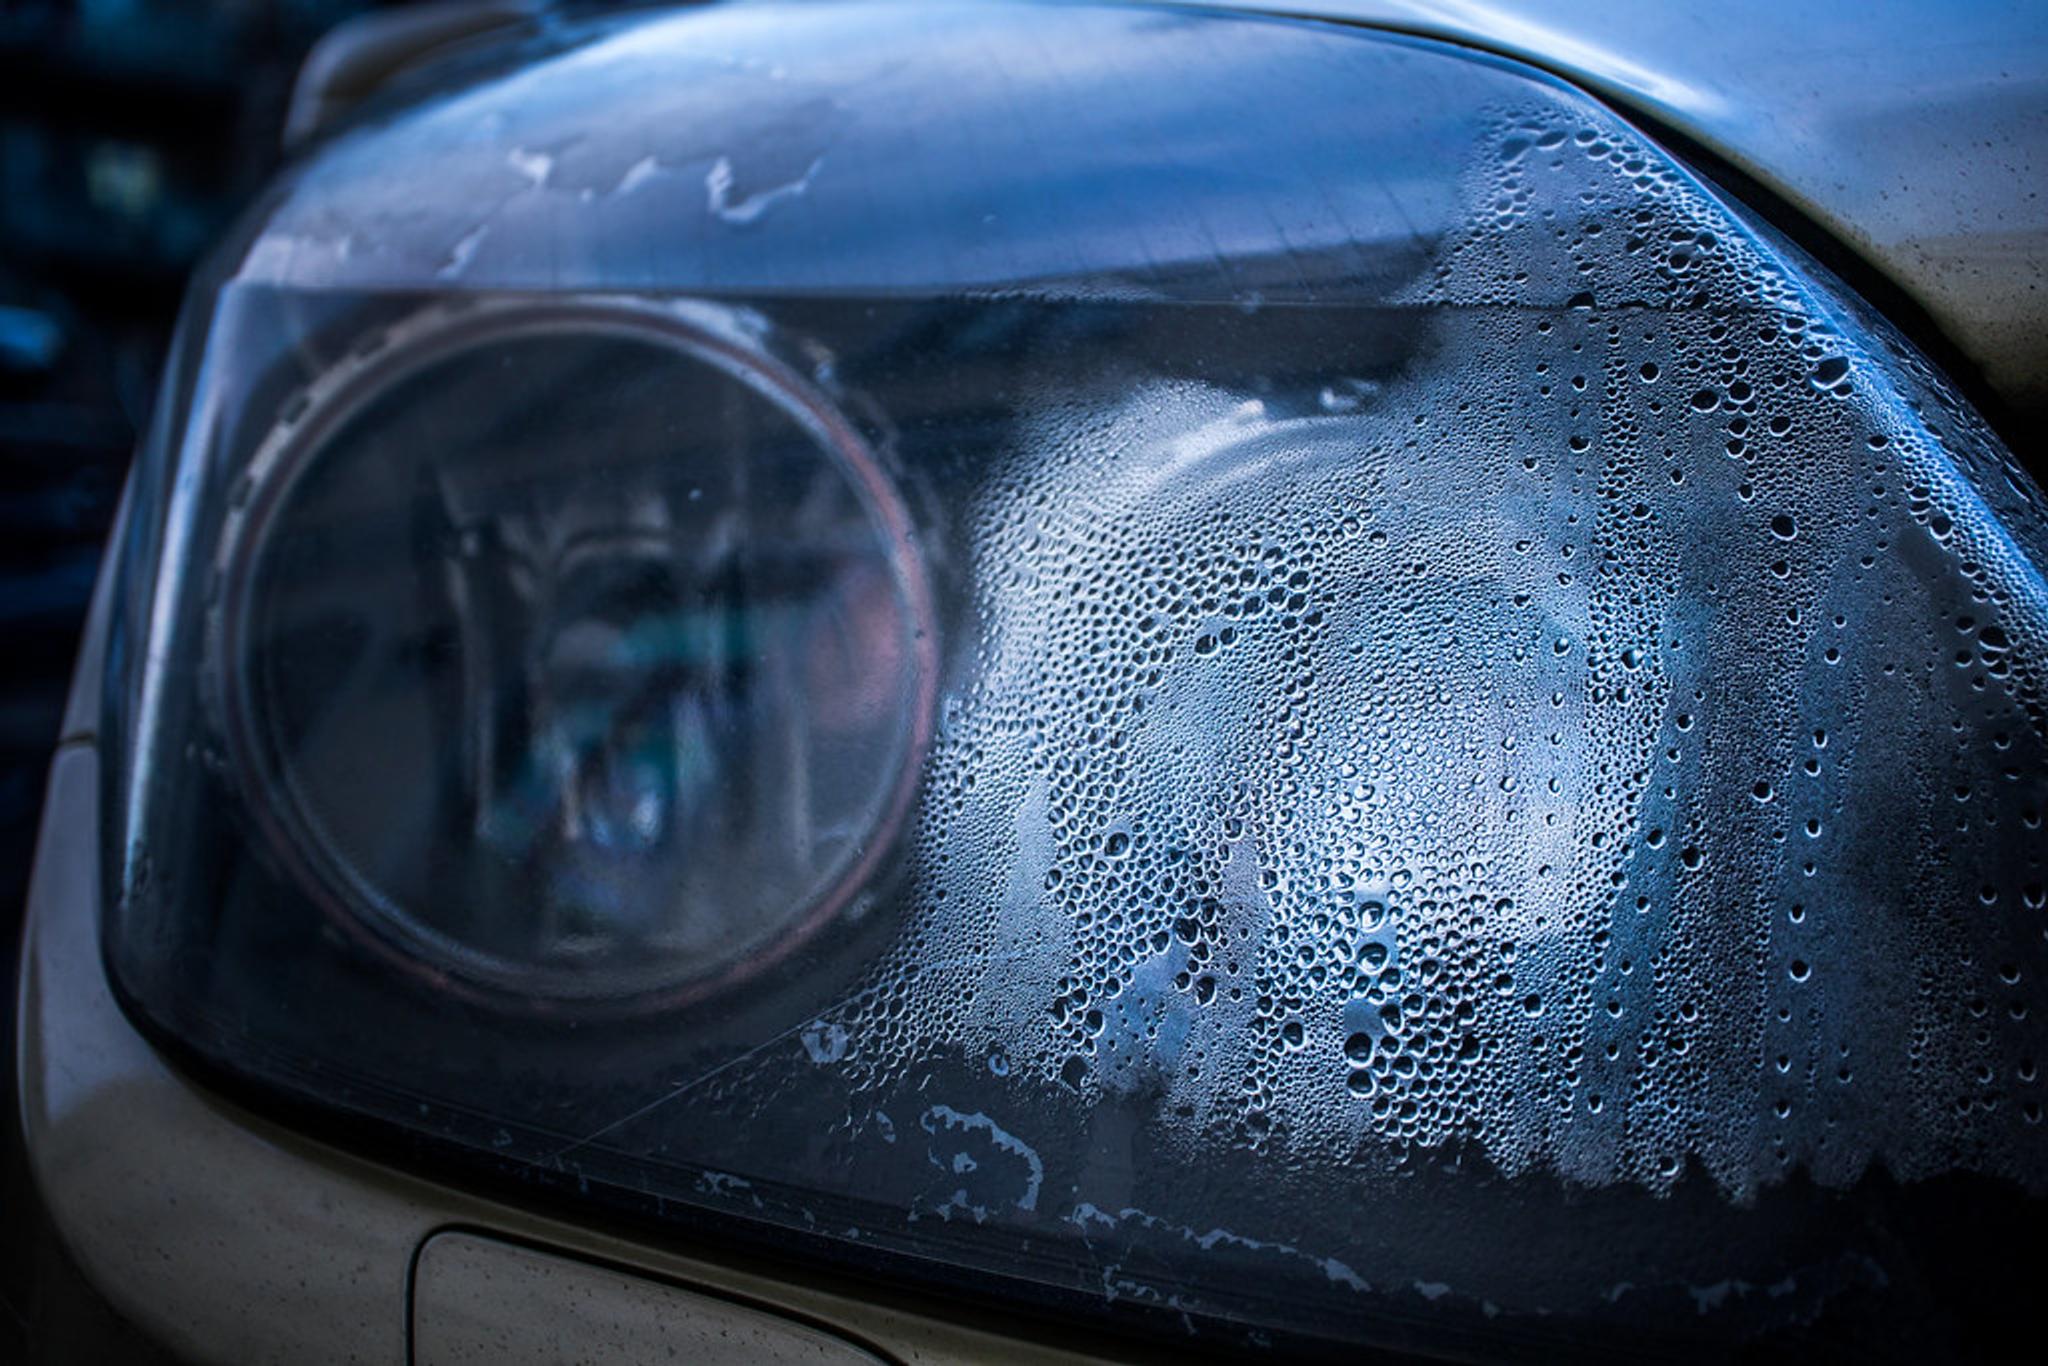
When moisture finds its way into headlights, it can damage the connectors, reflectors, and lenses, hurting the headlight’s efficiency. Normally, headlights have vents to keep the internals cool and dry, but when headlight seals are damaged or the housing is cracked, water leaks inside and damages the internals.
You can fix the issue by resealing the headlights or replacing an entire headlight if it’s damaged. This task can require special tools and knowledge, so it’s best to leave it to professionals.
Learn about the history of your car
Learning about the vehicle’s history is also important when maintaining its systems and parts, including the headlights. Sometimes, even with the new bulb and seals, headlights still trap moisture inside if they were damaged in the past. For instance, if a car had an accident, its structure may be damaged, causing leaky headlights. This issue is also common with flooded vehicles.
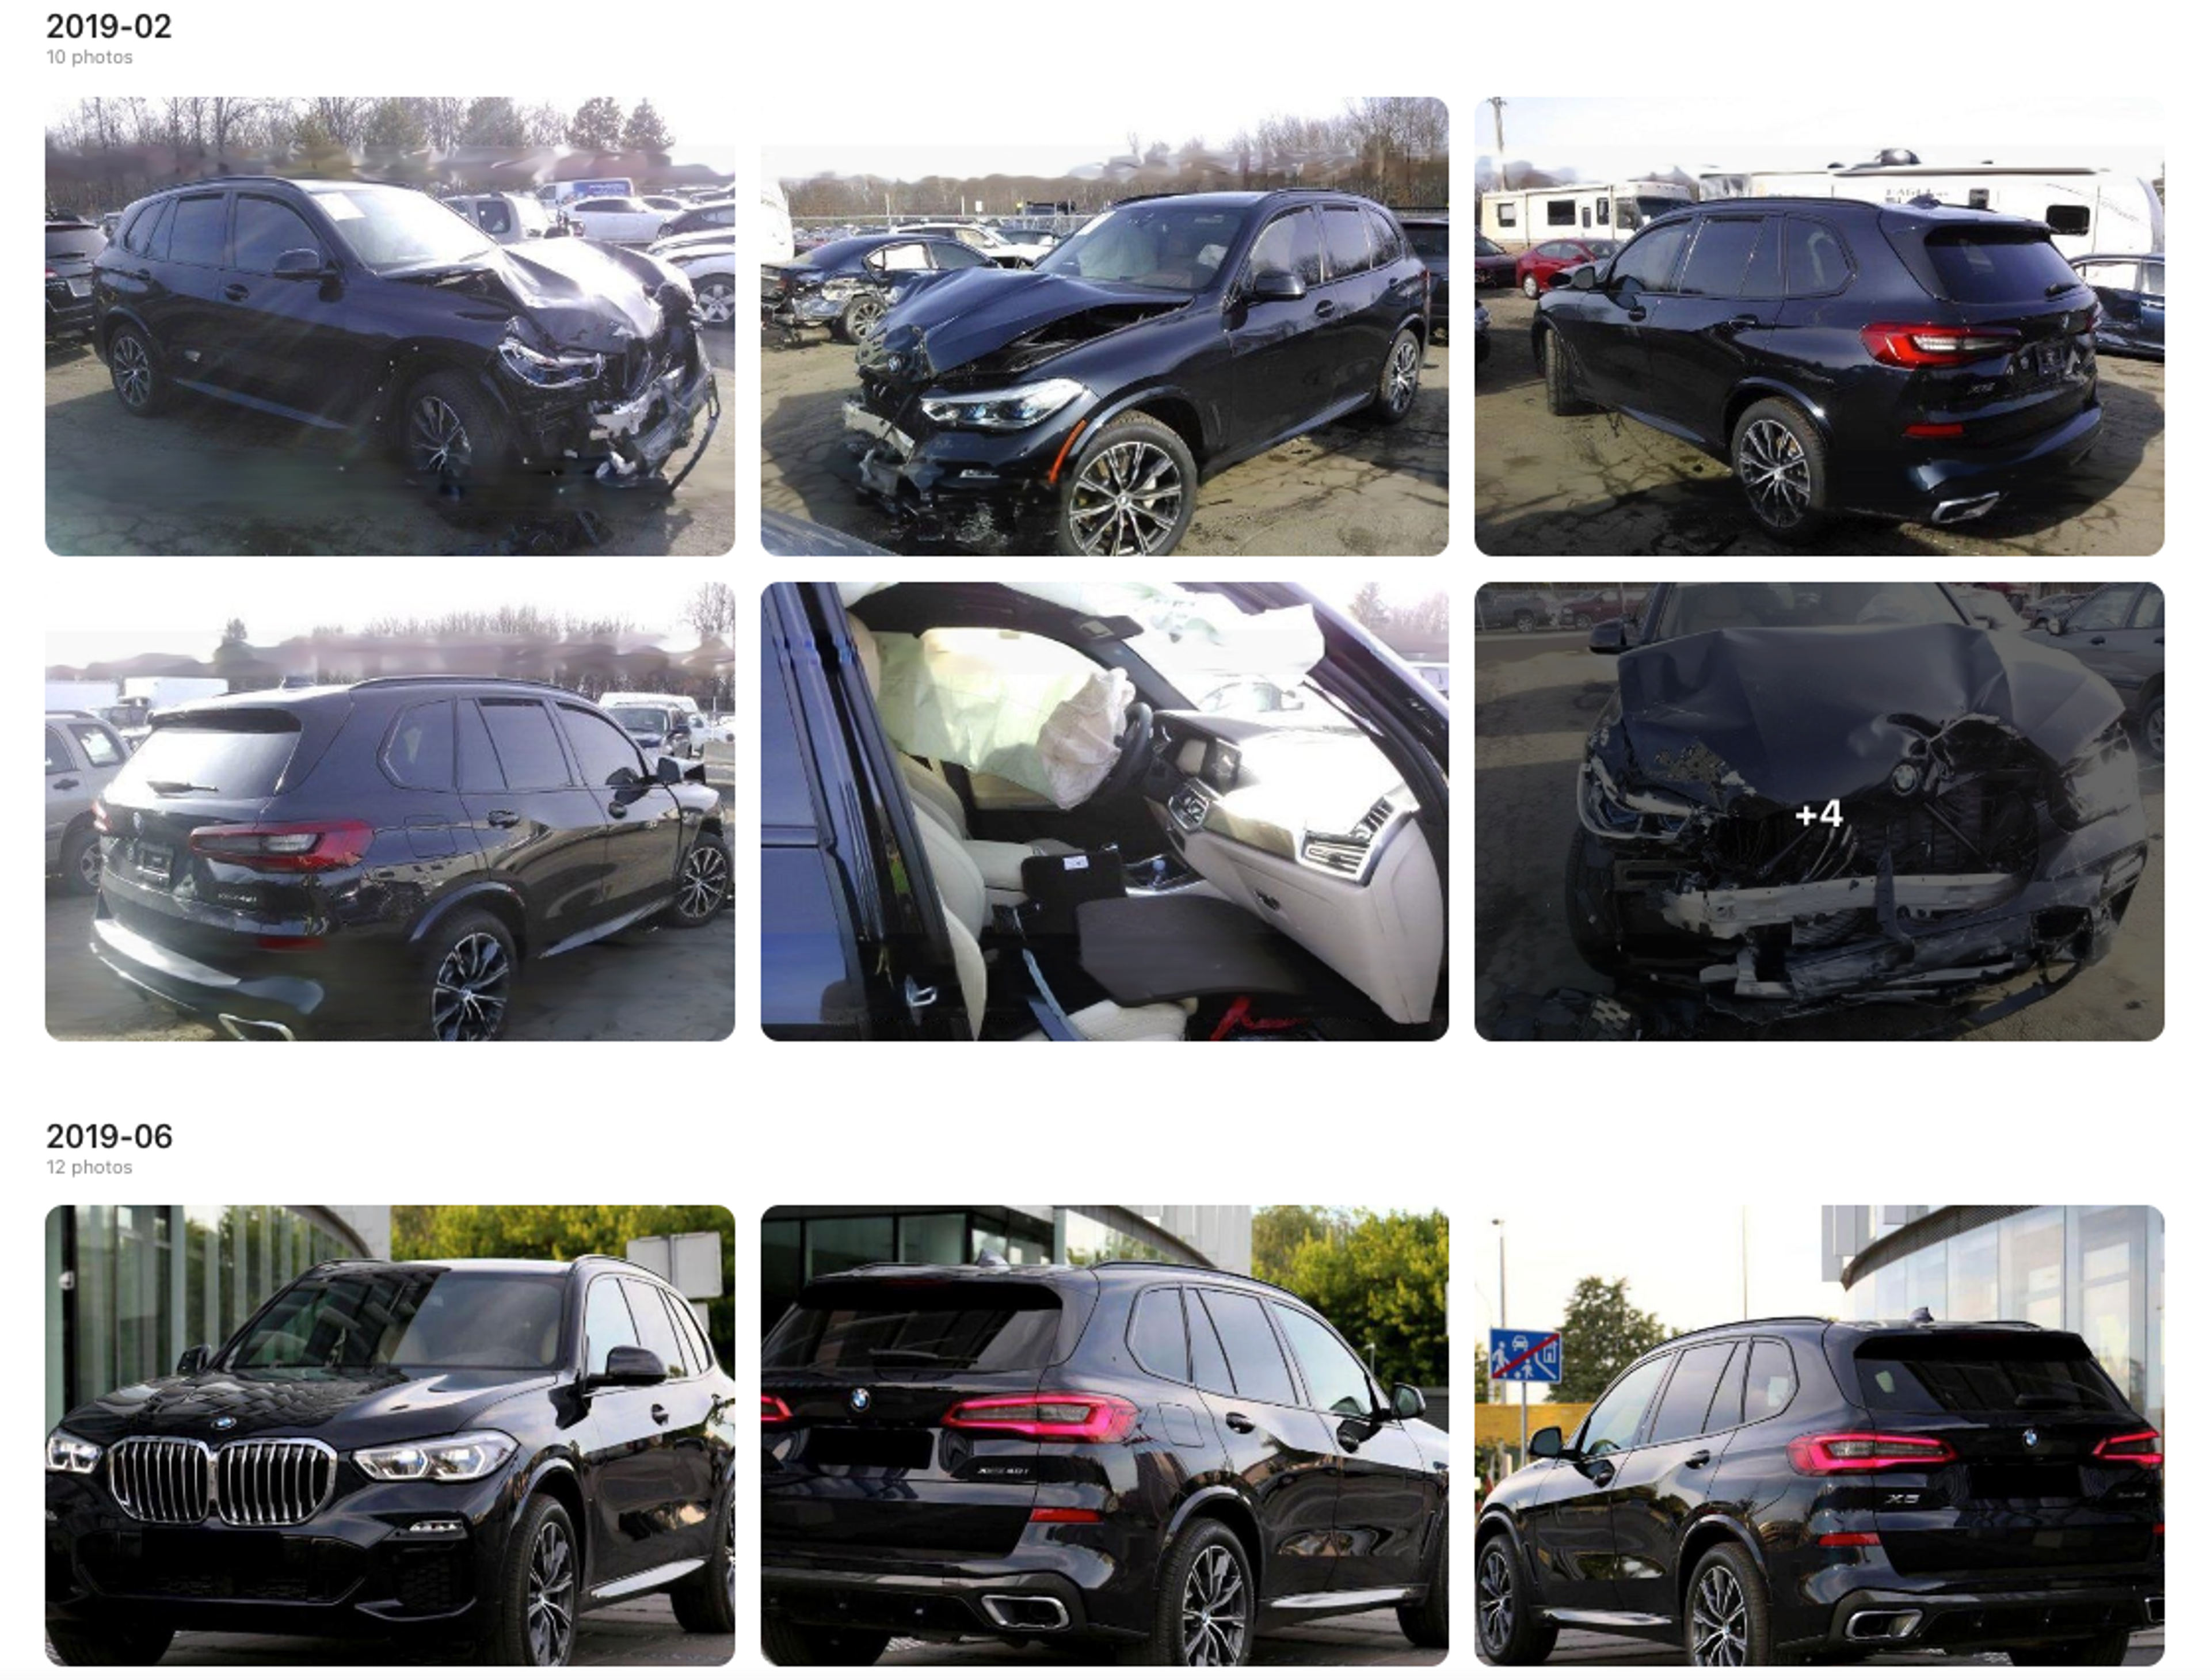
You can check the history of your vehicle by entering its vehicle identification number (VIN) here. After a free initial check, you’ll be able to purchase a detailed history report, often containing data about past accidents (often with pictures), mileage and theft records, title information, and other valuable facts. All information is up-to-date and collected from trusted sources, including governmental registries, vehicle inspection centers, dealerships, and police.
Car history reports are also very convenient when looking to buy a used car, since you can learn important information about its history, allowing you to make smarter and fact-based decisions.

Check your VIN
Avoid costly problems by checking a vehicle's history. Get a report instantly!
