Car safety technologies and how to check them

Renata Liubertaitė
In a world where rush hour feels like a perpetual pit stop, technological advancements continue to play a pivotal role in mitigating risks and enhancing the safety of everyone on the road.
Let’s look at some of the biggest innovations in car safety and learn how to check them when buying a used car.

Looks can be deceiving!
Don't risk your safety - check it with carVertical first
Common car safety tech in modern vehicles
Most modern cars are equipped with high-tech features that can keep you safer on the road and significantly improve your driving experience.
Here’s a quick overview of the most common car safety technology (besides obvious ones like seatbelts or airbags) you may want to find in the car you’re buying.
Adaptive cruise control
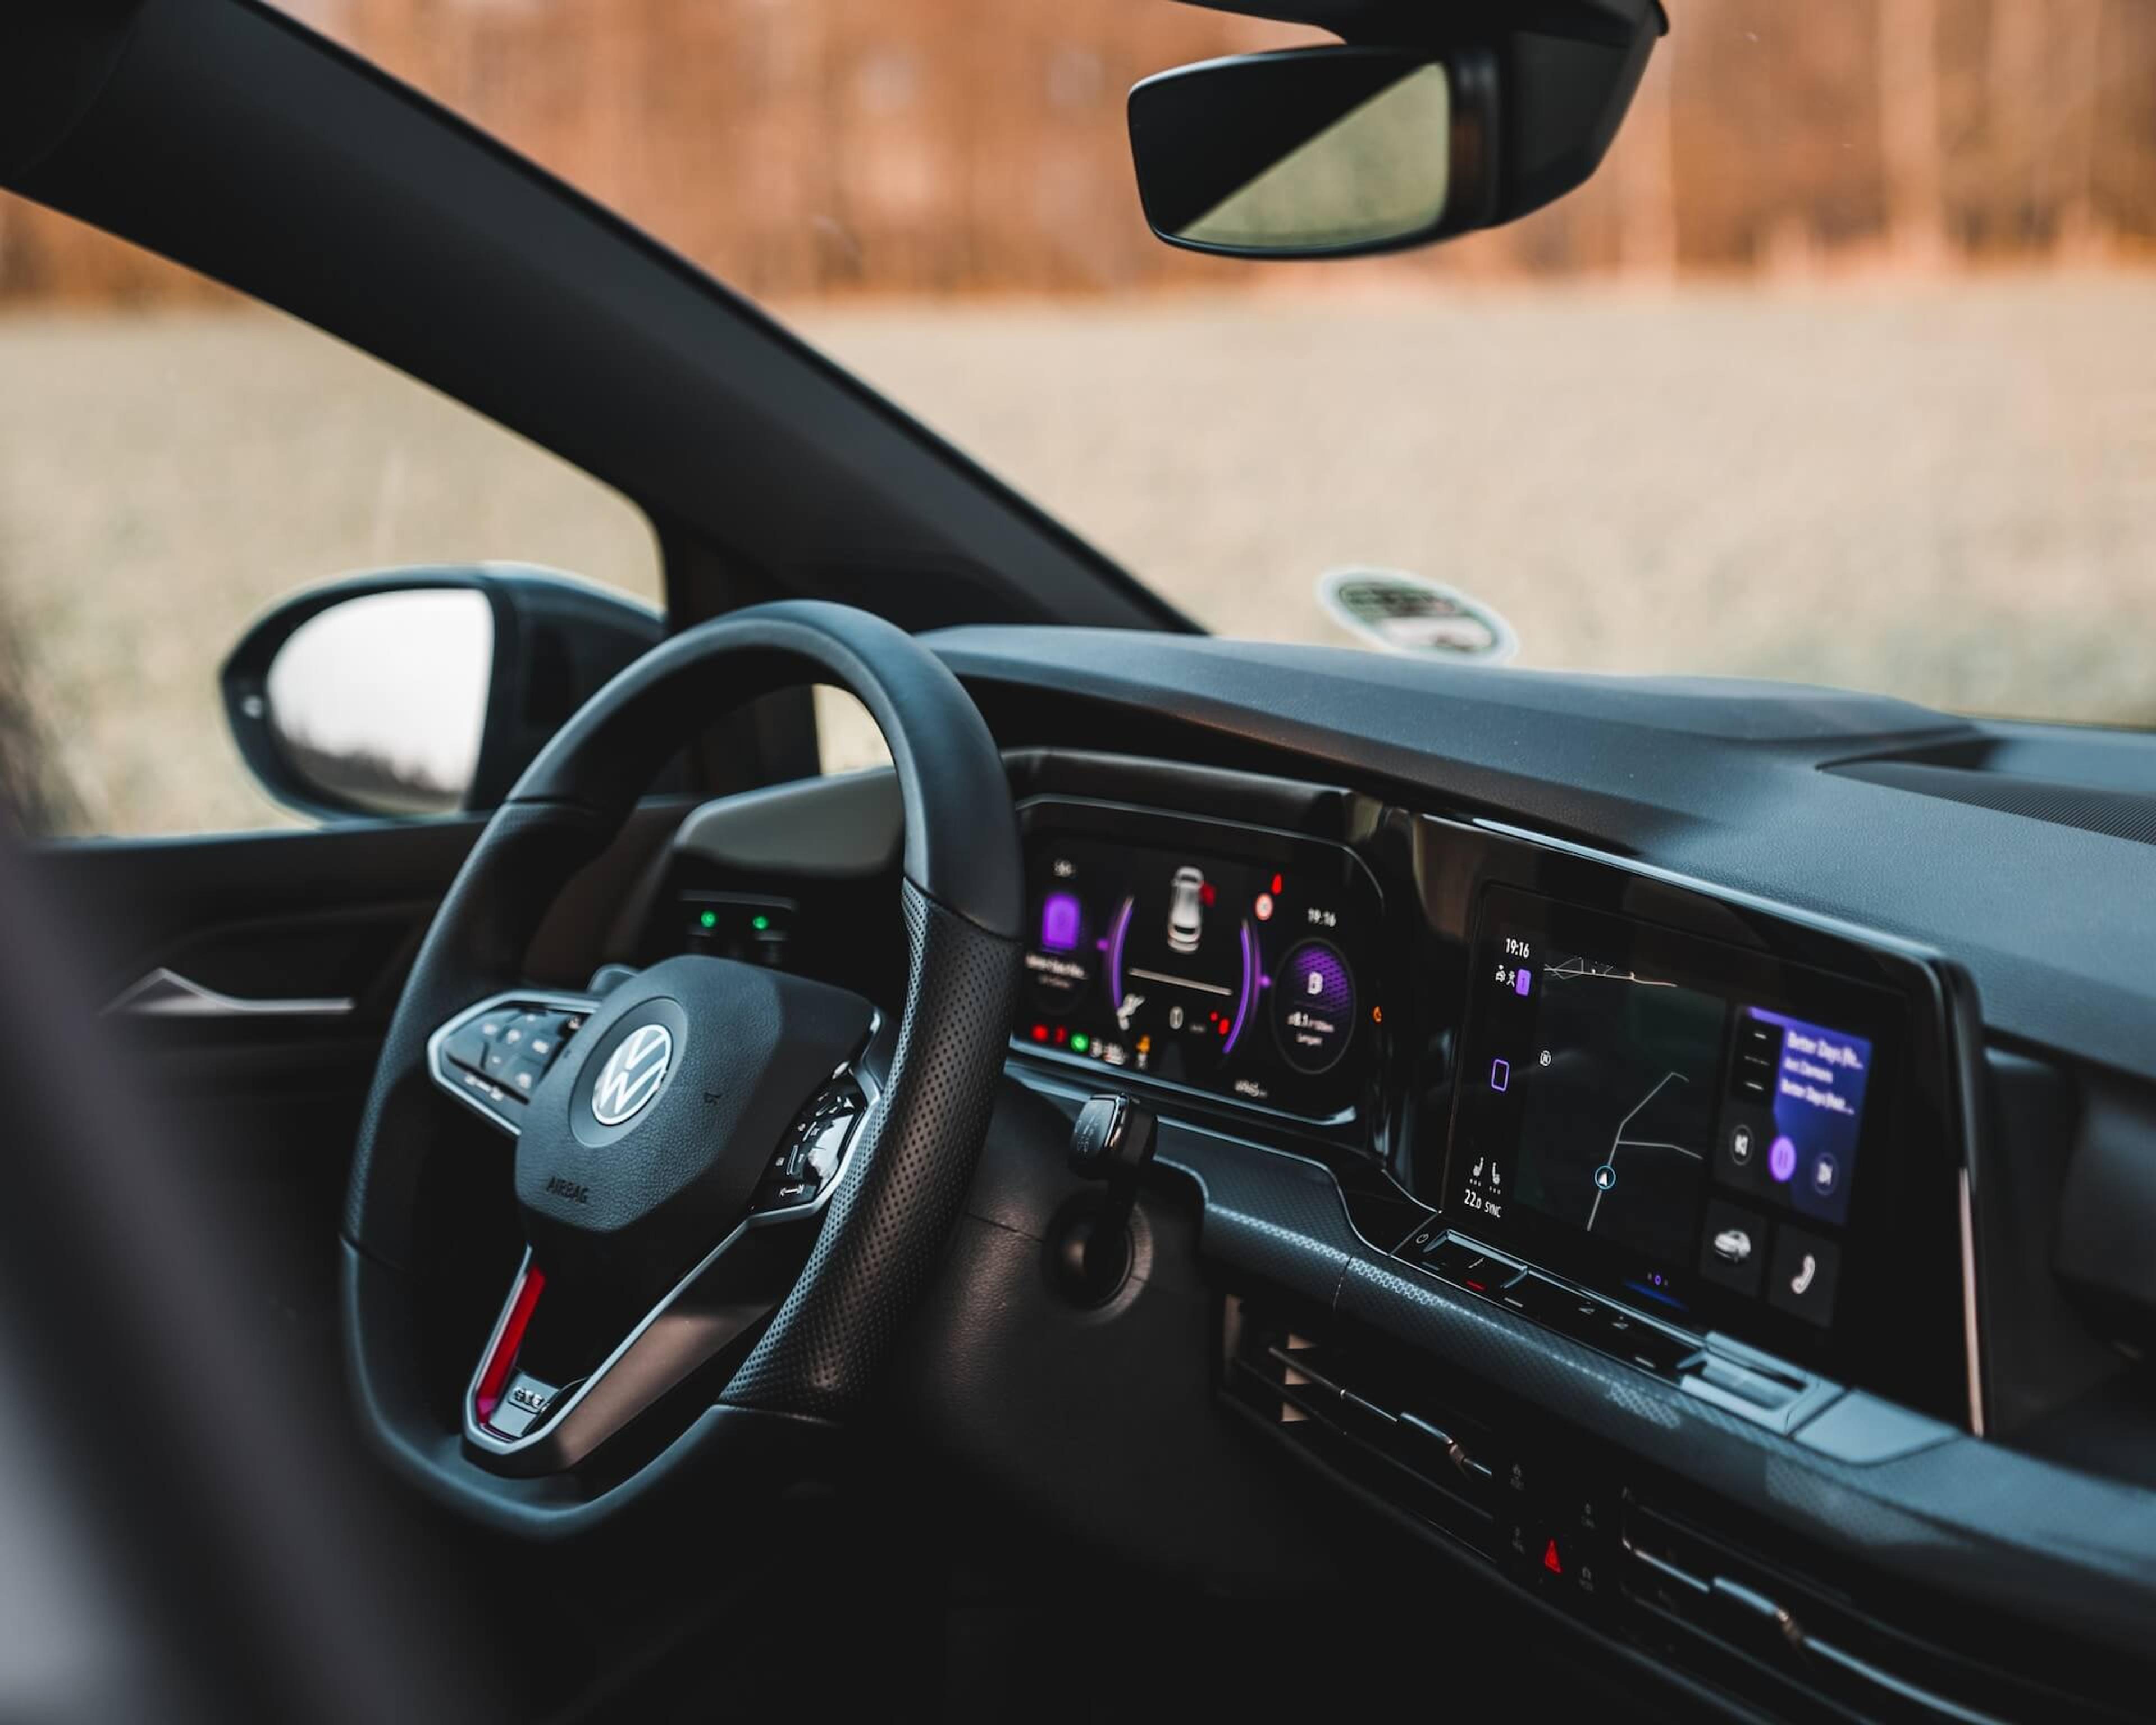
Adaptive cruise control (ACC) is an advanced driver-assistance system technology created to improve vehicle safety and driving comfort.
While traditional cruise control allows a car to maintain a set speed without manual input from the driver, ACC can also automatically adjust the vehicle’s speed to maintain a safe following distance from the car ahead.
This car safety tech can significantly reduce the stress of driving in traffic and help prevent rear-end collisions caused by inattentiveness or delayed reactions. However, you should always remain aware of your surroundings because ACC is not a substitute for active driver engagement.
How to test the ACC
To check the ACC system, set a specific speed and following distance and watch if the system can maintain it consistently and match the traffic.
Safely drive your car behind another car and observe how well it can adjust to the situation on the road. The system should smoothly accelerate or decelerate the vehicle as needed or even stop it if necessary. Since abrupt movements or delays may indicate a problem, it’s recommended to test the ACC system in different conditions (light and heavy traffic, different speeds, etc.).
Lane departure warnings
The primary function of the lane departure warning (LDW) system is to alert the driver when their vehicle is drifting out of its travel lane without using a turn signal. Typically, LDW systems use a camera mounted on the rearview mirror or near the windshield to monitor the car’s position within the lane, yet it could also be done by employing onboard sensors, radar, GPS, and lasers.
There can be different types of alerts that LDW systems send, for instance:
- Visual, when you see a flashing light on the dashboard or a visual icon displayed on the instrument cluster.
- Audio – typically a beeping sound.
- Haptic alerts – you can physically feel the alert, e.g., steering wheel vibrations.
Overall, LDW systems are a valuable tool for improving road safety by helping drivers avoid or mitigate potentially dangerous situations.
How to test the LDW system
To test the LDW system, choose a road with clear lane markings and drive within the markings while paying attention to the system’s response. Once you’re sure it’s 100% safe, try to drift out of your lane (don’t touch the turn signal). The LDW system should trigger an alert as soon as you cross over the lane markings without signaling – and that’s how you know it’s working properly.
Blind spot detection
Blind spot detection (BSD) comes in handy in detecting and avoiding vehicles or other obstacles in the driver’s blind spot (an area that is not directly visible to the driver through the mirrors or windows). Put simply, it uses various sensors to provide visual or audible warnings about potential danger.
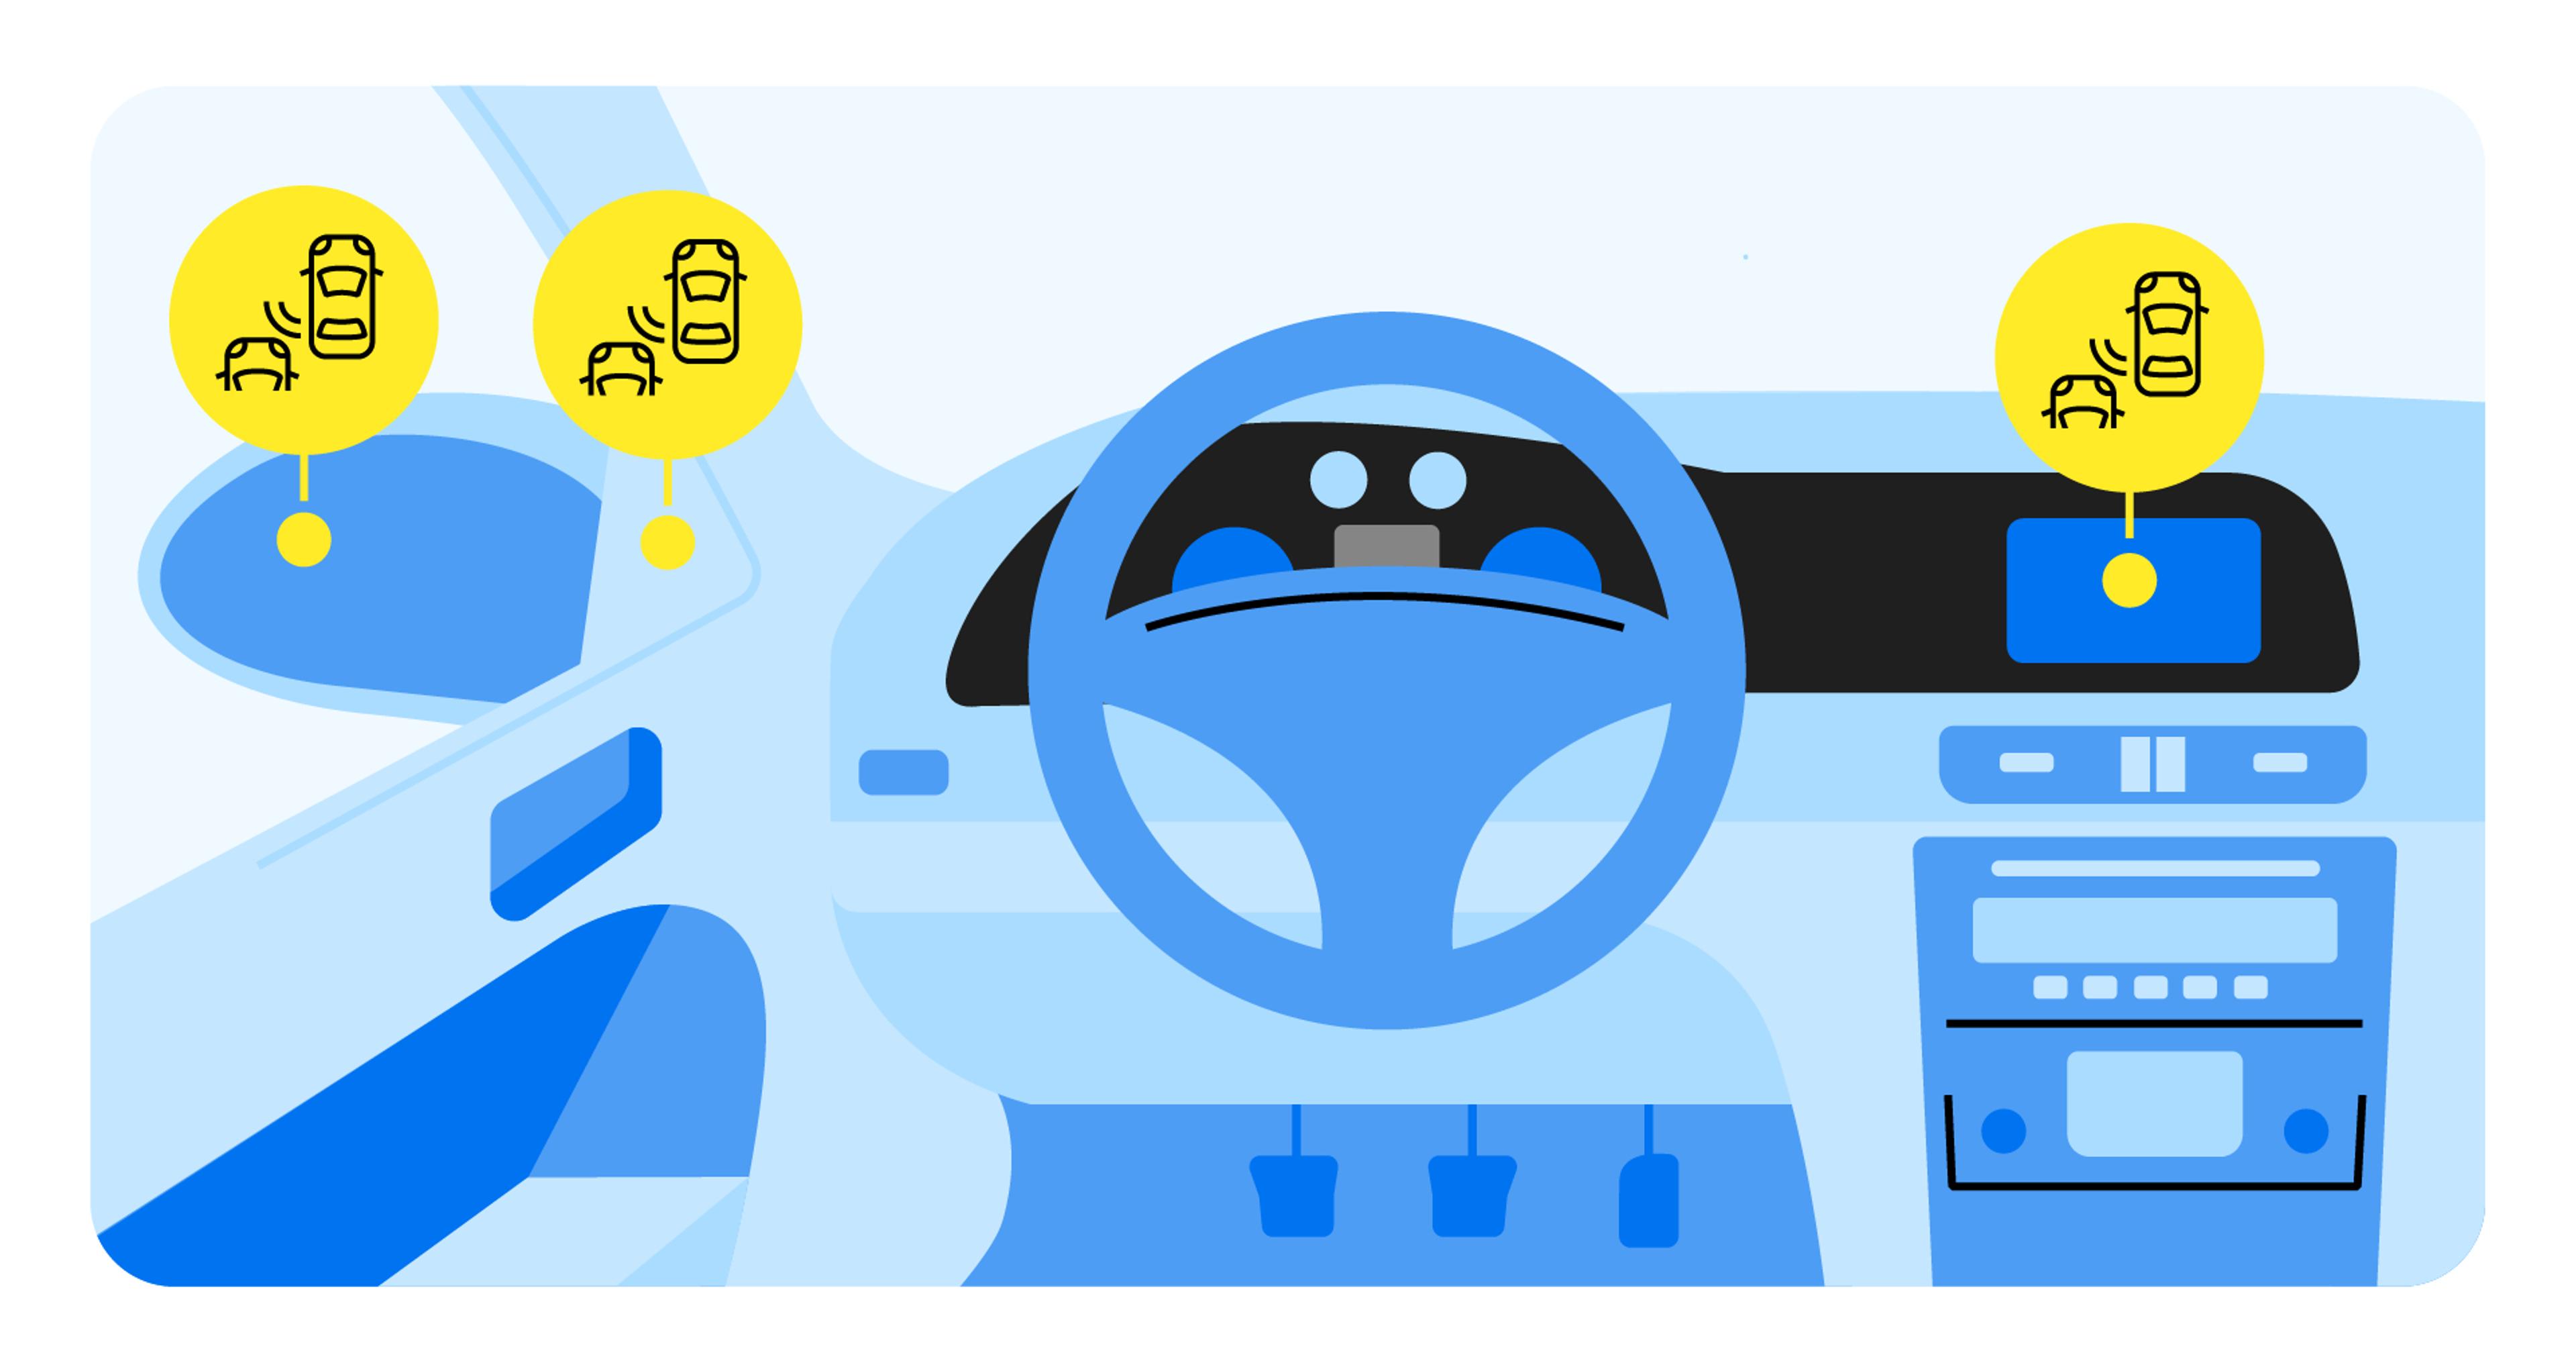
While BSD systems can help reduce accidents and collisions, you should not rely solely on them. Like similar technologies, they can generate false alarms, especially during extreme weather conditions or when sensors are obstructed. Stay aware no matter what, and continue to physically check the blind spots if possible.
How to test the BSD system
To test the BSD system, choose a road with multiple lanes and a moderate amount of traffic. Before starting, make sure you know how the system indicates the vehicles in your blind spot – some of them use visual alerts on side mirrors, and others can provide dashboard warnings or display live camera view.
The BSD system uses cameras, sensors, or radar sensors to alert you about another vehicle. Therefore, simply activate it and start driving – once the BSD detects an object in your blind spot, it will trigger a warning signal, indicating that it’s not safe to change lanes.
Forward collision systems
Forward collision systems (also known as forward collision warning or collision mitigation systems) may provide visual, audible, or other alerts when your vehicle is approaching an obstacle, e.g., passengers, a slower-moving car, or a stopped car in front of you.
Like other advanced driver assistance systems (ADAS), the forward collision system uses various sensors to monitor the road ahead and determine if there’s a risk of collision. It considers factors like the speed of the vehicles involved, the relative closing speed, and the distance between objects to guide the driver.
How to test a forward collision system
Checking the forward collision system involves simulated scenarios that can help assess the system’s ability to detect potential danger and alert or intervene to prevent it. It’s important to note that the minimum speed at which this system is activated may vary by vehicle, so check the user manual before jumping to conclusions (usually, it’s 10-20 mph).
Once ready, look for an empty road with no traffic (e.g., an empty parking lot). Set up a stationary object, such as a foam board or cardboard box, at a safe distance in front of your vehicle. Start driving towards it at a moderate speed, but ensure there’s enough distance to stop safely in case the system fails.
When approaching the obstacle, pay attention to the system’s response. It should warn you about the potential collision either through visual or auditory alerts or by applying automatic braking, depending on its capabilities.
Automatic emergency braking
The Automatic Emergency Braking (AEB) system is often paired with forward collision systems as it also scans the road ahead while driving and warns you in case of an obstacle on the road.
The difference between these two systems is that if you fail to respond to the warnings and don’t take action in a critical situation, AEB can automatically start slowing down your car or even stop it to prevent a potential accident or reduce the severity of it.
How to test automatic emergency braking (AEB) system
Similarly to the forward collision system, the functionality of AEB can be tested by setting up a soft target in an empty parking lot. Then, start driving towards the obstacle at a safe and controlled speed, ensuring that you can manually stop the car if needed.
As you approach the obstacle, the AEB system should detect it and initiate braking automatically. Before applying the brakes, it may also alert you with visual or auditory warnings.
Anti-lock braking system
Anti-lock braking system (ABS) has become a common and one of the most important safety features in modern cars. It prevents wheels from locking up during hard braking.
Without ABS, pressing the brake pedal causes the brake pads to press tightly against the wheels’ discs and instantly stops the wheels from rotating, causing them to lock up. In such a situation, you can’t steer anymore, and the vehicle continues to move uncontrollably.
When ABS detects that a wheel is on the verge of locking, it temporarily reduces brake pressure on that wheel, allowing it to regain traction. As the wheels continue rotating, the driver can maintain control over the car in case of a heavy braking situation.
How to test the ABS
Find a safe place with no traffic and any hazards or obstacles to perform the ABS system test. Make sure you know how the ABS operates in the car you’re testing. Typically, ABS is always active, unless there’s some malfunction indicated by a dashboard warning light.
Start the test by accelerating the vehicle to a moderate speed. Once ready, firmly and steadily press the brake pedal to initiate a controlled, hard braking maneuver.
When you have ABS brakes, it’s perfectly normal to feel a pulsating or vibrating feeling during a panic stop. It can even push back at you. Continue pressing the brake pedal while gently turning the vehicle, as ABS allows you to maintain some steering control while braking. To assess the ABS’s effectiveness in different scenarios, repeat the controlled braking test at varying speeds.
Rear view cameras
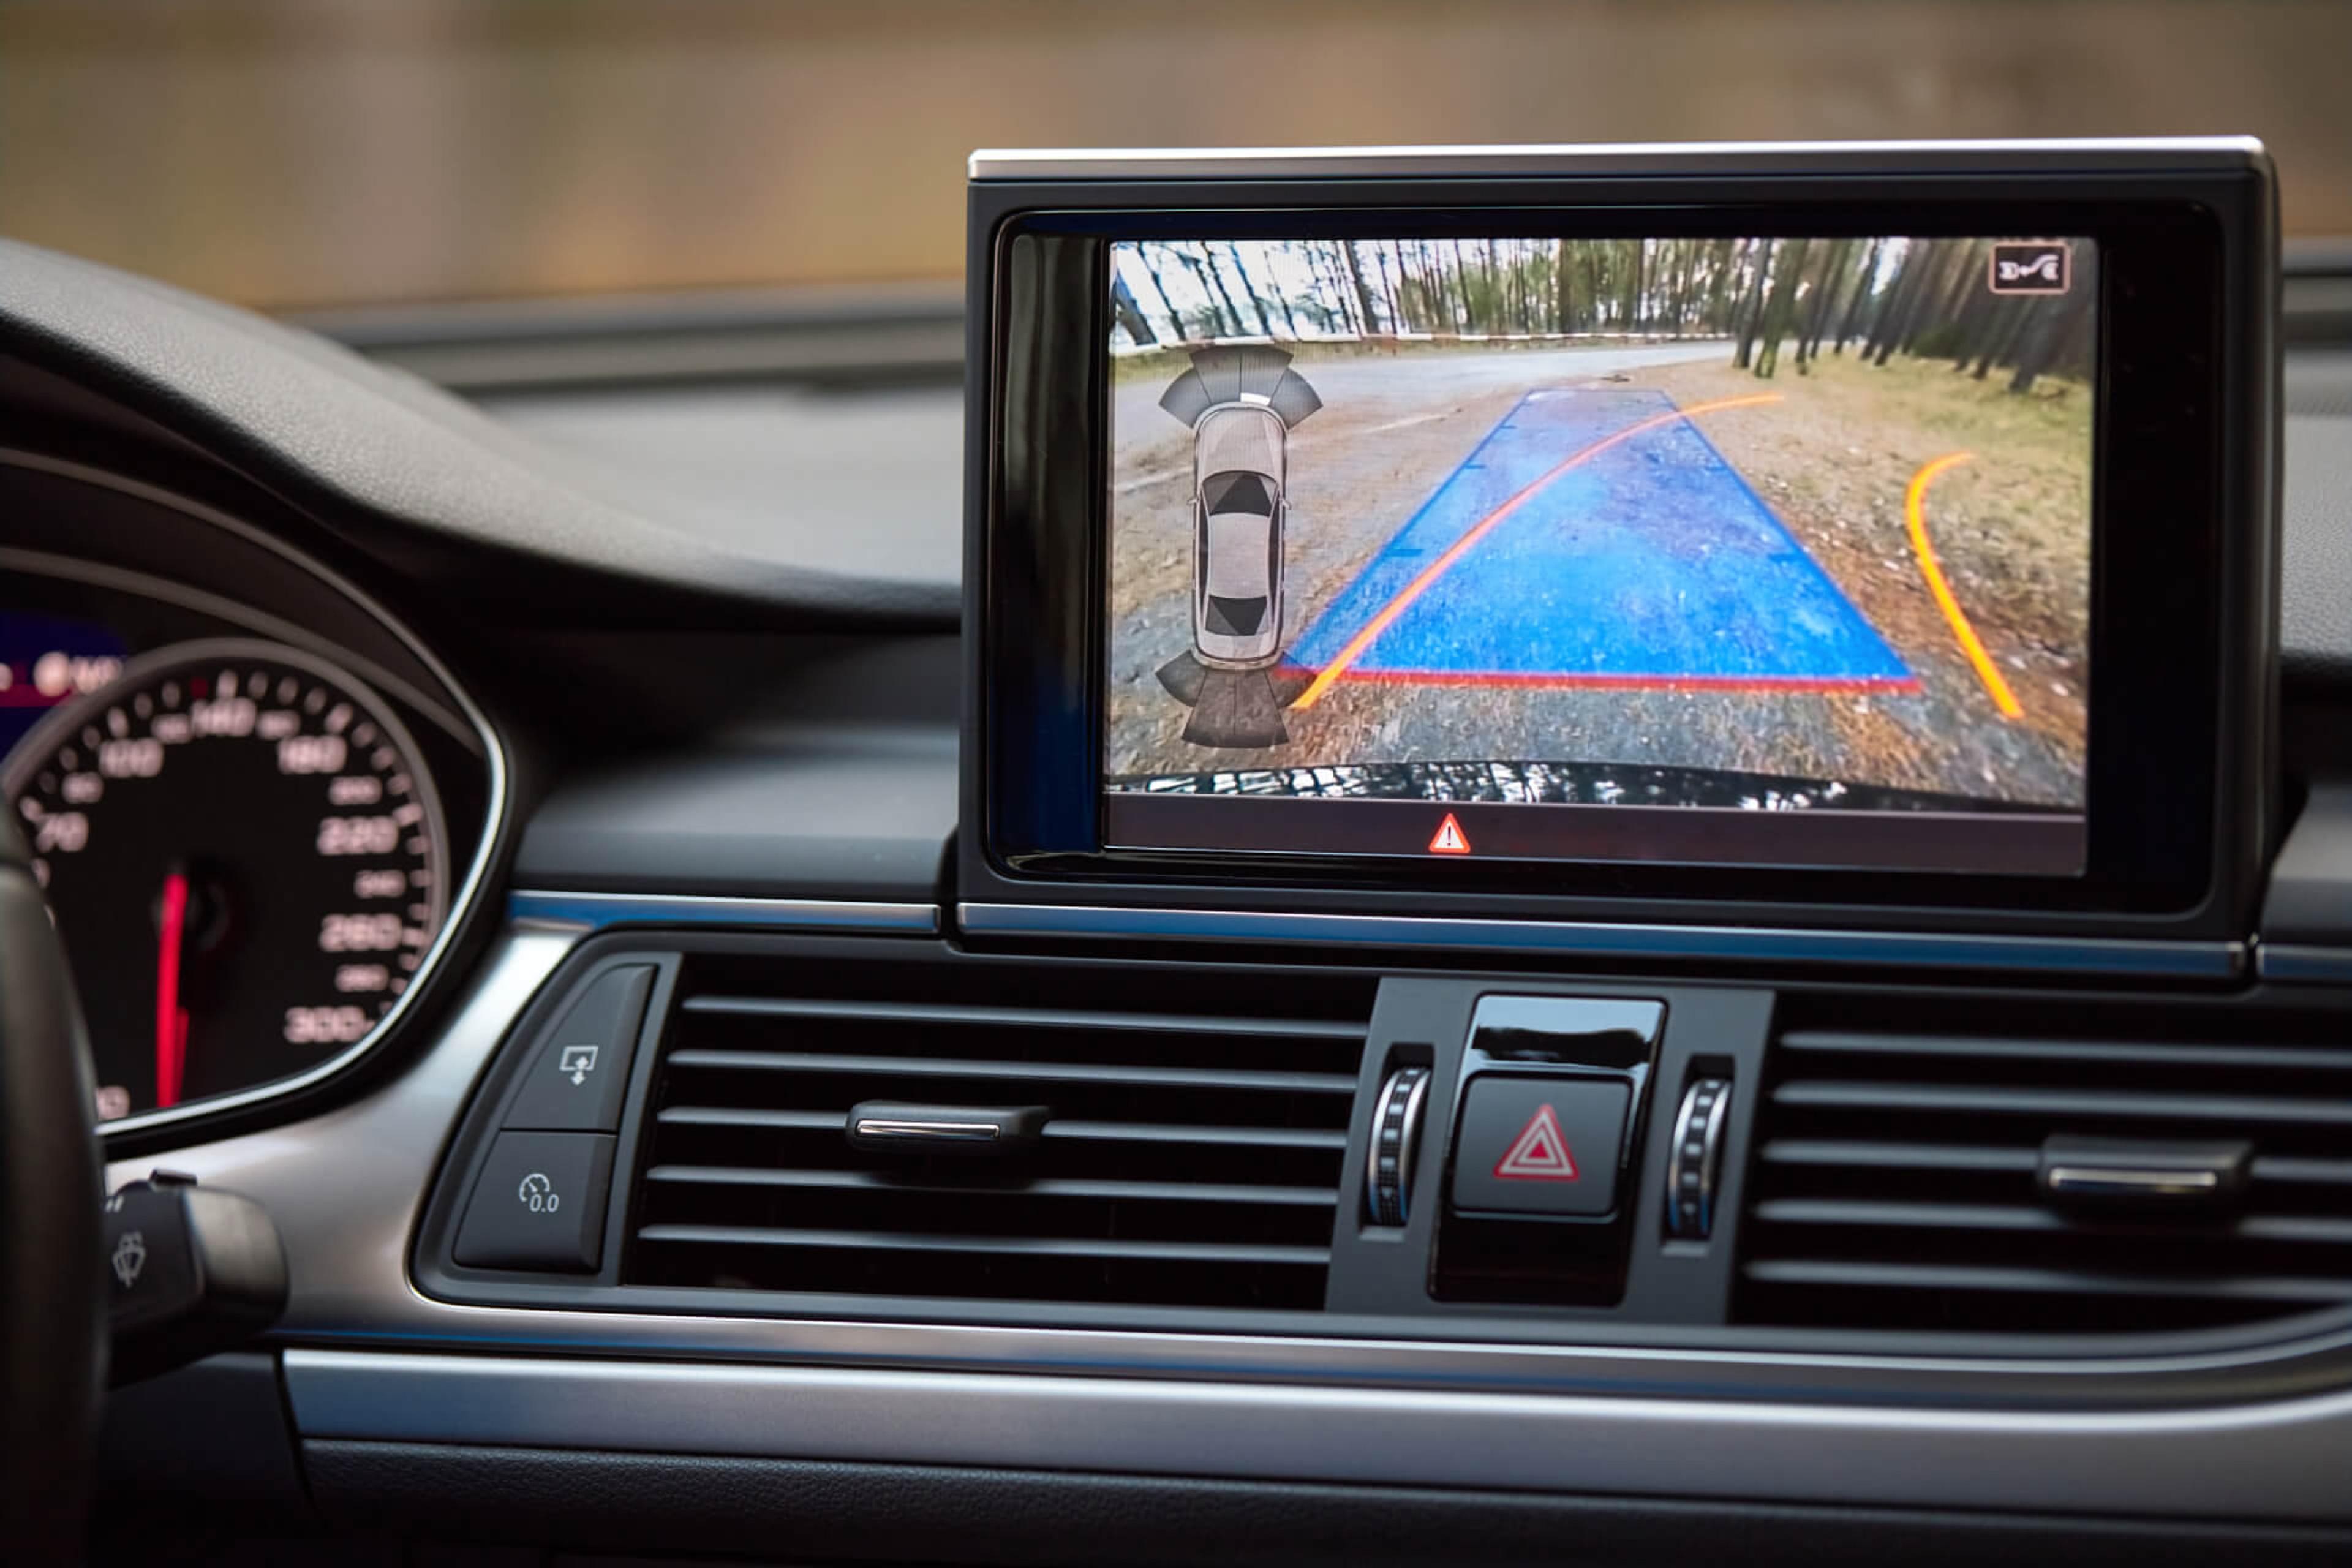
Rear view cameras, also called backup cameras or reversing cameras, provide drivers with a clearer view of the area behind their car while in reverse gear. As a driver, you see a live video on the screen integrated into the dashboard, infotainment system, or rear view mirror, allowing you to navigate the vehicle better and avoid obstacles while backing up.
Rear view cameras are either placed in or near the tailgate handle, license plate frame, or another similar location. They’re equipped with wide-angle lenses to capture a broader view of the area behind the vehicle; some of them can also have features like low-light sensitivity or night vision to enhance visibility in the dark.
How to test the rear view camera
Testing a rear view camera is a simple task that doesn’t require any special conditions. In most cars, rear view cameras automatically turn on when the ignition is turned on. For the camera to operate, engage the reverse gear. You should be able to see the camera image in the display unit.
Check the view, ensuring that the image is clear and free from distortion or blurriness. It’s best to try this in different lighting conditions. You can also place various objects in the camera’s field of view to check the camera angle and find out whether those objects are visible on the display.
Most rear view cameras also have guidelines that assist in parking, so test if they appear accurately and move accordingly as you turn the steering wheel. If anything feels off, look for any visible signs of dirt or damage on the camera lens that might obstruct the view.
Adaptive headlights
Unlike standard headlights, adaptive headlights are not fixed in one position and can automatically adjust the direction and intensity of the light based on various factors, such as the steering angle, vehicle speed, and road conditions.
Their primary purpose is to improve visibility and safety while driving in the dark or low-light conditions by illuminating the road more effectively, especially when navigating curves and corners. While standard headlights illuminate directly in front of you, adaptive headlights can change the direction and illuminate the path the driver is about to take.

How to test the adaptive headlights
Your primary goal is to test the adaptive headlights in various conditions (darkness, curvy roads, obstructions) to check how well they respond.
For instance, you can park the car facing a wall, turn on the headlights, and slowly turn the steering wheel. The headlights should adjust their direction to illuminate the area where the car is turning.
When driving around corners or making turns, observe whether the headlights adjust to provide better visibility in the direction of the turn. Moreover, check if they adjust their range and intensity based on your speed, especially at higher speeds.
At the same time, monitor the dashboard for any warning lights or errors related to the adaptive headlights. If any warnings appear, it might indicate a malfunction that needs attention.
Tire pressure monitoring system
Proper tire pressure is essential for safe driving – underinflated tires can lead to decreased traction, longer stopping distances, and an increased risk of skidding or hydroplaning in wet conditions. Meanwhile, overinflated tires can reduce vehicle stability and handling. Fortunately, the tire pressure monitoring system (TPMS) can help you ensure everything’s intact.
Since each tire has a pressure sensor that constantly measures the tire pressure, TPMS can provide real-time information to the driver. For instance, if the system detects that the pressure in one or more tires is below a specific threshold, it activates a warning light on the dashboard.
From there, it’s the driver’s responsibility to check and adjust the tire pressure based on the warning provided, as the system is not capable of doing it itself.
How to test the TPMS
To test the TPMS system, simulate low tire pressure by slightly deflating one or more tires below the recommended level. You can use a tire pressure gauge to measure it accurately.
Then, drive the car for a short distance (around 10 minutes) at a low speed to allow the TPMS to detect the pressure change and wait for the warning light on the dashboard to illuminate. Some cars display the tire pressure of each individual tire, so check if it shows the reduced pressure accurately for the affected tire(s).
Don’t forget to reinflate the tires to the recommended levels before taking off.
General tips on how to check safety technologies when buying a used car

Research the car model
Before meeting the car seller, research the specific car make and model to understand what safety features it should have. This way, you will know what to look for during the inspection.
Usually, you can find this information on the manufacturer’s website or look for the owner’s manual online. These resources should provide comprehensive information about the vehicle’s features, including safety technologies.
Car visual inspection
Most safety tech sensors and cameras are located on the grille, the rear bumper, or rearview mirrors, so check these spots during a visual inspection of a car. Look for signs of damage or other issues that can indicate a problem with any of the systems.
Moreover, don’t forget to check the interior as well. Look for warning lights or indicators related to safety features. If any are illuminated, ask the seller about the problem. Check buttons, switches, or knobs that are related to vehicle safety technology and ensure they’re functional and responsive.
Test drive
A test drive will provide hands-on experience, allowing you to check whether all safety features work as they should. Therefore, research them before you get into the car, as this knowledge can help you focus on specific safety aspects during your test drive.
Once you’re in the car, try to get a feel for how specific features operate in real-world conditions. For instance, simulate a scenario where the automatic emergency braking system kicks in when approaching a stationary object. Make sure it’s safe!
Vehicle history report
A vehicle history report can provide valuable information about the car’s specifications, previous accidents, ownership, mileage, and more. When buying a used car, checking its history is crucial to understand its overall condition better, however, it can also help you shed light on potential issues related to the safety features.
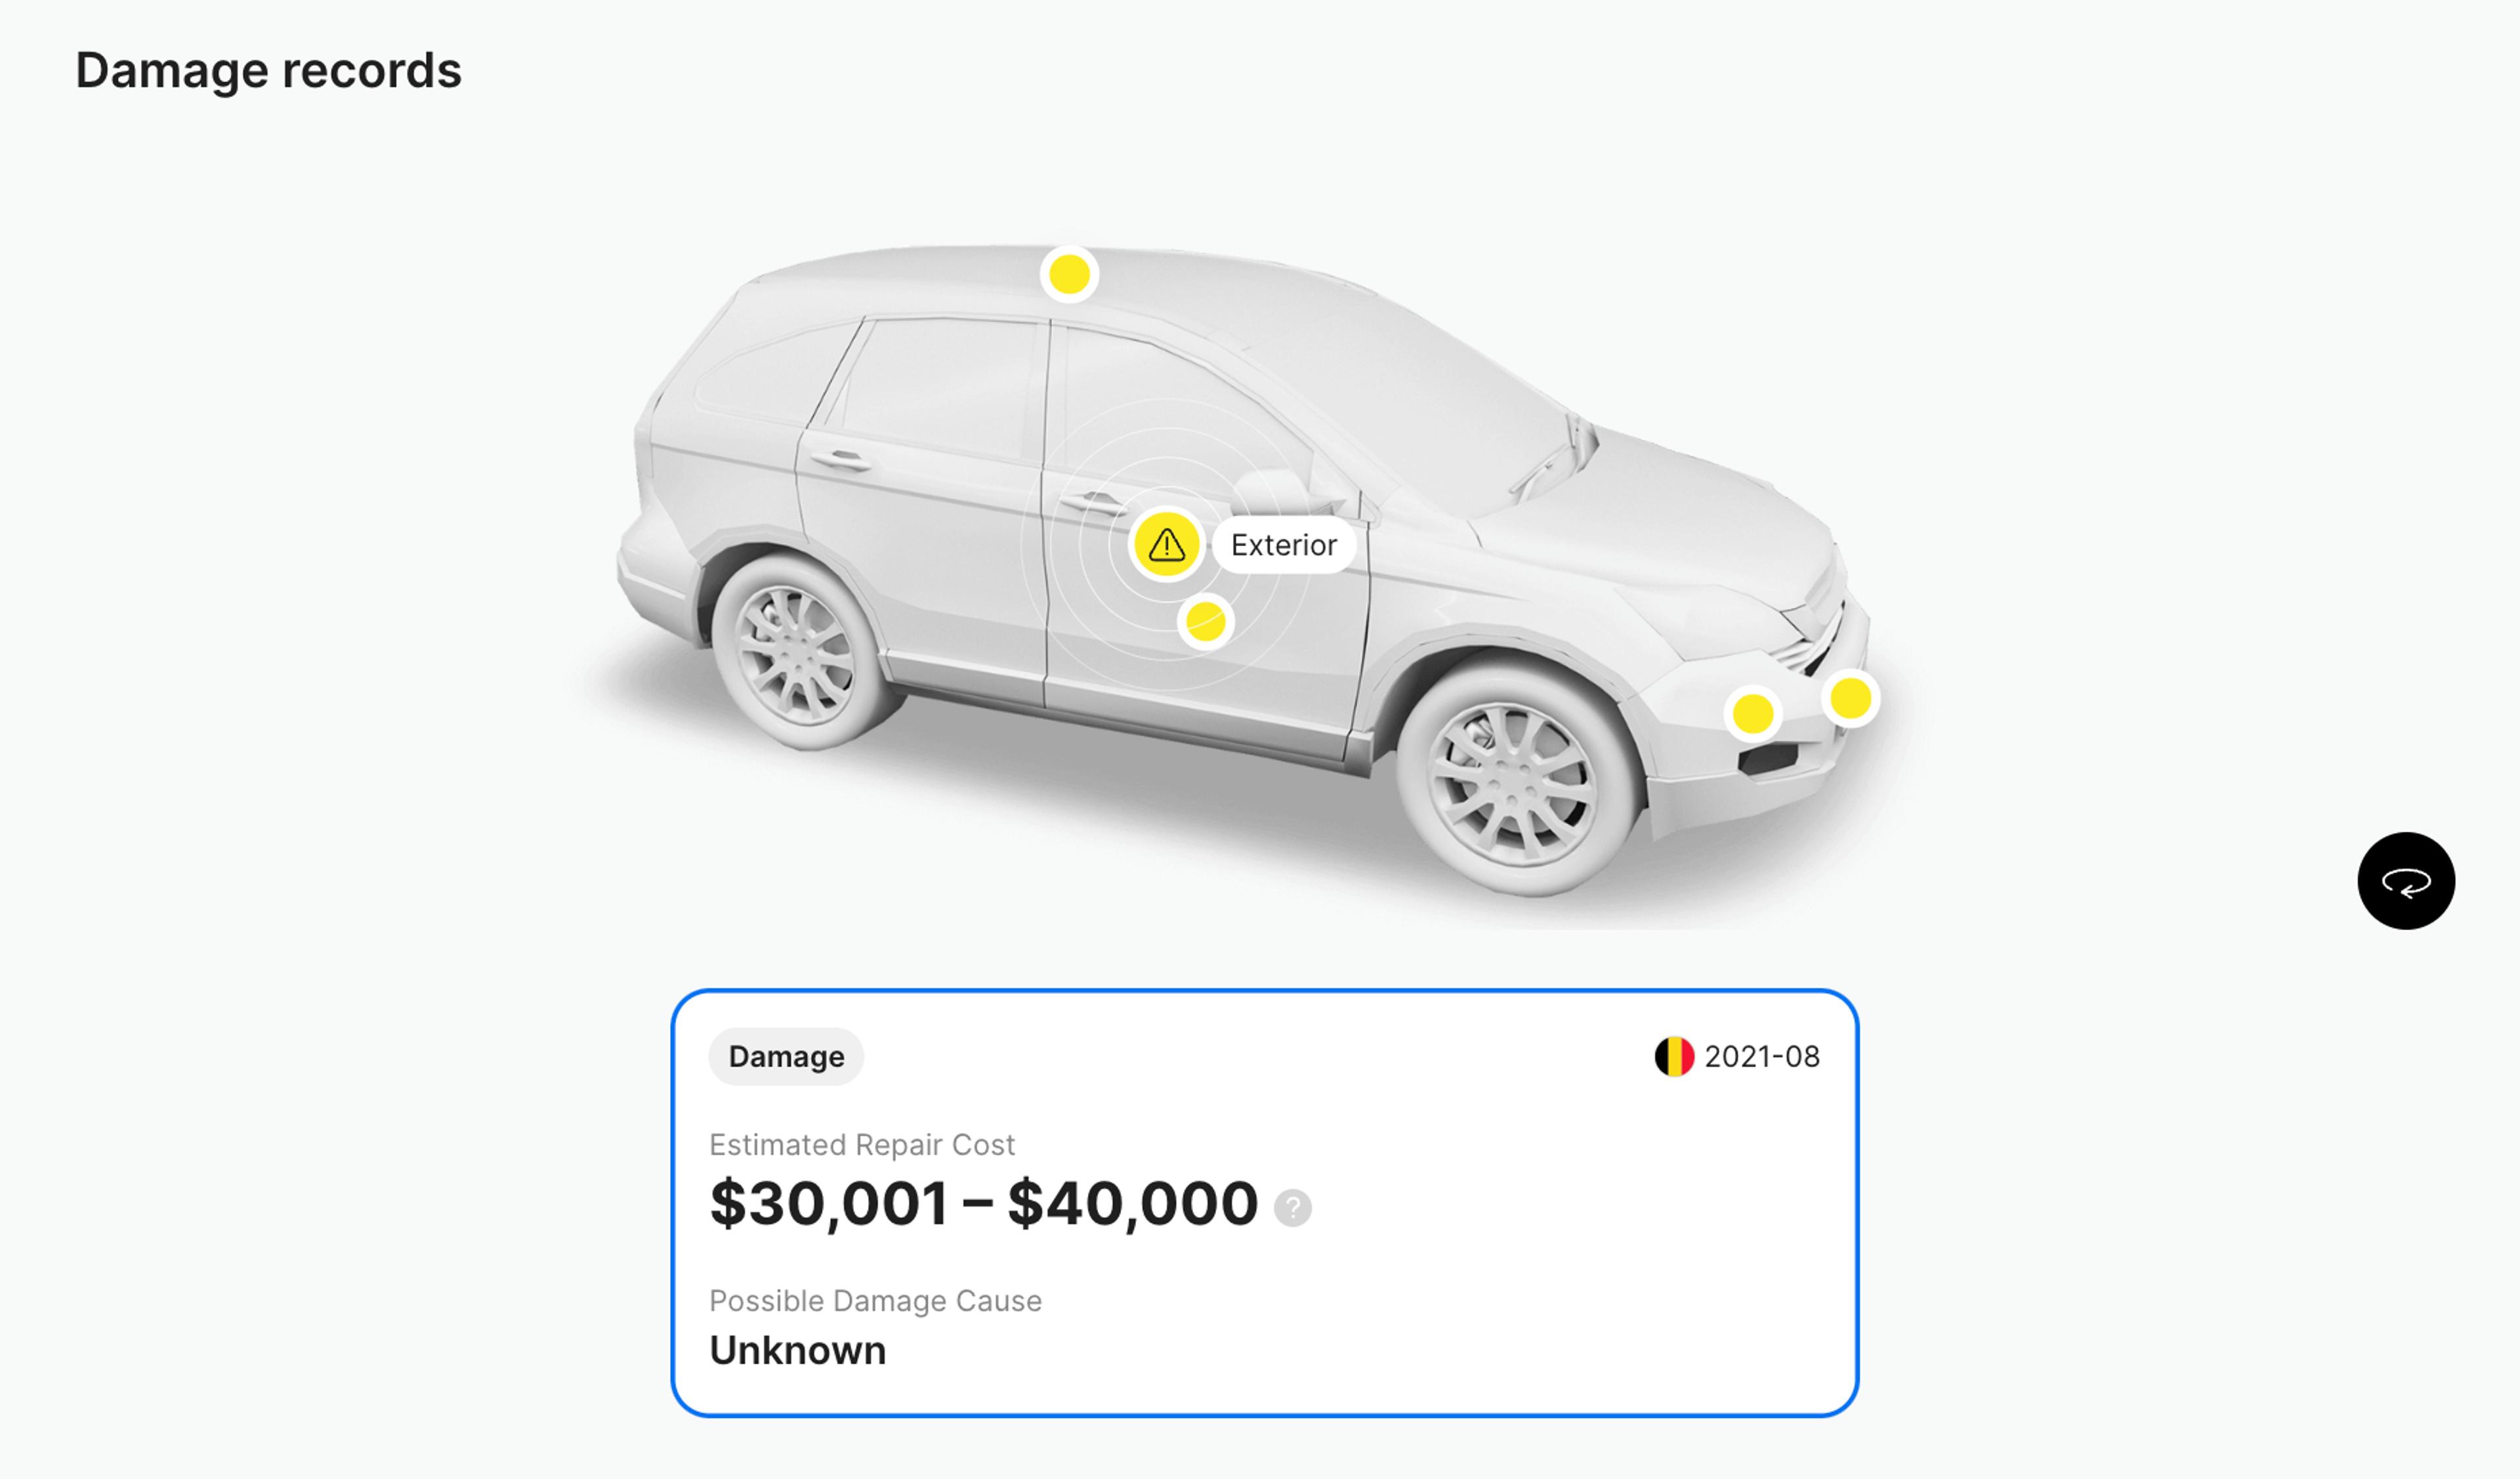
In this case, look at the damages section, as it can reveal whether the car has been involved in a severe accident. While most visible damage might have been repaired, the safety accessories might have been damaged or replaced. Knowing this, you can ask questions and learn more about the current condition of specific features.
To get a vehicle history report, you should know its VIN number. Typically, you’ll be able to find it on the driver’s side interior dash, door frame, or even in a car ad. Enter it into the VIN decoder to learn about the vehicle’s past.

Check your VIN
Avoid costly problems by checking a vehicle's history. Get a report instantly!
Professional inspection
Of course, nothing beats a pre-purchase inspection by a professional mechanic or technician. They can thoroughly check the car’s systems and confirm (or deny) that all safety features and technologies are in good working order. This includes airbags, stability control, anti-lock brakes, and other features of advanced driver assistance systems.
If professional inspection reveals any issues, you can also use this information to negotiate the price of a used car.
Evolution of safety technology in cars
Vehicle safety technology has come a long way since the first cars were introduced to the public. Vehicles were clunky and difficult to control, besides, this was something totally new that people weren’t used to, which naturally led to many accidents.
As a result, their makers were forced to make changes and improve everyone’s safety.
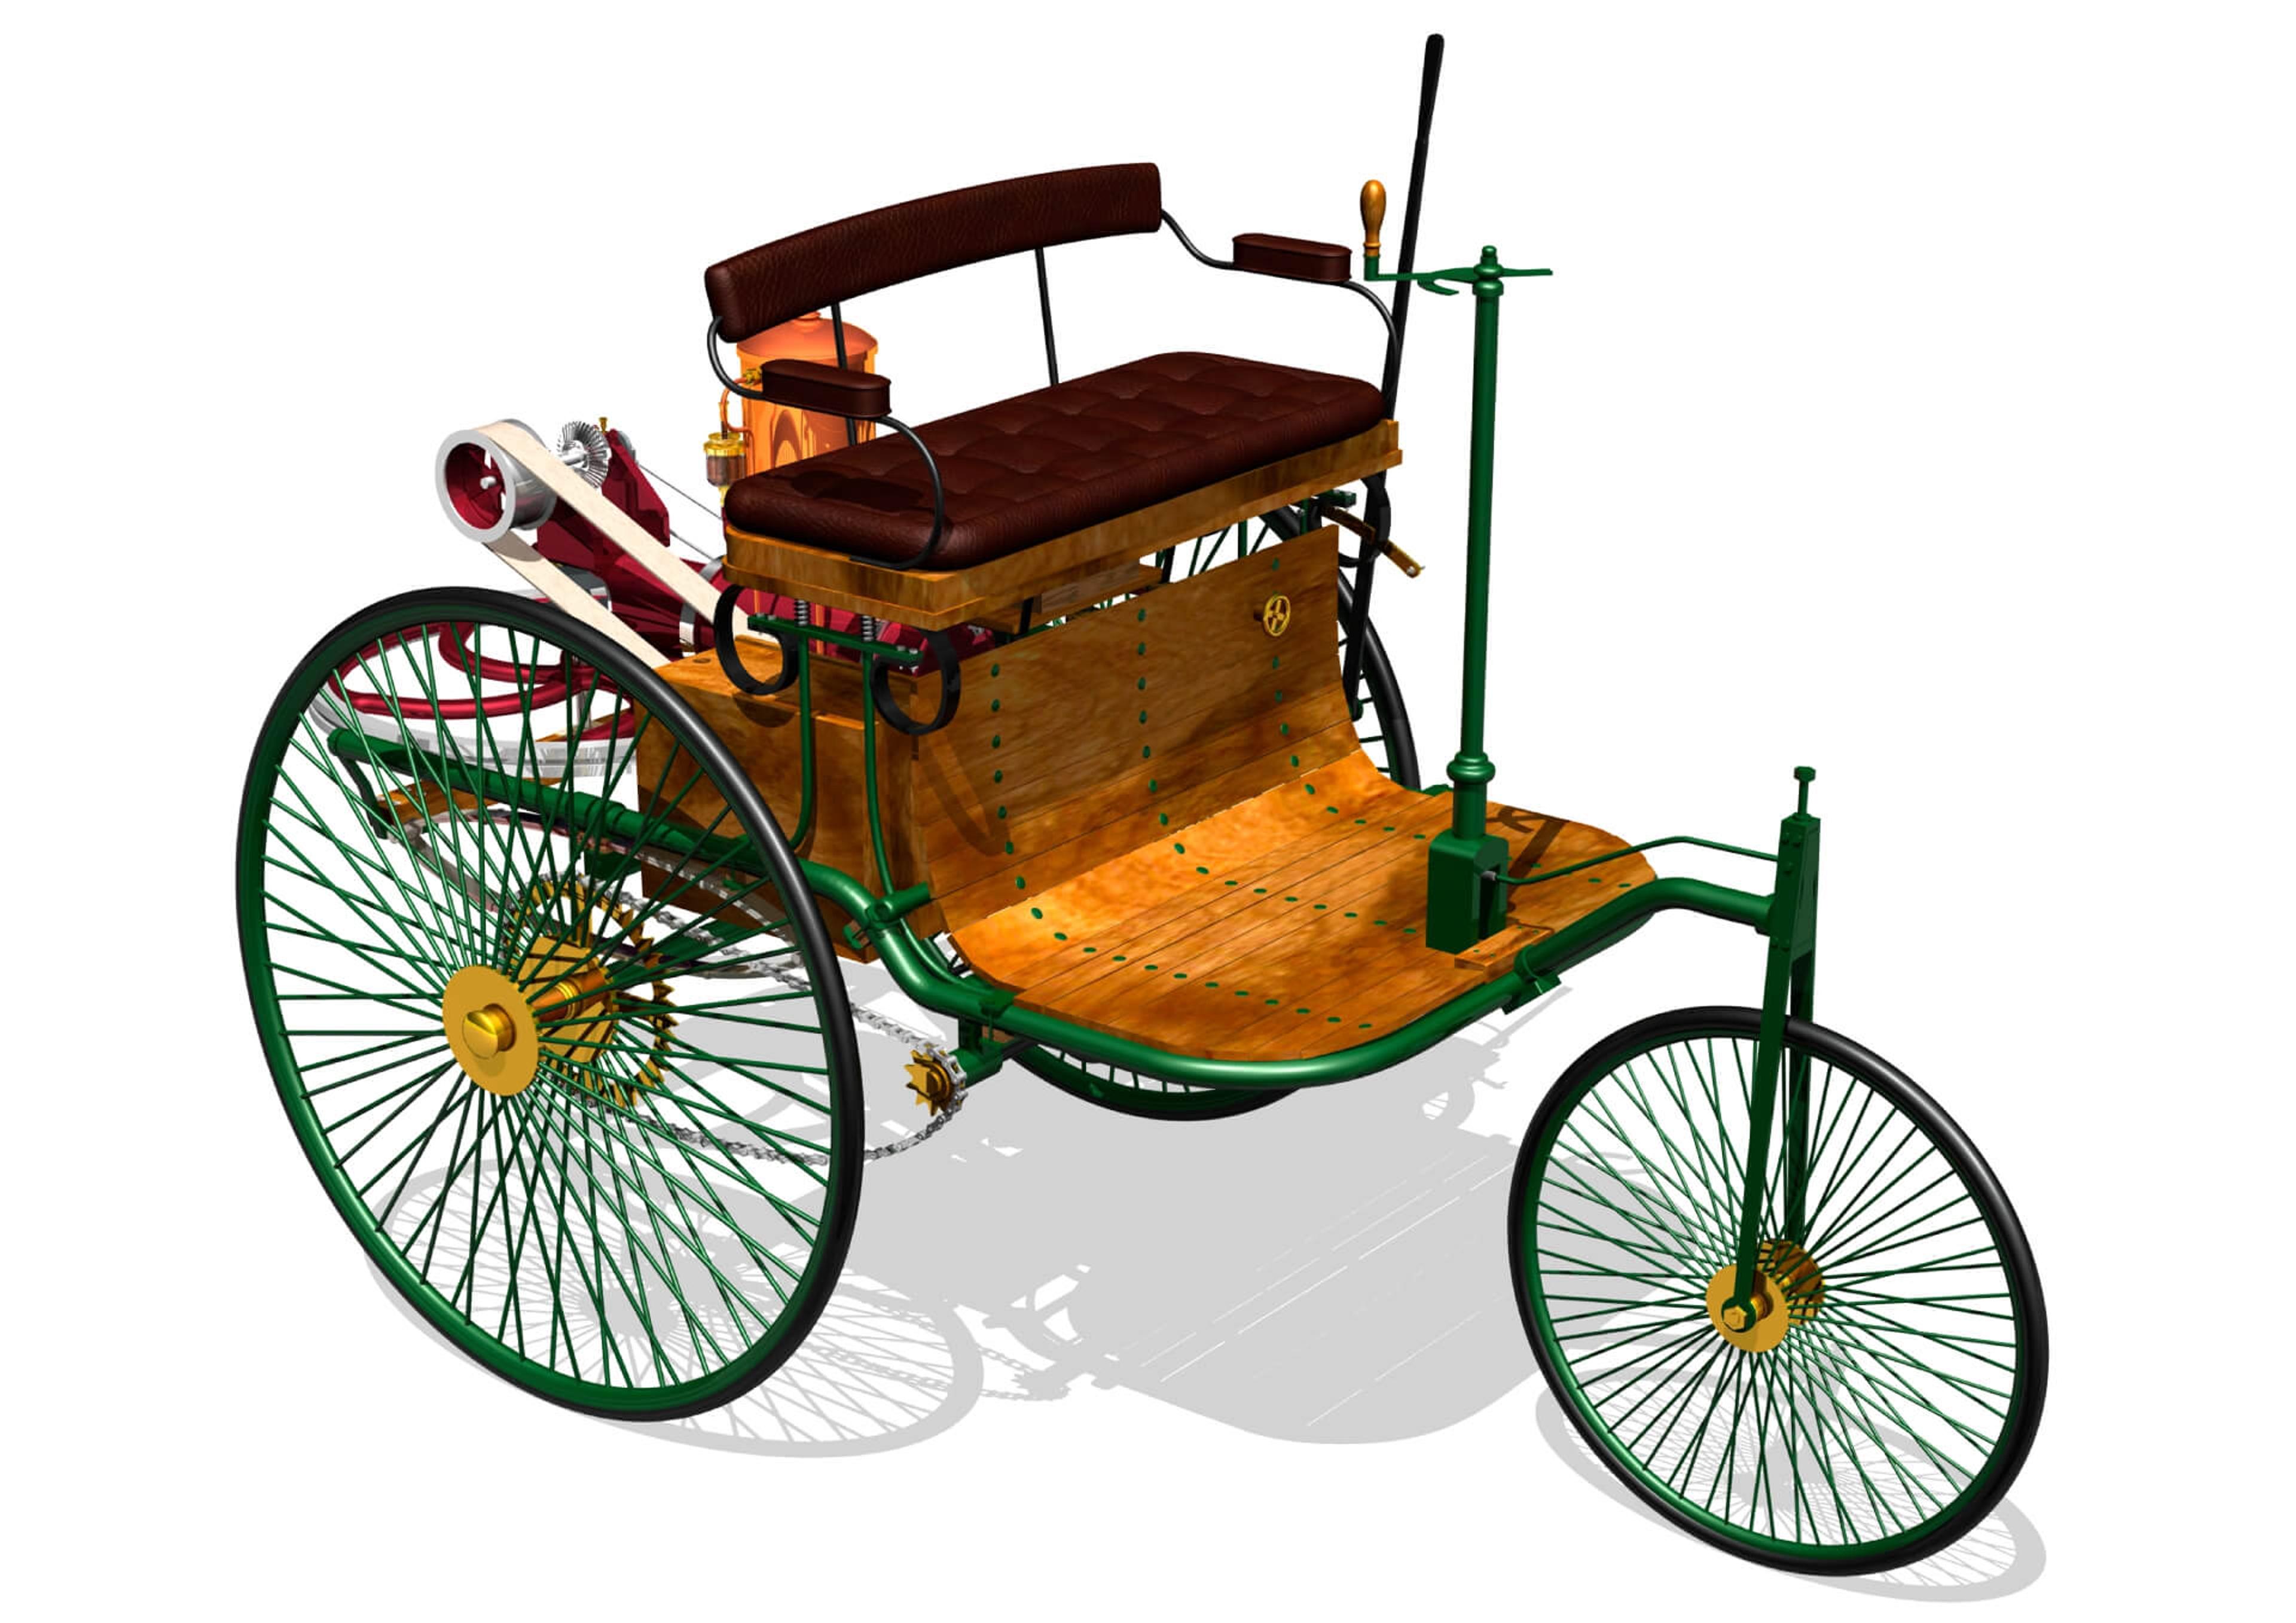
The early 1900s
A hand-operated wiper blade (patented as Window-Cleaning Device) was among the first car safety features developed in 1903. It was created by a woman named Mary Anderson after she experienced harsh weather conditions during a ride on a streetcar in NYC.
She thought it made no sense for the streetcar operator to stick his head outside to see the road, which also created a fair amount of discomfort for the passengers.
While impracticality was a big part of further inventions (wiper blades were quickly followed by rearview mirrors, safety glass, and an auto-signaling arm to indicate the car’s direction), the continuing development of such features significantly impacted road safety.
1950s
During the 1950s, several crucial inventions were released that are still among the main safety features in modern cars.
For example, in 1951, Walter Linderer created the airbag that had to be released by the driver or by contact with the car bumper. It became standard only in 1999, and since then, airbags kept evolving for better efficiency. Over a 30-year period (1987-2017), this invention saved over 50,000 lives, according to NHTSA.
Another vital invention was the three-point seatbelt, designed by Nils Bohlin, who worked at Volvo. By adding a strap over the shoulder, Bohlin improved the previous simple lap strap, providing extra protection to passengers. To this day, it’s still one of the most effective car safety features ever created.
Highlights of the next 50 years
During this period, not only many other essential safety features were introduced, but some of them finally became mandatory by law. From 1968, all motor vehicles were required to have side marker lights, collapsible steering columns, front-seat shoulder belts, and headrests that can help alleviate whiplash injuries.
In the 1990s, more electronic systems began to be installed in vehicles, including side impact protection, brake assist systems, and electronic stability control systems. The latter was and still is essential for maintaining vehicle control and preventing extreme movements.
Frequently asked questions

Article by
Renata Liubertaitė
Renata is a writer with over 8 years of experience in publishing, marketing, and SaaS companies. Writing in various fields and covering highly technical topics has taught her to turn complex things into something everyone can understand. When not writing for carVertical, she loves DIY projects and spontaneous bike rides.
