01/16/2023
How to remove paint protection film

Removing paint protection film (PPF) is much easier than installing it, but the process carries additional risks. Properly installed PPF firmly sticks to the paint surface, so you may have a hard time removing it in one piece or without damaging your paint job. Moreover, the environment, the quality of the PPF, and many other factors affect the removal process.
Here’s everything you need to know about removing car paint protection film.

Used cars have dark secrets
Reveal them all! Just enter a VIN code and click the button:
Can I remove paint protection film by myself?
Yes, you can remove PPF by yourself, but it’s not going to be as easy as peeling off a sticker.
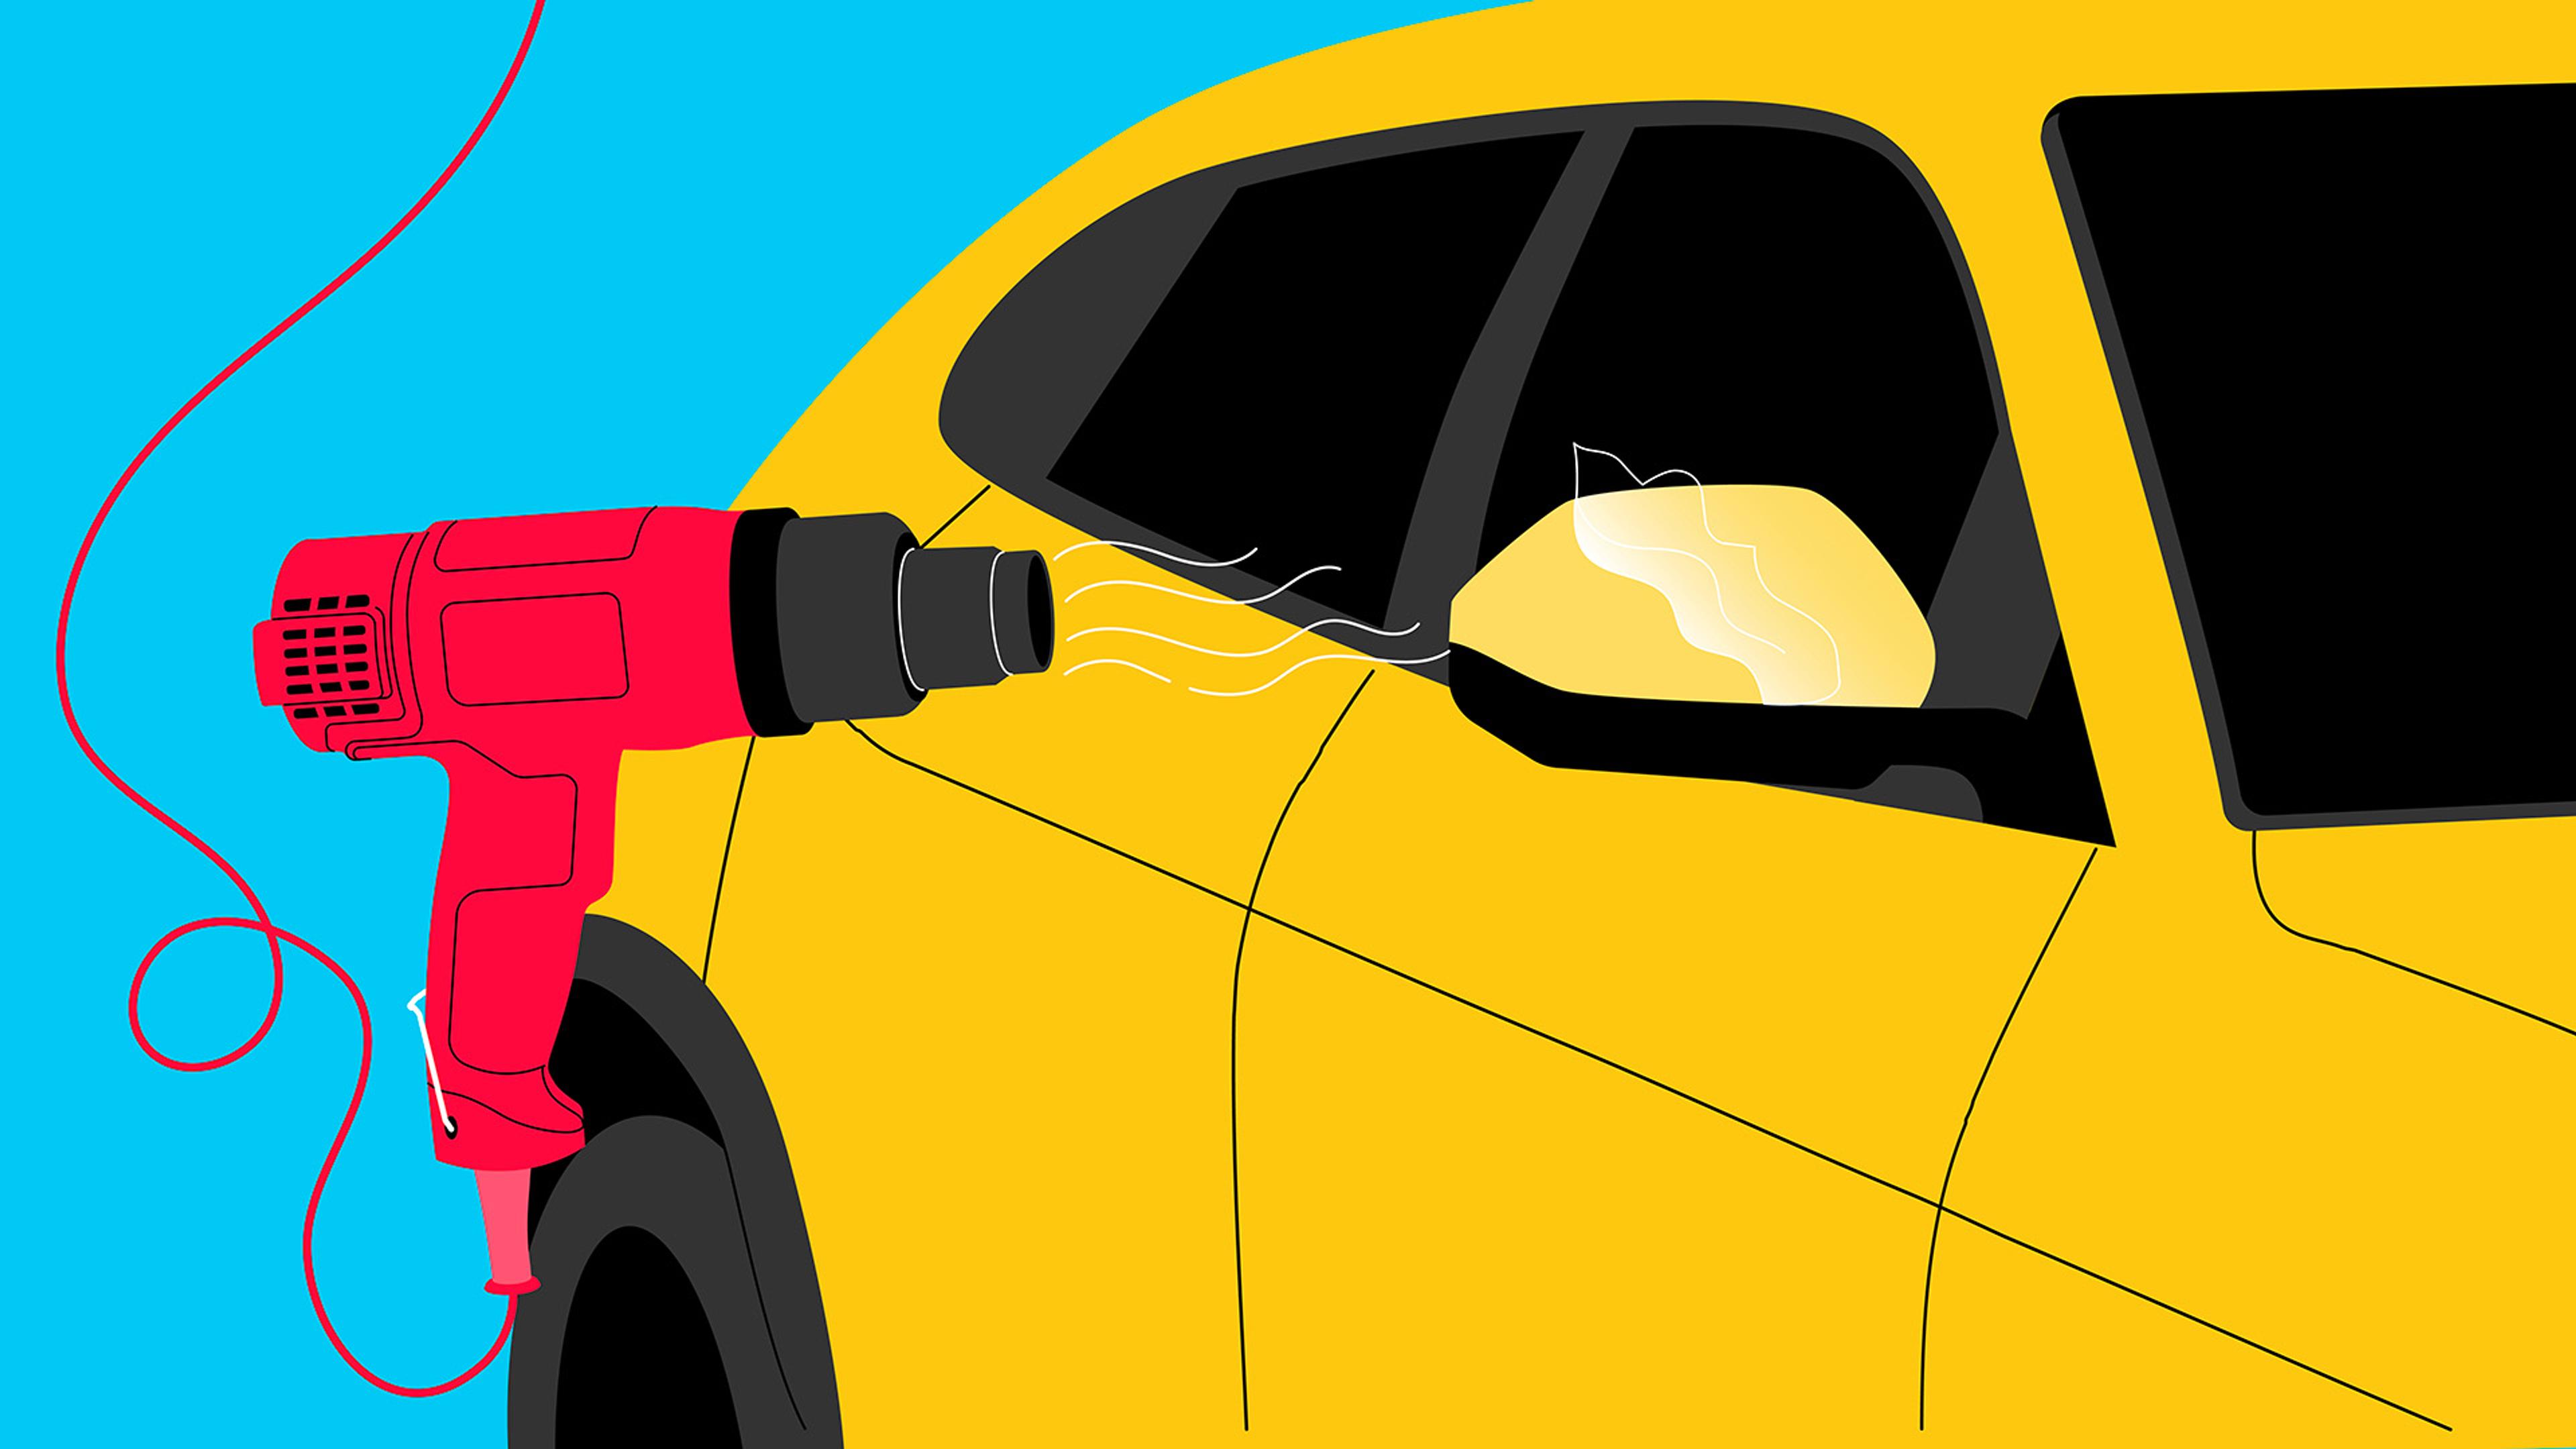
First of all, you have to understand what PPF is. While car protective film is durable and can stretch a lot before tearing, the strong adhesive used to install PPF often causes problems. You must apply some heat to soften the adhesive before removal – this is necessary to avoid the paint peeling together with the PPF.
Tools for removal
PPF removal is a pretty straightforward process, so you probably already have the required tools at home. Here’s everything you may need:
- Heat gun
- Microfiber cloths
- Adhesive remover
- Car wash kit
You can heat the adhesive using a heat gun or by laying microfiber cloths on the surface of a car and pouring hot water on top. The latter option is better for beginners because a heat gun can damage a vehicle's paint when used excessively. Since you must heat the entire surface, it’s easier using microfiber cloths than a heat gun. A well heated PPF leaves little to no adhesive after removal.
What is the PPF removal procedure?

First you have to prepare a car for PPF removal.
If you’re doing it during the cold season, park the car inside a warm garage at least a day before the procedure to soften up the film and adhesive. However, if it’s a hot summer day, just park your car in direct sunlight – this will greatly soften the adhesive in a few hours.
1. Prepare the panel
Choose any panel to start with and make sure it’s facing the sun if the car is parked outside.
Begin the preparations by warming up the film choosing one of previously mentioned methods. Just make sure to warm up the entire panel edge-to-edge. After 5-10 minutes, uncover the panel, and it should be ready for removal.
2. Peel it off
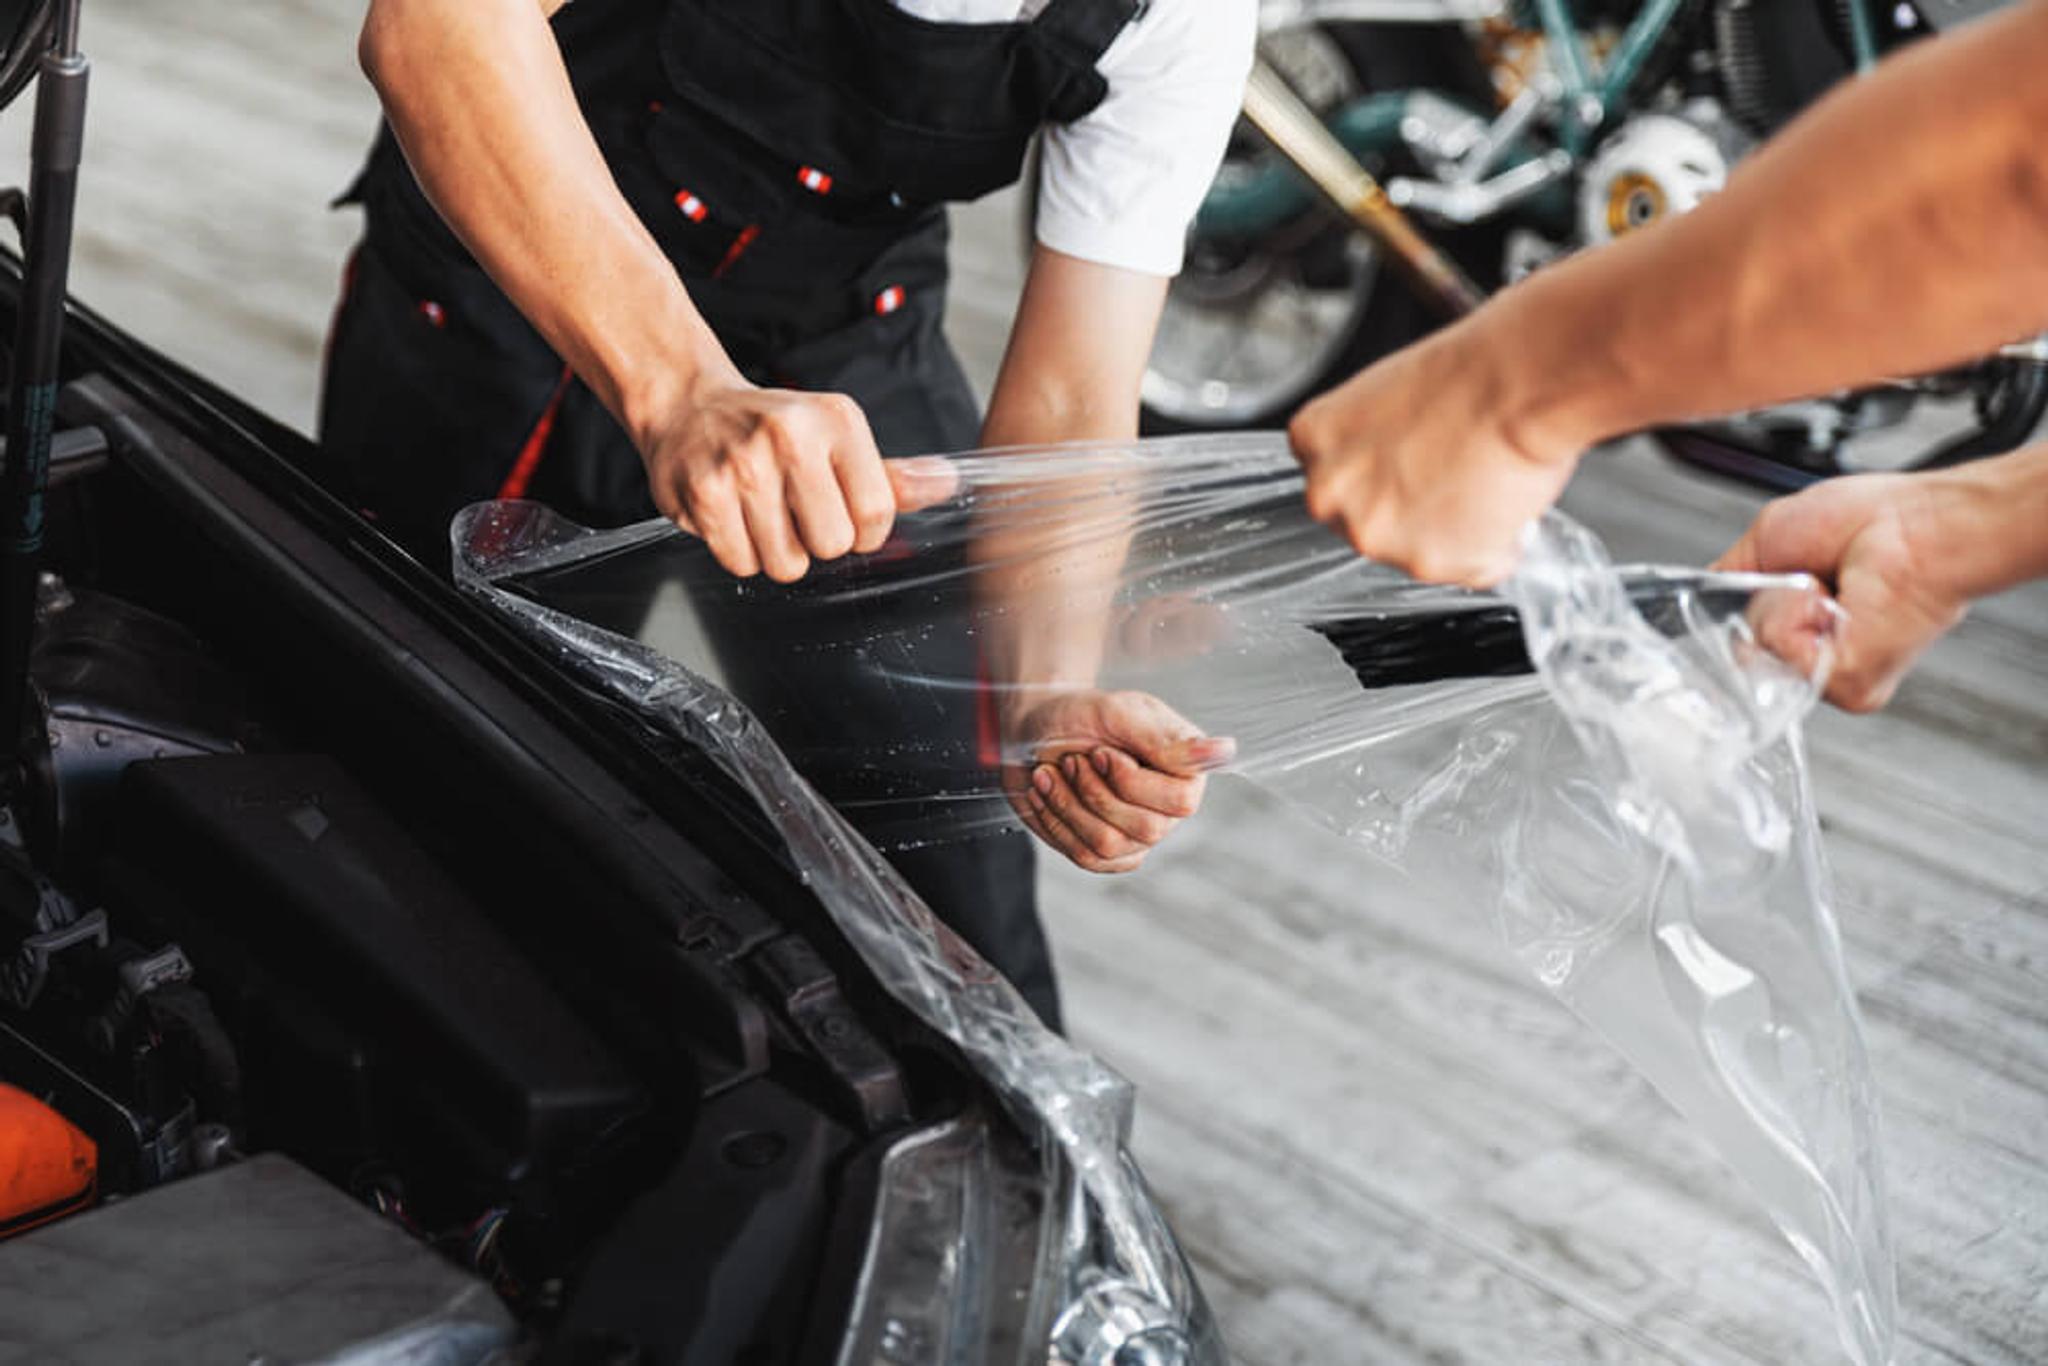
Pick a corner of the film, gently start peeling it, and always grasp the film closer to the surface. If the film is very hard to peel, heat it up again to loosen the adhesive – even though the film shouldn’t tear, the paint may peel off.
Also, don’t attempt to speed up the process using sharp objects because you may damage the paint – patience is key.
3. Remove the PPF glue residue
Most of the glue should come off with the film if it’s heated properly, but you’ll still notice some of it left on the paint.
You can heat up the residue using a heat gun or even a hair dryer – the residue should come off easily with the help of some adhesive removal product and a microfiber towel. Don’t use scrapers or any hard objects for this job, even if they’re plastic, because small trapped particles can scratch your paint.
4. Wash your car
Wash your car after removing the film and residue to remove any remaining chemicals and contaminants. If possible, use a microfiber cloth and avoid automatic car washes because you don’t want to ruin the perfect finish underneath the paint protection film.
The film removal process should take about 1-2 days or more if the film is old or not prepared properly, so make sure you won’t need that car for a few days.
What can go wrong?

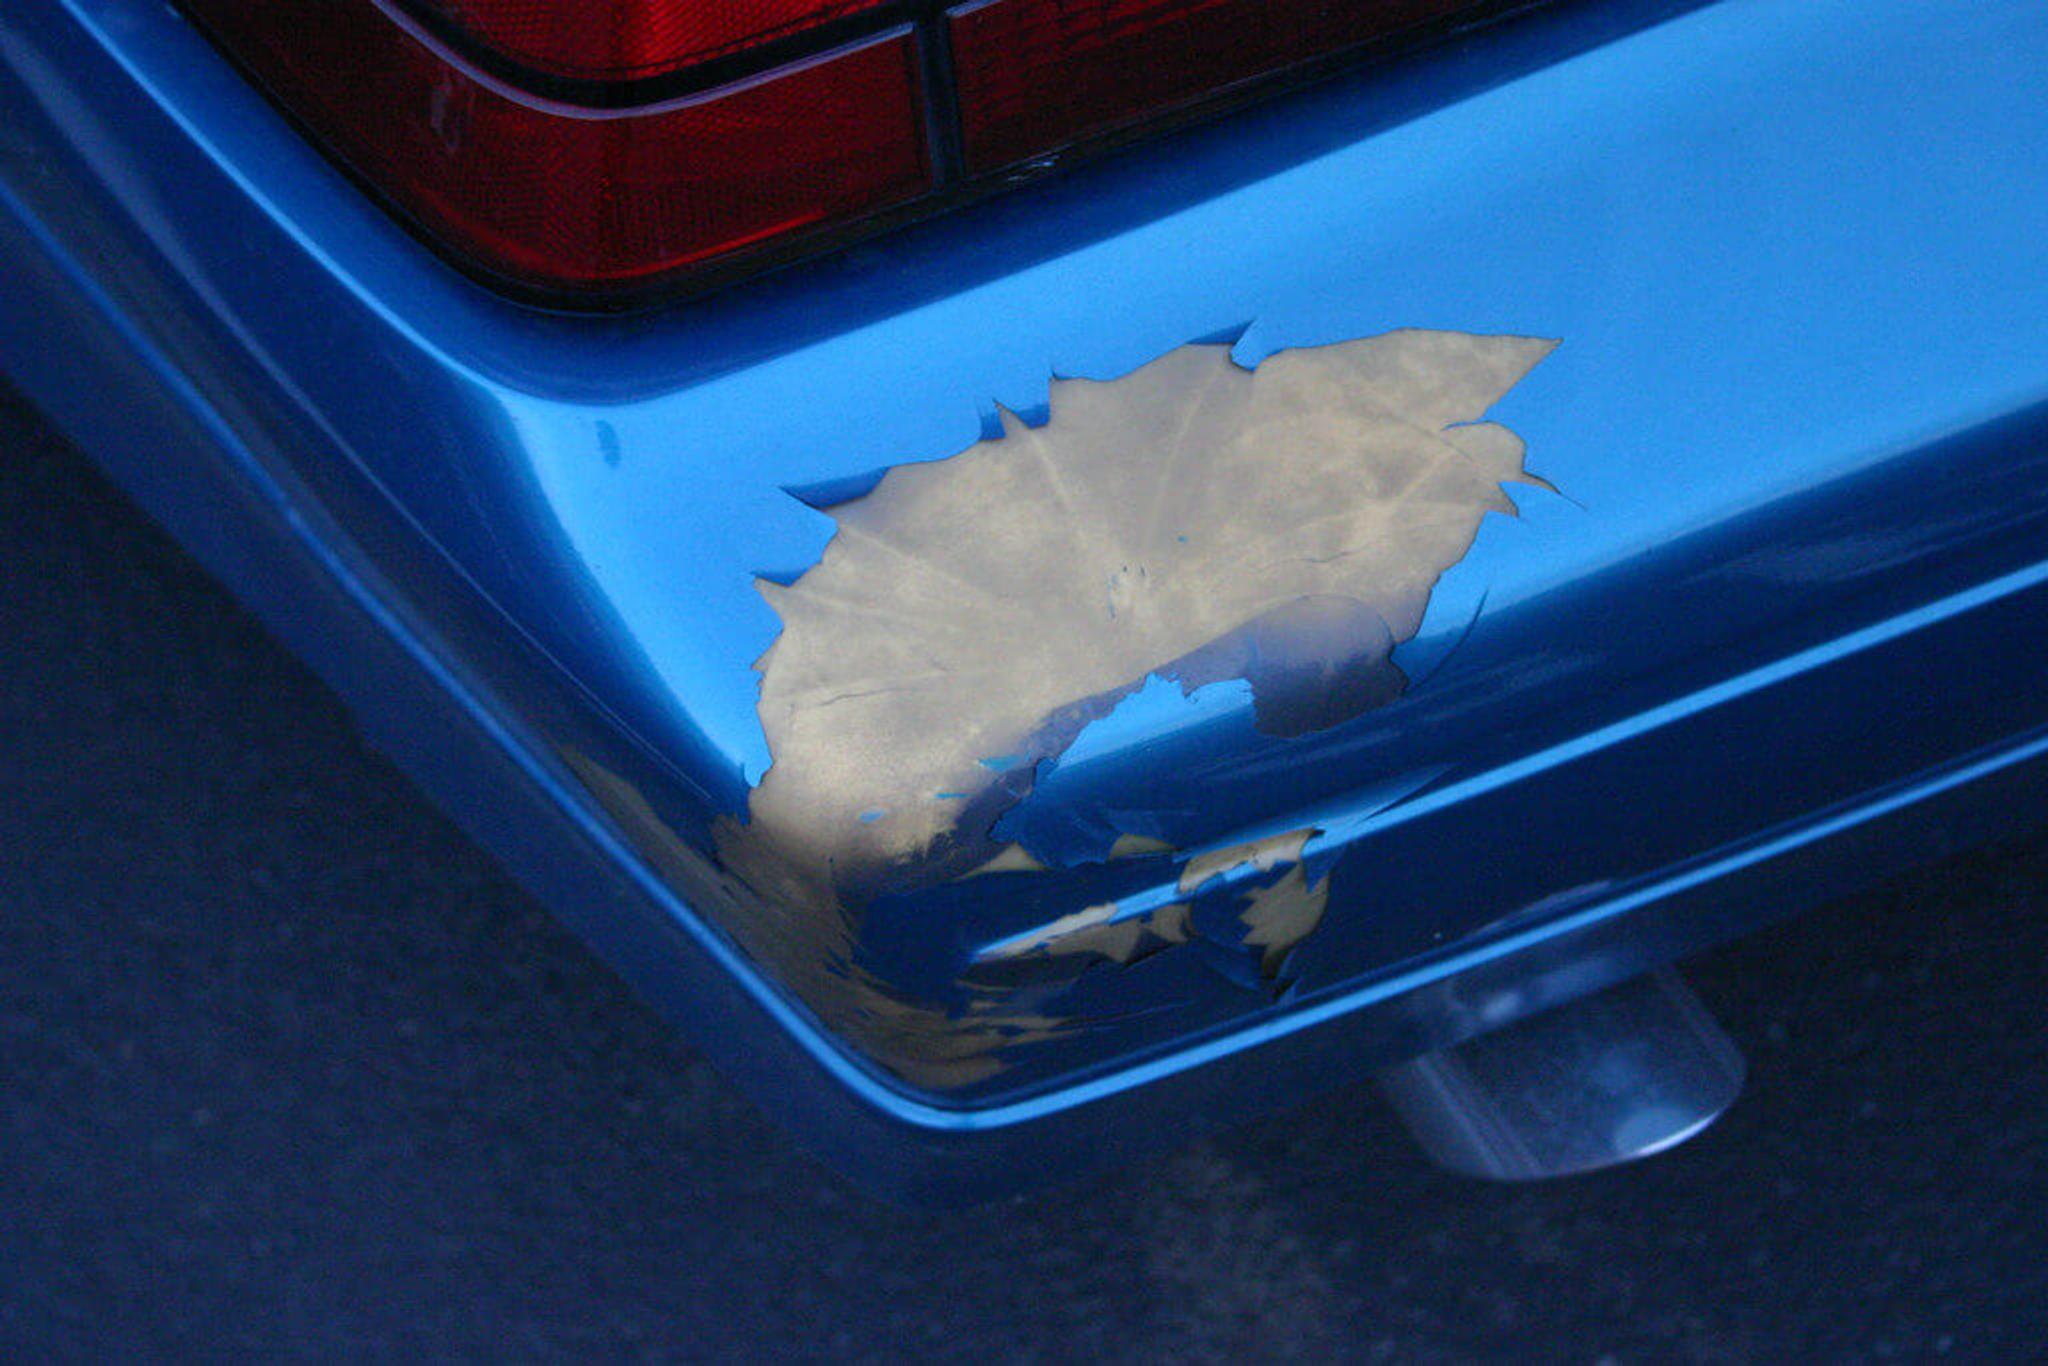
The worst thing that can happen during PPF removal is damaging the paint. Such incidents are rare on factory paint, but many aftermarket paint jobs are done poorly and can peel together with the PPF even after properly heating it. This problem is very common, so the best advice is to not install car paint protection film on poor quality paint at all.
Cheap, poor quality paint protection film can also cause various issues. Low quality materials used in this film aren’t that durable or flexible, resulting in cracking, tearing, and excessive glue residue during removal. These issues greatly complicate the removal of PPF.
When should you replace PPF?
When you should consider replacing PPF depends on how long it lasts.
Usually, the film lasts around 5-7 years, but the quality of the film and installation greatly affect longevity. Here are 2 most common signs that you need to replace your PPF.
Damages
While PPFs are very durable and puncture-resistant, sharp objects and bad maintenance can easily damage them, especially if the PFF is poorly installed. Usually, owners damage the film themselves by using harsh chemicals, a high-pressure washer, or accidentally bumping their car.
Most PPF damages appear on the front of a car or the doors, that's why some drivers only install clear bra – protection for the front of the vehicle.
Look for bubbles, deep scratches, holes, and other imperfections on the surface. Peeling is also common, so check the film's edges. While minor peeling and bubbling issues can be fixed by professionals, in other cases, replacement is the only option.
Deterioration

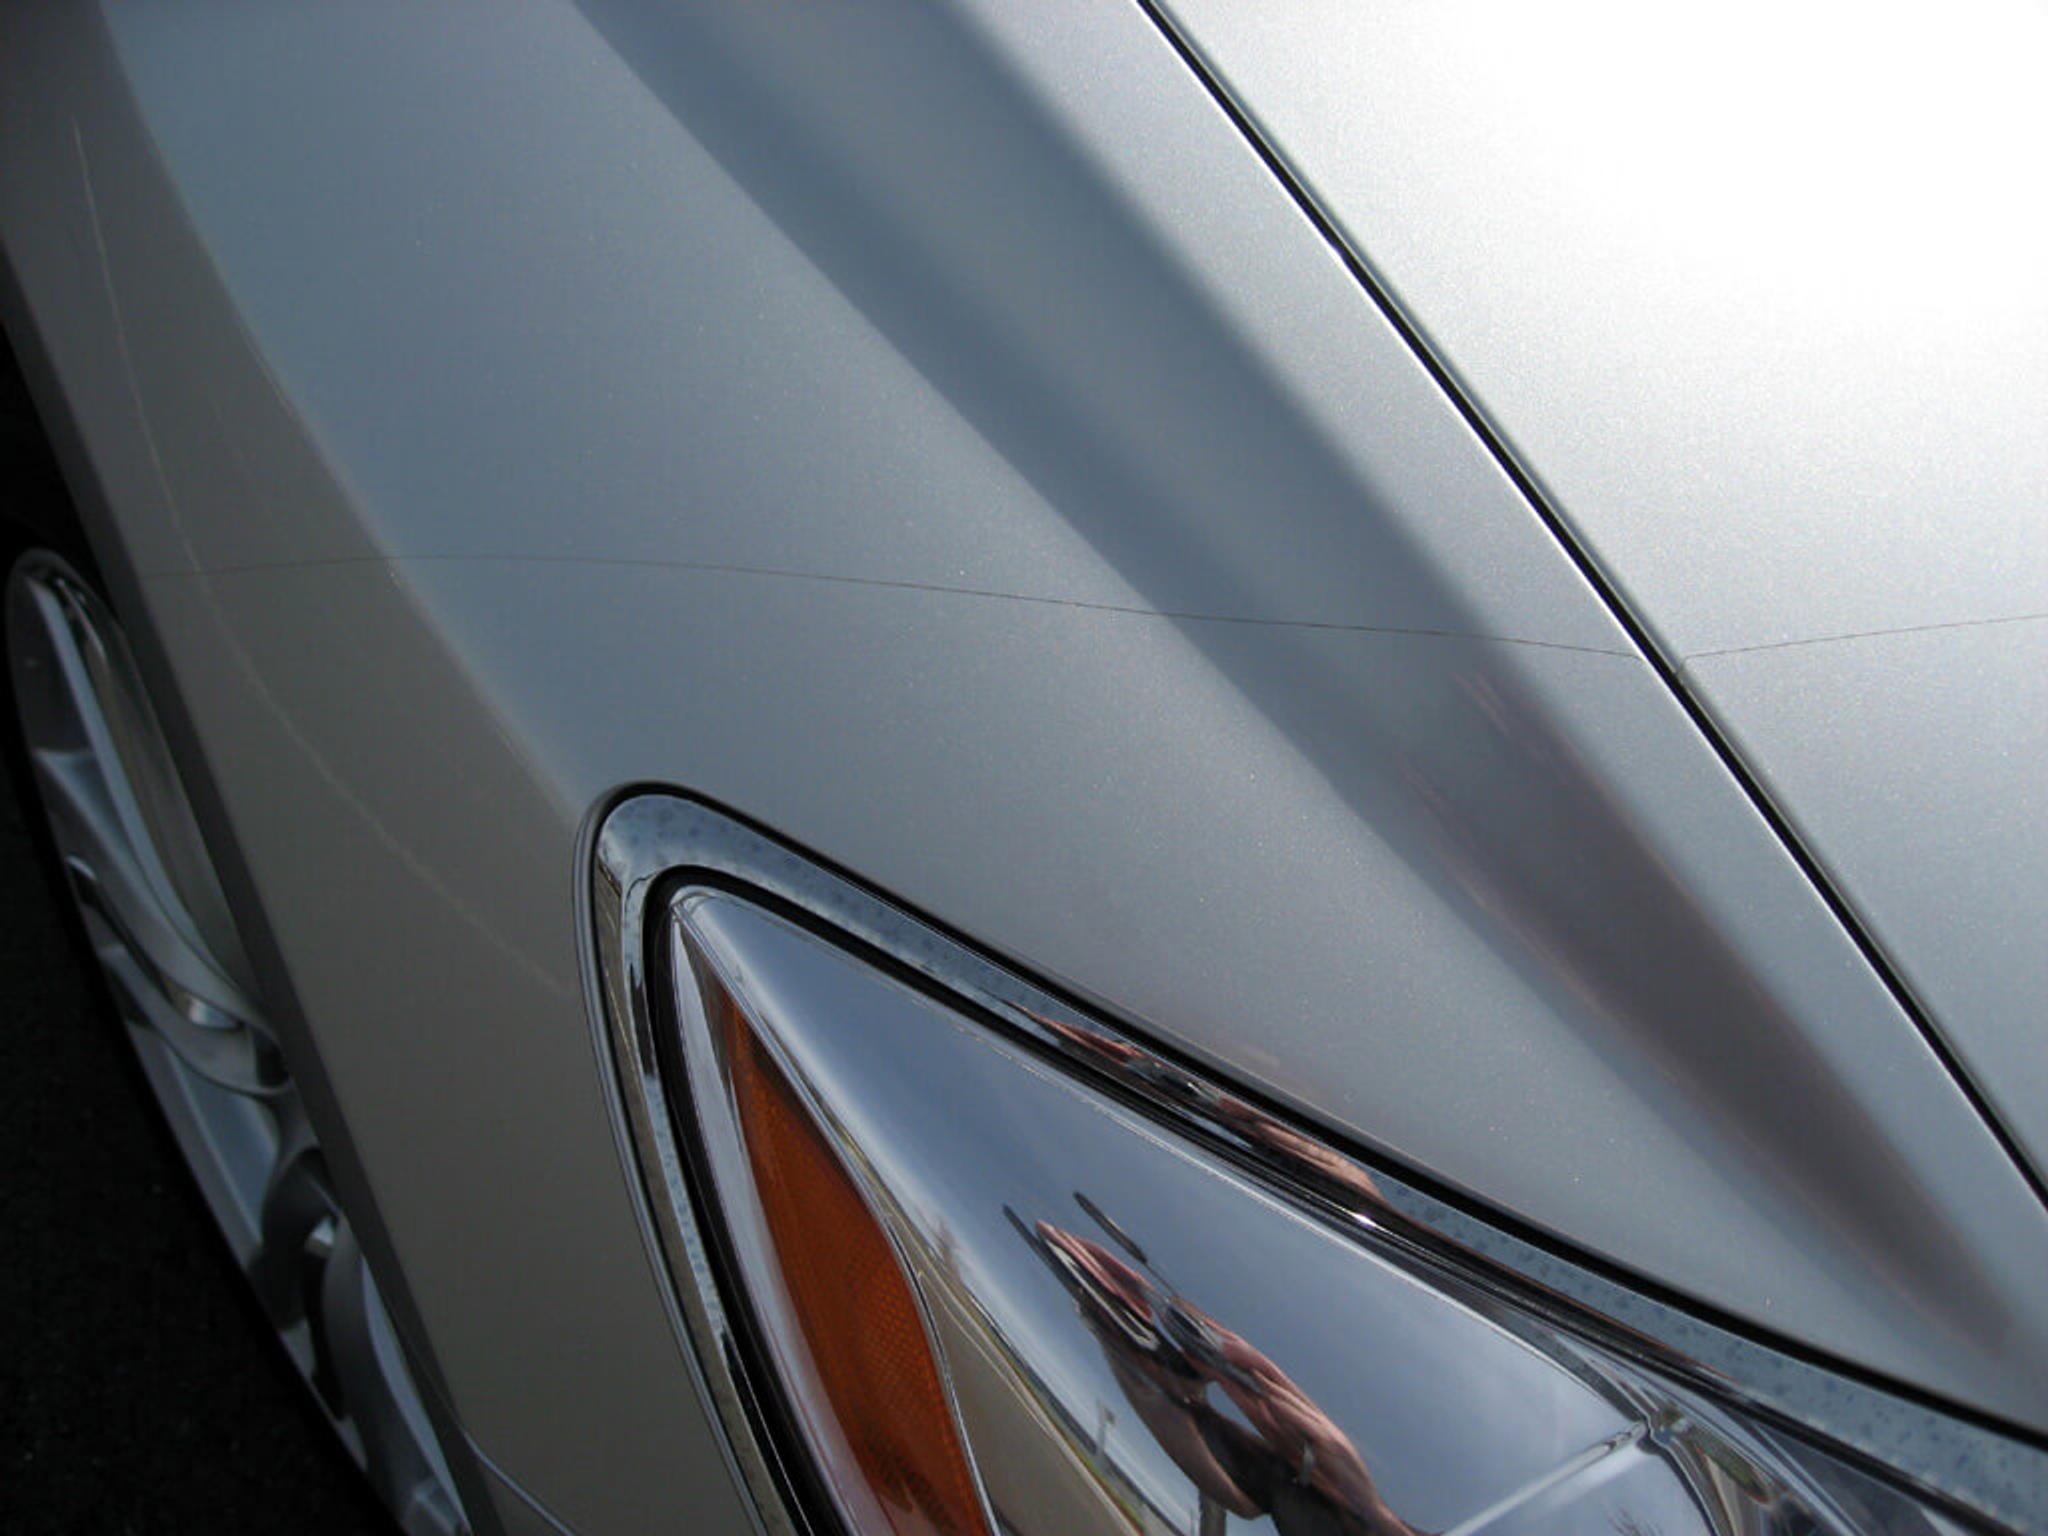
All PPFs deteriorate over time, so even with perfect maintenance it rarely lasts more than 10 years. The film starts cracking, fading, and can also become yellowish – especially the most exposed areas. You can’t fix these problems without replacing the film, but you can postpone them by avoiding direct sunlight and regularly washing your car.
Film removal isn’t very complicated and can be done at home. However, you should leave it to professionals if you want to minimize the risk of damaging your car's paint, especially if it isn’t factory paint.

Check your VIN
Avoid costly problems by checking a vehicle's history. Get a report instantly!
